For many, the Chi of Guyun quest in Genshin Impact takes quite a bit of time. There are several sections of this quest. You have to work your way through, and not all of it them are obvious. It can make finishing it a little complicated, but with a bit of time, effort, and keeping your eyes open, you’ll be able to finish it, no problem. We’re going to point out all of the smaller parts to make sure everyone can effectively finish it and move on to their next adventure. You first pick up the quest by visiting the Qingce Village by speaking to the Yan’er at the southern portion of the map near the ruins.
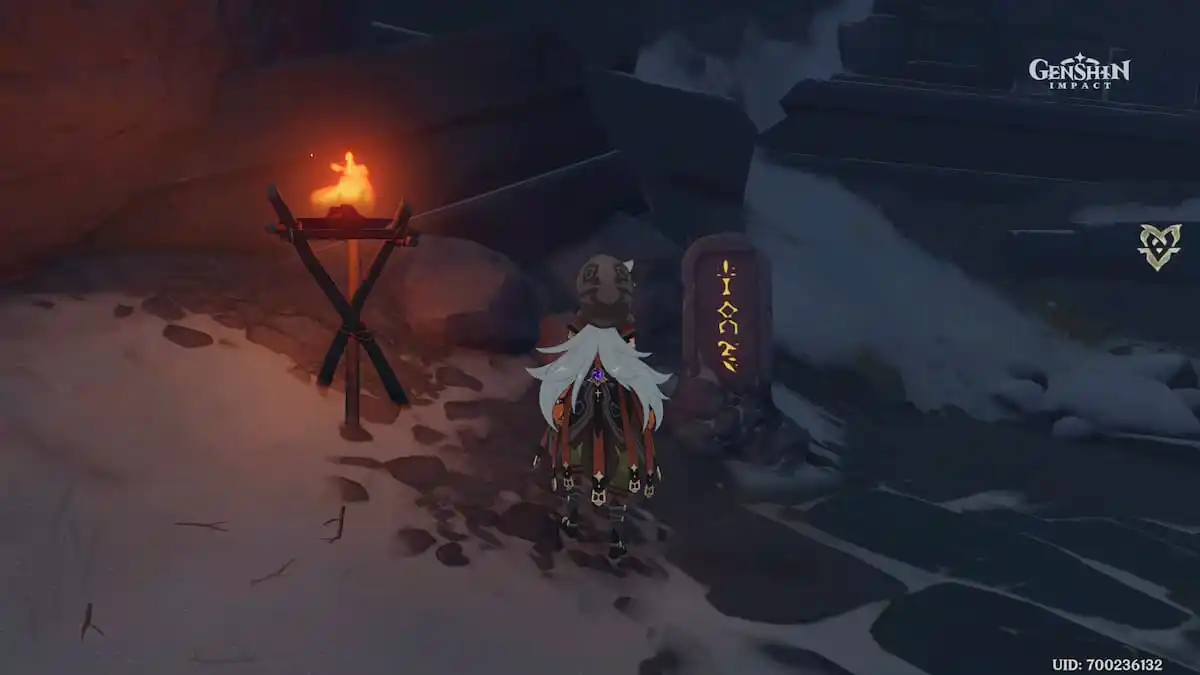
The first step of the quest is to investigate the ruins that Yan’er wishes to learn more about discovering the origin of Chi in the land. However, they warn of a Ruin Hunter who resides inside, so you can expect one to be guarding the interior of the ruins. The quest takes you to the northwest of your position at Yan’er, which should be highlighted on your map when you accept the task. After defeating the Ruin Hunter, investigate the ruins it was protecting, and then you need to find various statues near the large, orange crystals jetting out of the ground. Approach these statues to continue the quest.

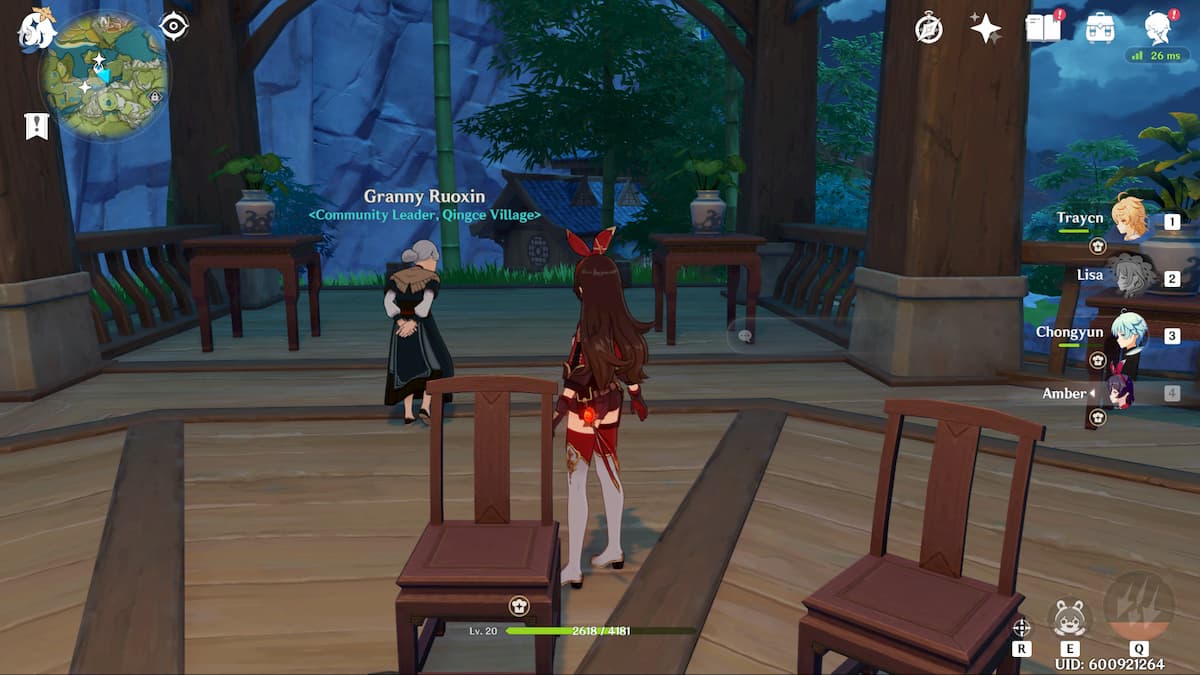
The next task is to go north to Quigce Village and speak to the locals about what you found on the stone. When you speak to the villagers, they recommend you to talk with Granny Ruoxin. Learning it narrows down the search to the top of the village for you to locate Ruoxin. She’s right next to the waypoint shrine at the center of the village, at the top.
Granny tells you the history of the Geo Chi and where you can discover locations of more fragments. You have to scour the surrounding area to locate all of them, and Ruoxin hints that you may want to try the highest point on the mountain, and any of the surrounding ruins. You want to look to the west of the village. We have all of the fragments’ locations for you, making it far easier to locate all of them.
First fragment location
The first fragment you can find is directly west of the village, nearby a waypoint shrine. It’s at the top of the hill behind it, in the middle of a shrine. Approach the fragment, and there’s a particular order you need to do to activate the various shines. Choose the middle one, the one to the bottom right, the one to the top left, the one to the top right, and then the one to the bottom right. This summons the chest to make the fragment appear.

Second fragment location
The next fragment is closer to Ruoxin. Return to the village where you were speaking with her, and use a waypoint shrine to make your trip faster. You want to face the mountain that’s south of that shrine and climb it. It’s a tough climb, so work your way to the top, finding the best cliffsides to rest on while you climb. It helps to increase your stamina as much as you can.
When you reach the top, much like the previous shrine, you need to activate the statues in a particular order. You only need to activate four. When facing north, activate the statue to the left of the small orange crystal, the one facing the large tree at the top of the hill in the water, the statue to the left of that one, and the final one will be facing green pine that’s on the hill, facing the flat mountain top. A chest will appear when you activate all four, giving you the next fragment.

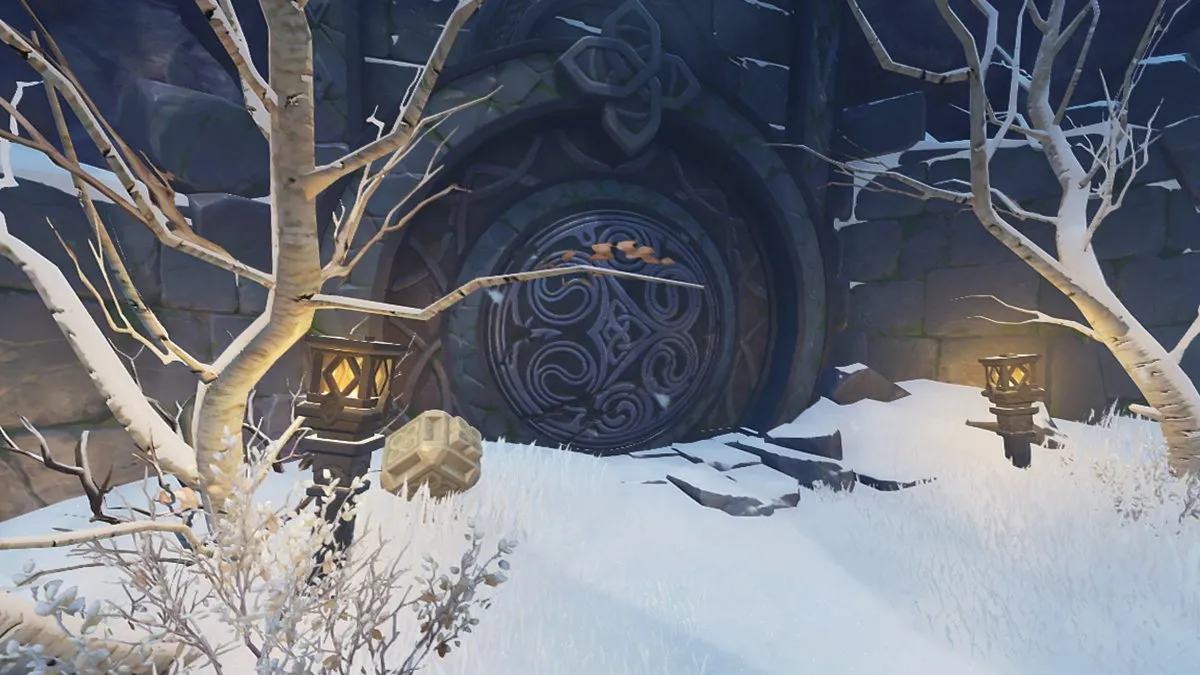
After you have both fragments, return to Ruoxin to have her look over them. Your next task is to find your way inside of the vault, which should be behind a waterfall to the northwest of your current position. It’s marked on your map. When you arrive at the location, go to the waterfall’s right, and there is a small pathway in the cave. Proceed inside to enter the vault.

Inside the vault, you have to find a small group of Treasure Hoarder enemies. Take them out, and then approach the crystal on the stand and activate it. When you do, you have to protect a cache from waves of Ruin Guards. These enemies will come in a wave of one, a wave of three, and then a Ruin Hunter. You definitely want a ranged character for the Ruin Hunter to make it easier to defeat.
After you defeat the waves of monsters, you have to search the vault for the treasure you were looking to acquire. Proceed to the back of the cave where there is a room full of chests. The center chest will have what you’re looking for, but the other chests have additional items that make the quest a worthwhile venture. Return to Ruoxin when you completely loot the area to complete the quest.



Published: Sep 30, 2020 01:38 pm