The Lozania region of Yara is home to multiple treasure hunts. One of them you might come across is the Ida’s Triada Relic treasure hunt. This hunt is no ordinary hunt and will make you traverse a cave system to reach the treasure at the end. Here is how you complete it.
Ida’s Triada Relic
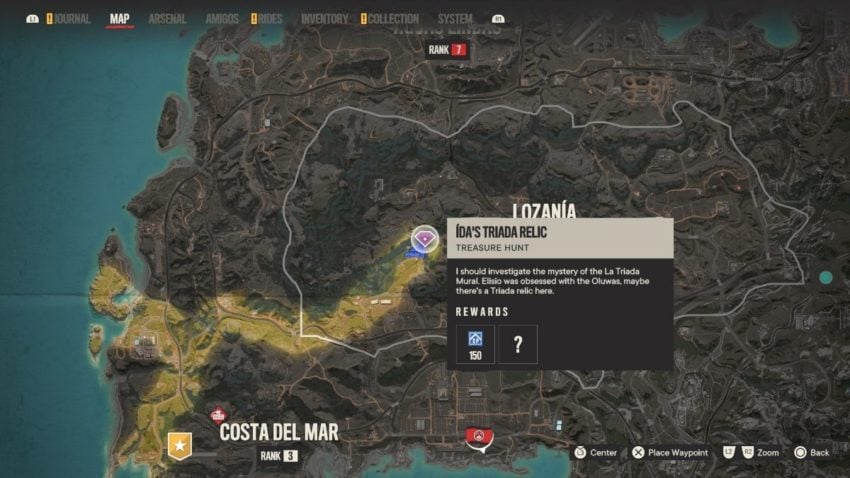
You will find the treasure hunt on the eastern side of Lozania. It is nestled at the bottom of a bunch of cliffs. Use the map below as a reference for its location.
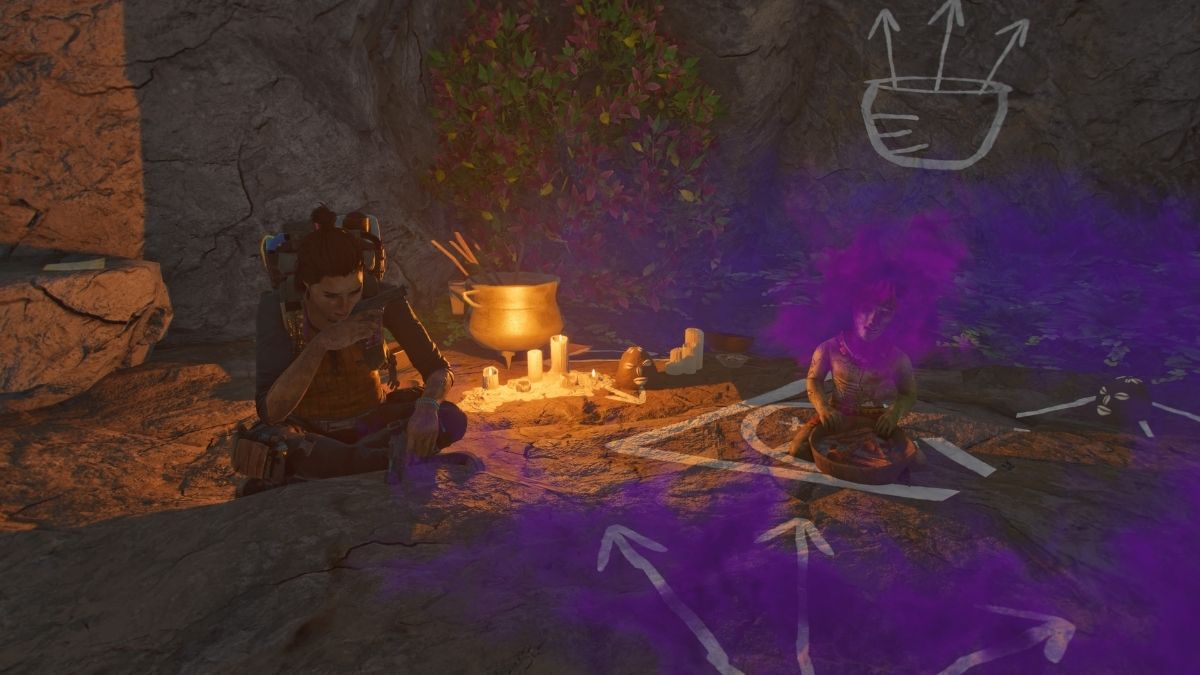
When you arrive in the area, you will first notice a bunch of huts. Head past these to the base of the cliffs. You will find an NPC bowing to an altar. That is where you will find the orange box containing the information for the treasure hunt.
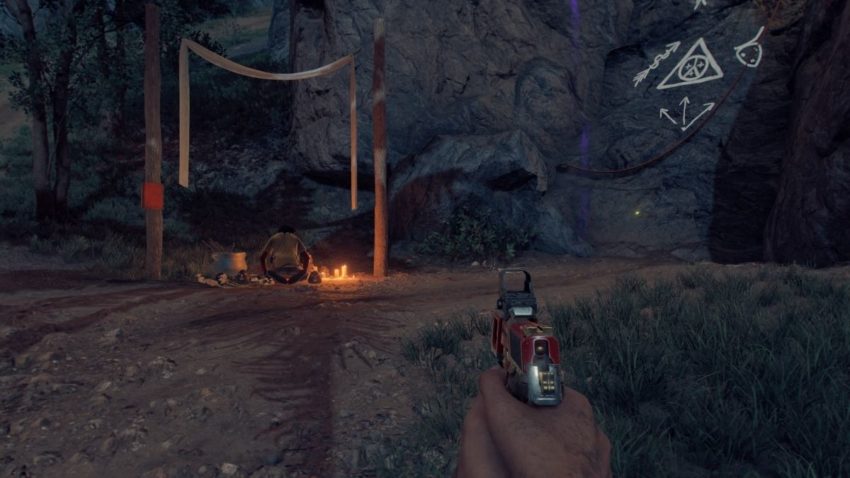
Take a look to the right to find a ledge to attack your grappling hook to. Climb up the cliffs until you read a cave. This is the start of the obstacle course to retrieve the treasure. Be prepared.
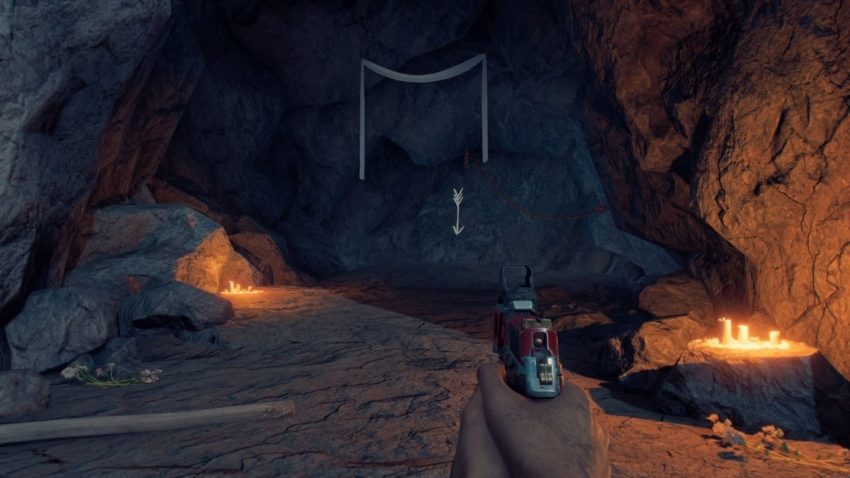
Start by grappling on the ledge and lowering yourself in. Follow the path and you will come across an area with two ziplines. Take the first zipline and time the drop right to hook onto the second one and reach the end of the area where there are cliffs to climb.
At the top of the cliffs, you will see more ziplines. Just like the last area, time the drops correctly to go from zipline to zipline and reach the other side of the area. Here you will see an opening in the cave wall covered by wood planks. Hit them with your machete to break them.
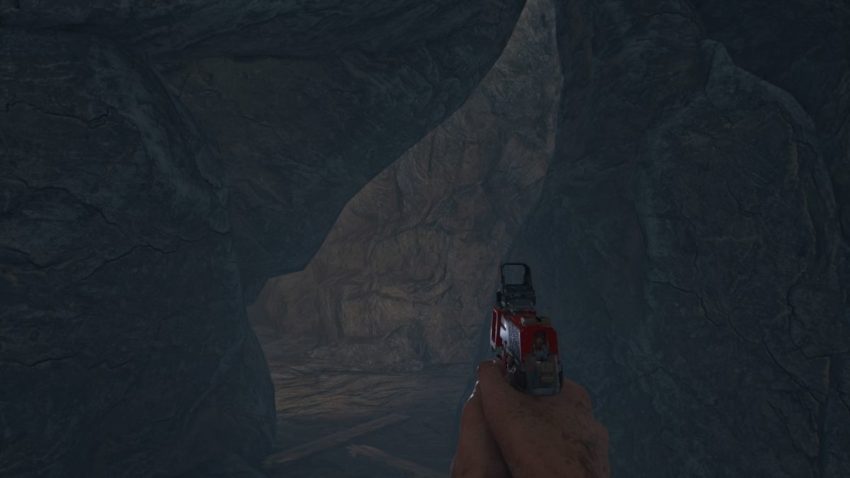
Go through the cave wall opening and climb the ledges on the other side to reach another zipline. Use it to cross the gap and turn to the left to see another grappling point. Use your grappling hook to swing across the gap to the other side. Take the zipline on the other side. At the end of this zipline, you will be in front of another grappling point with a purple flare.
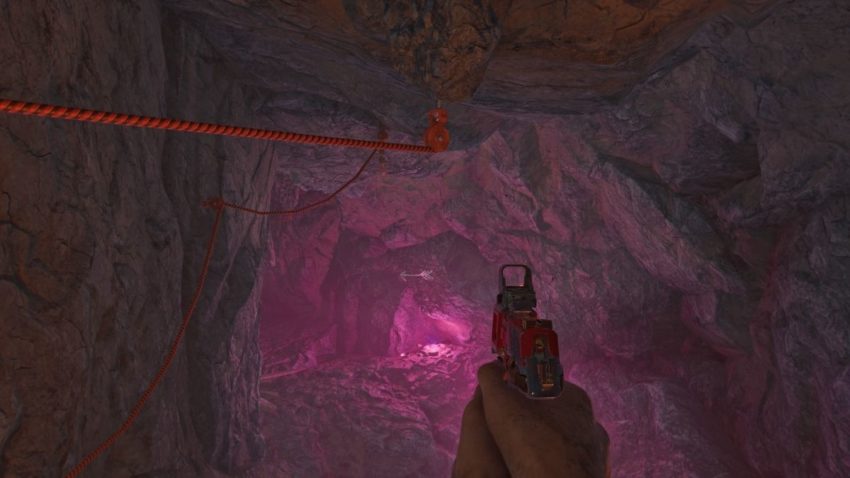
Swing across the gap and you will find another zipline. Odds are you will automatically grab onto the zipline after swinging across the gap. You know the drill at this point. Drop off the zipline onto the next one until you reach the end of the area. You will land in front of some climbing ledges. Climb the ledges and then climb the ladder. At the top, you will find another area to use your grappling hook and more ziplines.
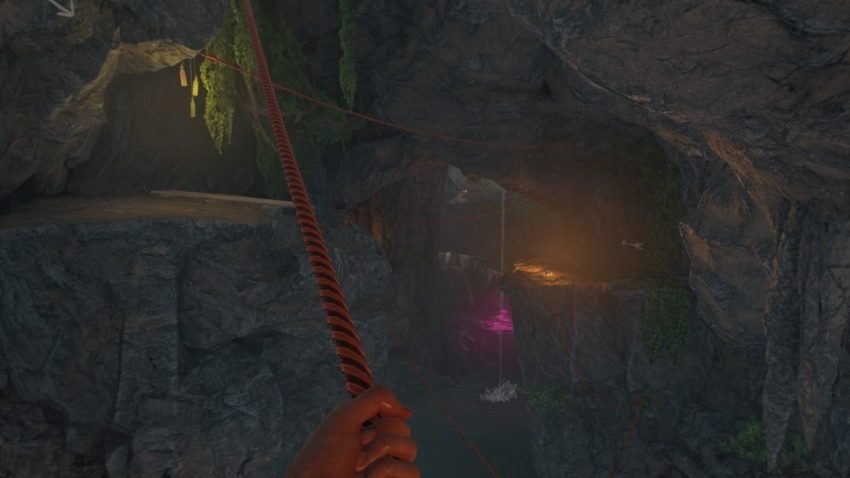
Continue through the area by using the grappling point and ziplines. You will end at the bottom of the area near a purple flare. Climb the nearby ledges. At the top, you will find a treasure chest and an idol.



Published: Oct 7, 2021 08:28 pm