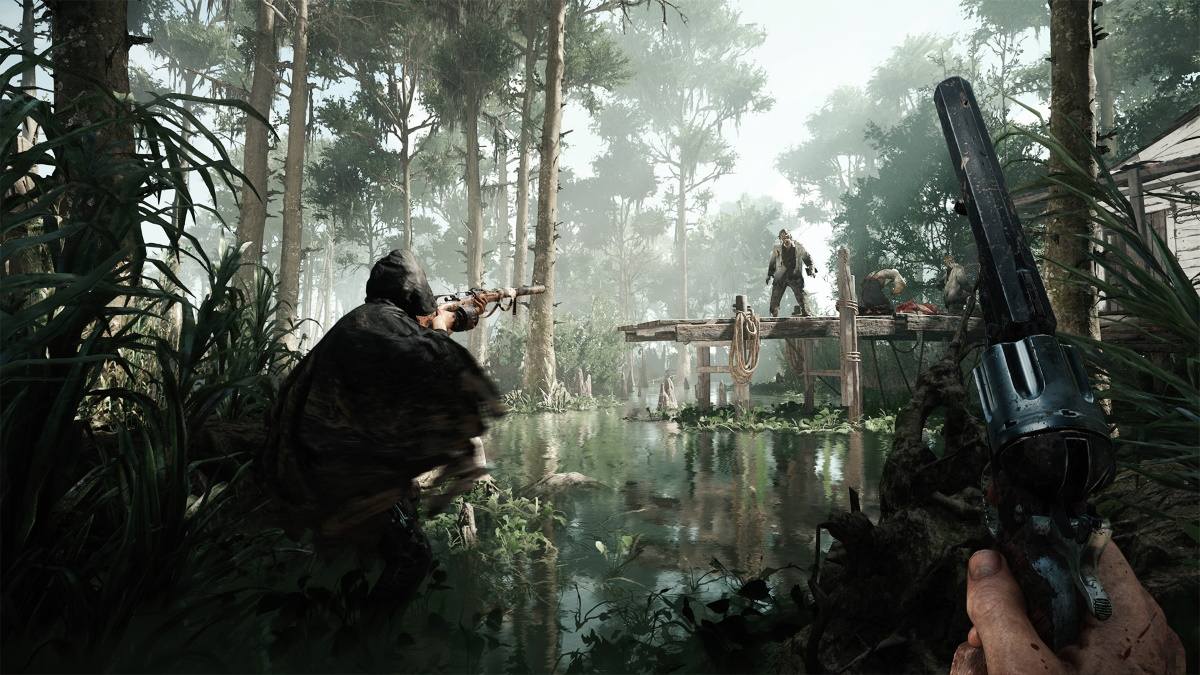
The quintessential new player experience in Hunt: Showdown includes dying and not knowing why. The game’s mechanics and sandbox are complex and interconnected, and they allow for a variety of ways to kill other Hunters — or your own if you are not being careful. One of the most rewarding things you can learn to do in Hunt: Showdown is set combo traps that can instantly kill other players. By combining different Trip Mines and environmental objects into perfect little recipes of death, you can send players to the home screen in an instant, sometimes without ever crossing paths with them. In this guide, we will give you the essential tips and tricks to set one-hit-kill traps in Hunt: Showdown, as well as some less lethal but equally aggravating combos.
Lethal trap combos
- Alert Trip Mine next to red barrel — Kills always.
- Concertina Trip Mine on top of two bear traps — Kills almost always.
- Concertina Trip Mine and Poison Trip Mine — Kills often.
The red barrel trap is a Hunt: Showdown classic. Since Alert Trip Mines trigger explosive barrels when set off, walking into such a combo trap is a death sentence, even with the Bulwark trait equipped. The Concertina bear trap combo isn’t as flashy, but it’s certainly effective. This Hunt: Showdown trap works by placing a Concertina Trip Mine on top of two bear traps or two Concertina Trip Mines on top of a single bear trap; both combos will almost instantly kill the player who walks into them. If they have the presence of mind to stop moving the moment the Concertina Trip Mine triggers, they may avoid one of the bear traps, but they will still suffer near-lethal damage and start Bleeding.
Finally, the Concertina and Poison Trip Mine combo is a mean one, and one that kills in a couple of seconds. Hunt: Showdown players who find themselves trapped in a cloud of venom and entangled in the barbed wire have a near-impossible choice to make. If they stay still and patch up the Bleeding, they will continue to take damage from the Poison cloud and die; if they push away from the poison cloud, they will suffer rending damage and bleed out. Players who have preemptively popped an anti-venom shot or have the Bloodless trait can survive this Hunt: Showdown trap combo, but they will still be mauled and slowed down by it, giving you the time to finish the job.
Non-lethal, but very annoying
- Double Alert Trip Mine — Inflicts Burning.
- Alert Trip Mine next to yellow barrel — Inflicts light damage, Burning.
- Concertina Trip Mine next to green barrel — Inflicts light damage, Bleeding, Poisoned, damage over time.
- Concertina Trip Mine next to stationary lantern or light fixture — Inflicts light damage, Bleeding, Burning.
Concertina Trip Mines cannot trigger red or yellow barrels in Hunt: Showdown, but they do break apart green barrels and environmental light sources, allowing you to annoy opponents and drain a bit of their healing supplies without exposing yourself. For their part, the Alert Trip Mines can blow up yellow barrels, and since patch 1.7.2. they also singe players who trigger them or outright set them on fire if you stack two Trip Mines on top of each other.
Tips and tricks
Regardless of how you use traps in Hunt: Showdown, two general tips apply. First, make sure to take the Frontiersman and Packmule traits to maximize your trap charges. Second, don’t just mindlessly slap down a trap next to every barrel or behind every door. Place them in high-traffic areas like chokepoints near the boss lair or centrally located Supply Points. Try to hide your traps in the environment as much as possible, placing them in the shade or in the grass, or behind hanging cloth panels. There are also many floor details that stick out visually yet have no collision, allowing you to set completely invisible traps inside them. The broken wall entrance to Arden Parish is an example of a perfect trap spot: players are likely to go through there to enter the building, and the debris on the ground will hide your traps perfectly.
As a final tip, don’t forget that your traps don’t despawn when you die in Hunt: Showdown. That means that you can stay in the match and spectate other players — if they happen to blunder into one of your traps, you get a final laugh from the grave, as well as some extra XP.


Published: Jan 27, 2022 11:53 am