If you have ever streamed before, you should know that your stream key is one of the most important aspects of your stream running. It allows you to connect whatever software you use to your Twitch profile so your video can be displayed there. With that in mind, you need it always to be running properly during stream times. Here is how to correct the “could not access the specified channel or stream key” error on Twitch.
Related: How to fix the OBS failed to load channel information for Twitch error
How to fix the Could not Access the Specified Channel or Stream Key error on Twitch
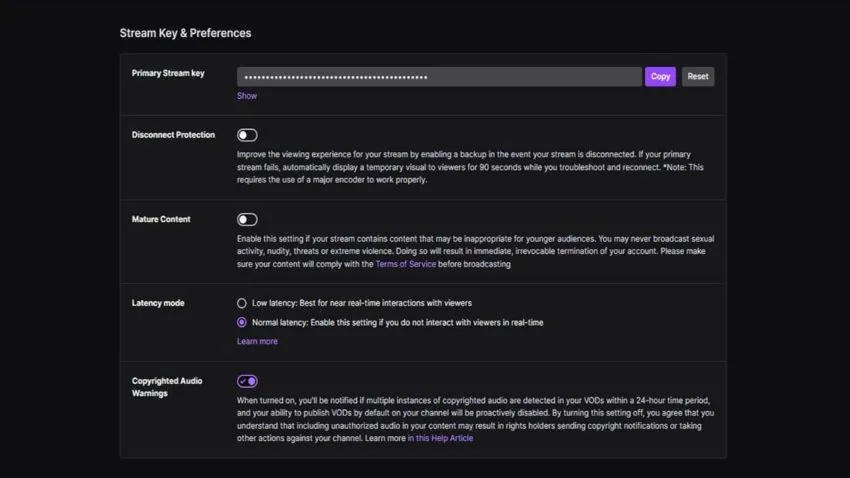
If you are trying to stream to Twitch and you get a message saying “Could not access the specified channel or stream key,” it likely means that there is some kind of connection error, likely on Twitch’s side. Our first recommendation is to reset your stream key. To do this, go to the Twitch website on any browser and log in with your account. Click your profile icon in the top right corner and go to Creator Dashboard. On the left side of the new screen, drop down the Settings section and select Stream. At the top of the next stream is your stream key. Click Reset and then copy it into your streaming software and try again.

If the above did not work, try to connect your Twitch account to your streaming software directly. To do this, open up Settings and go to the Stream section. There will be an option to directly associate your Twitch account with the OBS or Streamlabs app. For OBS, only one account across Twitch, YouTube, and Facebook can be connected. Streamlabs lets you connect one of each at a time.
If none of the above has fixed the error for you, we recommend checking your internet connection to make sure that things are running properly. If so, Twitch may be experiencing some issues at the moment, so you can check their server status.


Published: Sep 28, 2022 02:17 pm