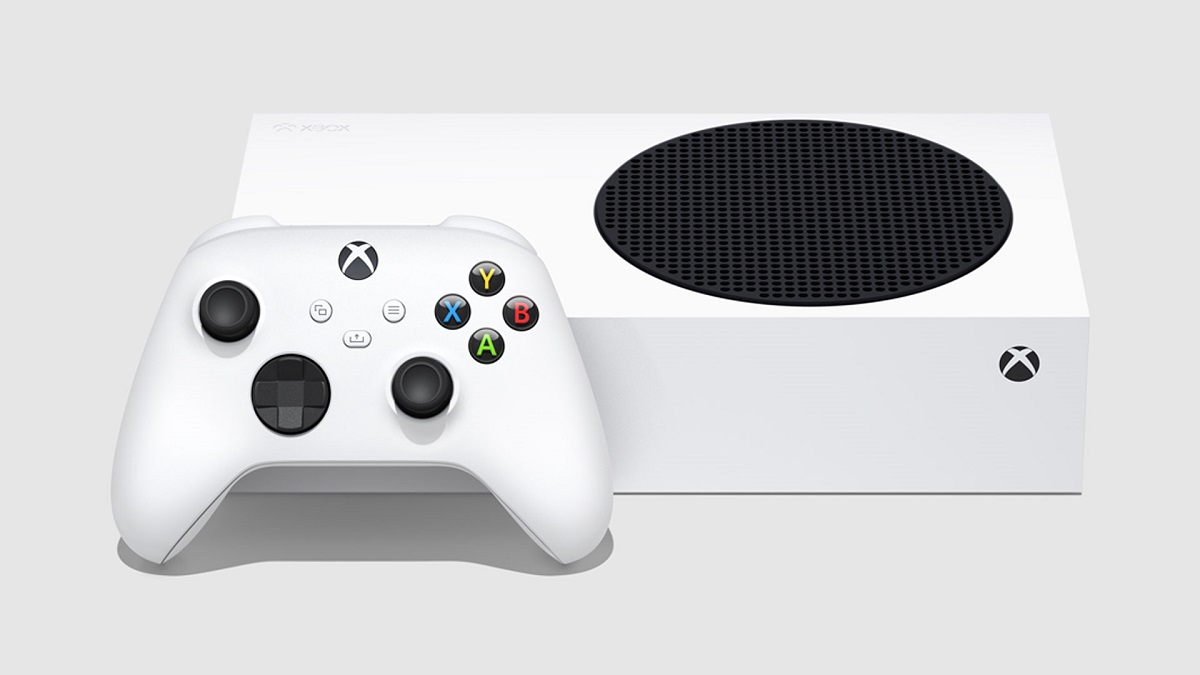
While drifting on a controller is usually associated with the Nintendo Switch, it’s a problem that any gaming controller can experience. The Xbox Series X/S controllers are no exception to this, and they also run into drift problems. When you see movements happening when you aren’t touching the joystick, that’s the typical sign that you have drift problems.
Fortunately, it’s not the end of the world if your controller is experiencing drift. There are solutions that you can pursue that don’t require you to have amazing repair skills. Drift doesn’t have to be a problem that you must experience forever, but you will need to be proactive in finding a solution.
1) Update your controller
The easiest solution is to update your controller with the latest firmware. You can do this with the Xbox itself or using a PC that has the Xbox Accessories app. If you don’t have the app, you can get it for free from the Microsoft Store.

If possible, update your controller’s firmware to the latest version, and restart your controller if necessary. Sometimes an update is all you need to properly reconfigure a controller and remove drift.
2) Use compressed or pressurized air
Drift is often caused by debris being stuck around the components of the joystick. Using a can of compressed or pressurized air can dislodge that debris, which stops something from drifting the joystick. Make sure your controller isn’t turned on when you do this.
Aim the nozzle around the joystick area and use short bursts to blow away the debris. Move the joystick around as you apply the compressed air to make sure every area around the joystick’s interior gets some air. Connect your controller back to your Xbox Series X|S and test it to see if drift continues to plague your controller.
3) Use isopropyl alcohol
This isn’t the method you may think of at first, and it shouldn’t be used if you’re uncomfortable with liquids near electronics. But if compressed air isn’t working and you are comfortable with taking a bigger risk, it’s an option worth considering.
You will need 70% isopropyl alcohol, cotton swabs, and the drift-affected controller. It is important to not have your controller active during the repairs, and you don’t want any young children/animals near you while this is going on.

Apply some alcohol on the swabs, then rub the swab over the rounded, smooth surface of the affected joystick. Continue to do this until it has been applied completely, and let it dry. Once it has safely dried, you can turn on your controller and test to see whether the drift issue has been resolved.
4) Repair the controller yourself
If your controller is still under warranty, self-repairs will void it. But if you are confident in your repair skills and the other two methods haven’t worked, it’s worth a try. Remember to power your controller off before you try this. Have a flathead screwdriver with you to remove the screws.
The steps to open up the controller are:
- Pull off the chassis from the controller. You should be able to do this from the left and right sides. Use your fingernails or slide a durable, thin object to do the job.
- Use your screwdriver to remove the screws.
- Remove the front side of the chassis to reveal the components underneath. You may have to push the back of the chassis to help you.
- Remove the analog joystick from the slot that is causing you trouble.
- On the left side of the joystick, you can see a grey clip. Tighten it to fix the drift problem, or remove it entirely using your screwdriver to help.
- Reassemble the controller.
This should fix your drift problems if the repairs have been done correctly. Remember to be careful throughout the entire process and don’t lose any screws.
5) Send it for professional repairs
If nothing else seems to work or you aren’t confident in repairing it yourself, leave it up to the professionals. Locate your local/regional Microsoft center and follow their process to send the controller for repairs. Have receipts and/or proof of purchase to help you claim the warranty. Alternatively, you can find a local repair store or ask the store where you bought the controller for recommendations.
Fixing a drift controller can seem frustrating, especially for the Xbox Series X/S, where it doesn’t seem to be a big problem. But there are always solutions, and sometimes leaving it to the professionals is the right option.


Published: Nov 11, 2022 01:11 am