Elden Ring has no shortage of different upgrade materials to track down in order to gear your gear in tip-top shape. Many of these are easy enough to find just by defeating enemies along the way, but a few are pretty tricky to find in large quantities, especially early in the game. Perhaps the most difficult material to find reliably for upgrading your weapon is the Somber Smithing Stone 7. Here is how you can find the Somber Smithing Stone 7 in Elden Ring.
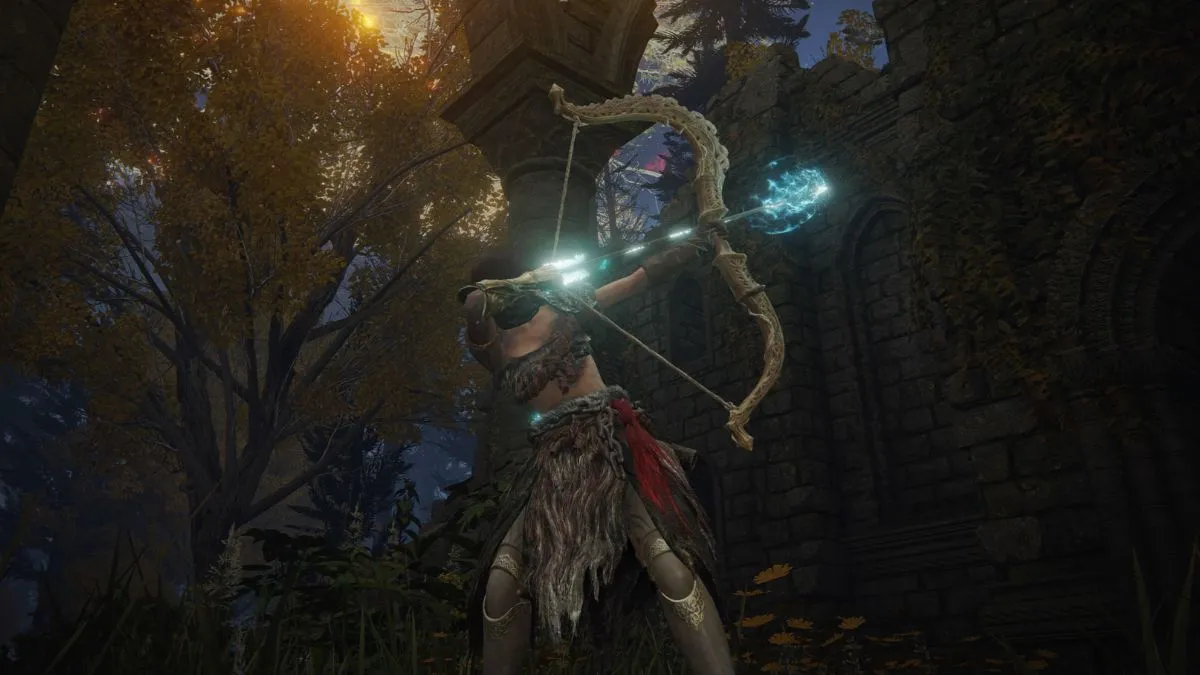
Related: The five best Bows in Elden Ring and where to find them
Somber Smithing Stone 7 farming location

Your best bet for finding a decent volume of Somber Smithing Stones 7 in the first half of the game is to farm them in the room just outside the Dung Eater’s cell, in the Subterranean Shunning Grounds. If you haven’t found it already, this area can be tricky to reach. You can get there by heading northwest down the stairs by the Avenue Balcony Site of Grace. Then, go straight ahead between the buildings and turn left as soon as you’re past them. From here, jump over the railing and into the small well.
Shortly beyond this entrance you’ll find the Underground Roadside Site of Grace, shown above. From here, turn left out the door and jump into the open grate in the floor near the patrolling Omens. Once inside, turn left a run past the rats until you reach the end of the hallway, where you’ll turn left again. From here, run past the giant Miranda Flowers and climb the ladder.

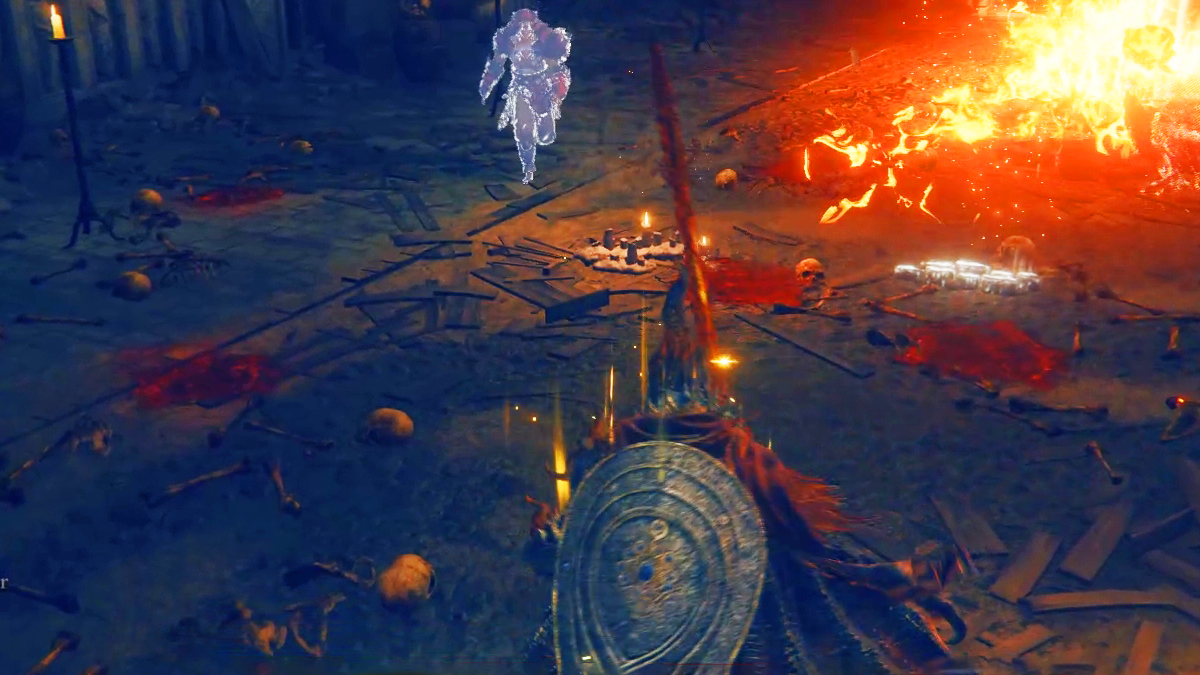
At the top of the ladder is the room you’re looking for, but be careful of the animated hands hiding here. There are three small ones on the ceiling that you should focus on first. These will fall if you hit them with an attack, or even if you stand underneath them for a few seconds. There’s also a large one hiding in the ground that you’ll want to avoid until you can fight it one on one.
There is some speculation that these hands will stop dropping Somber Smithing Stones once you’ve freed or killed the Dung Eater, although in our testing we were able to find them even after killing him.
Somberstone Miner’s Bell Bearing 4 location

If you’ve already reached Crumbling Farum Azula, you can also pick up the Somberstone Miner’s Bell Bearing, which will allow you to purchase Somber Smithing Stones 7, 8, and 9 from the Twin Maiden Husks in Roundtable Hold. This way, you can farm Smithing Stones 7 indirectly by instead farming runes, which is a much simpler task. You can find the Bell Bearing by heading to the Temple-Facing Balcony Site of grace, shown above.

From here, just head north and jump over the small ledge. You’ll find a corpse sitting on the cliffside there with the Bell bearing on it.


Published: Nov 14, 2022 11:59 am