Abbey Havens are hidden locations that provide friendship boosts in Marvel’s Midnight Suns. The Abbey is a massive hub, home to the Midnight Suns and a litany of quests, collectibles, and secrets to find. You can socialize with the cast of characters and build each one’s Friendship level, which gives you numerous advantages and bonuses for that hero. Abbey Havens can be tough to find, and some require quest progression to earn. This guide will explain where to find all Abbey Havens in Marvel’s Midnight Suns.
Related: All Hiram Shaw Journal locations in Marvel’s Midnight Suns
Where to find every Abbey Haven in Marvel’s Midnight Suns
A swirling circle of blue energy marks Abbey Havens. Walk into the energy ring and press the button prompt to discover the Haven. Once you find an Abbey Haven, you can invite characters to a special hangout associated with that location. Each Abbey Haven can only be used once per game, so choose who you bring to each place wisely. Reference the map below to help you locate all the Abbey Havens in Marvel’s Midnight Suns.
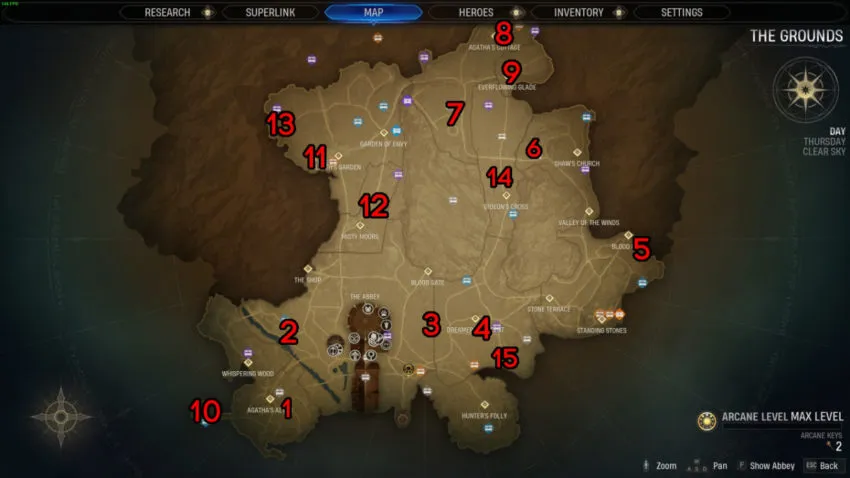
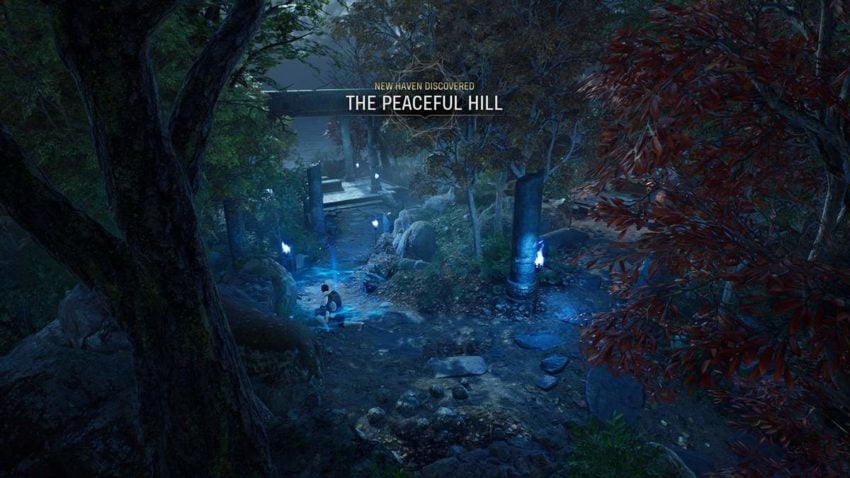
1: The Peaceful Hill Abbey Haven
This is one of the first Havens in the game. You can find this near Agatha’s Altar hiding in plain sight.
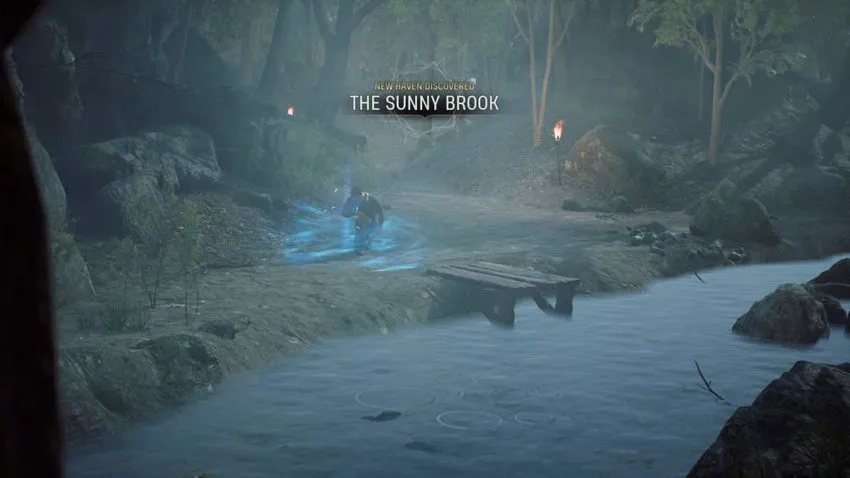
2: The Sunny Brook Abbey Haven
This Haven is located near the brook that runs alongside the Abbey itself. It doesn’t require anything special to unlock.
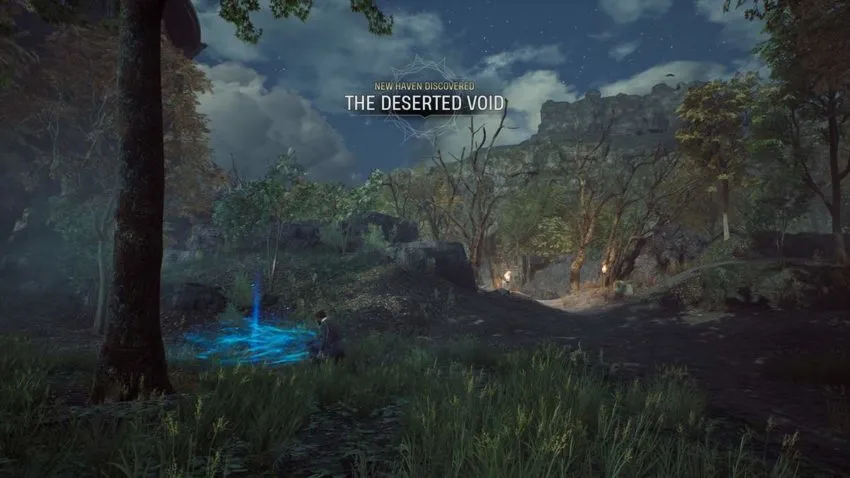
3: The Deserted Void Abbey Haven
This is one of the first locations that require a Word of Power to earn. Use the Open power to enter the locked doors near the Abbey and follow the dirt trail on the other side to find this spot.
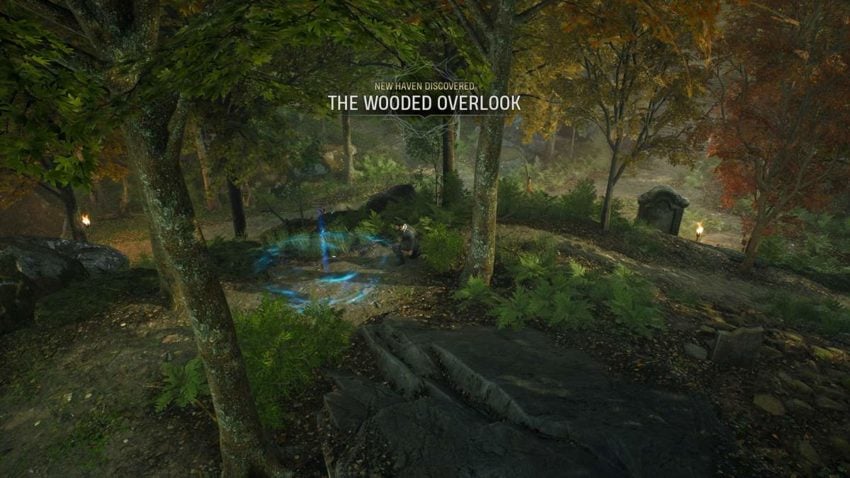
4: The Wooded Overlook Abbey Haven
This is another Haven in the Dreamers Descent region of the Abbey grounds. It’s in the middle of a wooded hills area.
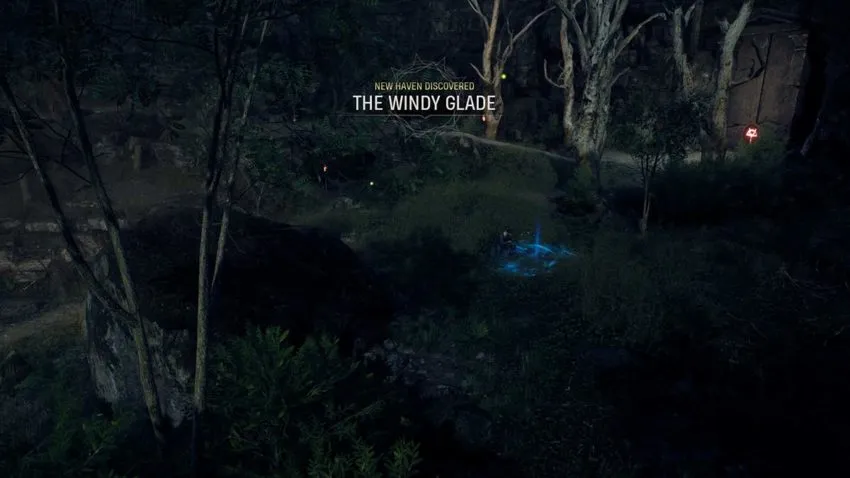
5: The Windy Glade Abbey Haven
This location is near the second Blood Gate in the Stone Terrace region. You need the Open Word of Power to access this area.
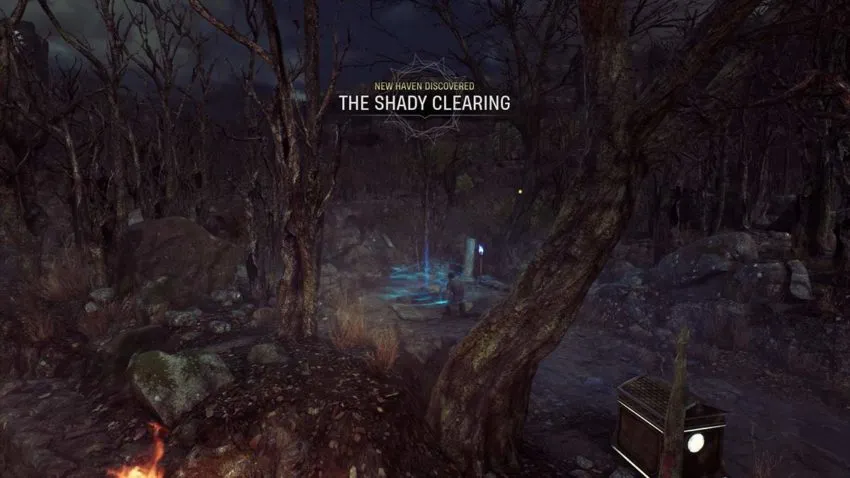
6: The Shady Clearing Abbey Haven
You won’t be able to access this haven until you have beaten the second Blood Gate and claimed the Reveal Word of Power. It’s right across the bridge after you enter the Valley of the Wind region.
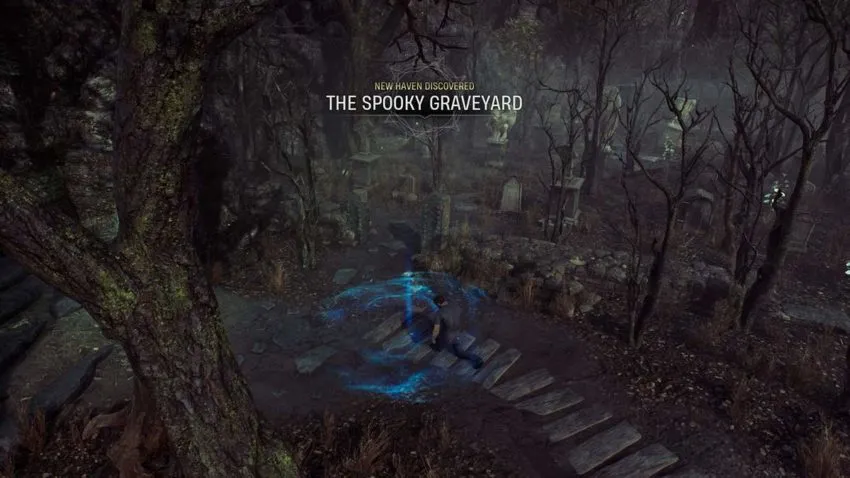
7: The Spooky Graveyard Abbey Haven
Once you gain the Reveal power and cross into the Valley of the Wind region, you can find this hangout spot in the aptly named graveyard. You can’t miss it as it occupies the majority of this area.
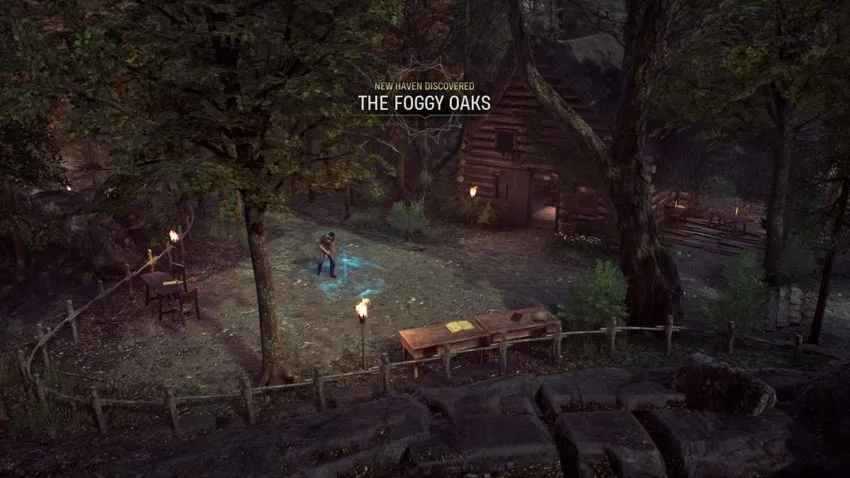
8: The foggy Oaks Abbey Haven
This location is right in front of Agatha’s Cottage, far north of the Abbey grounds.
Related: Words of Power in Midnight Suns, Explained via Twinfinite
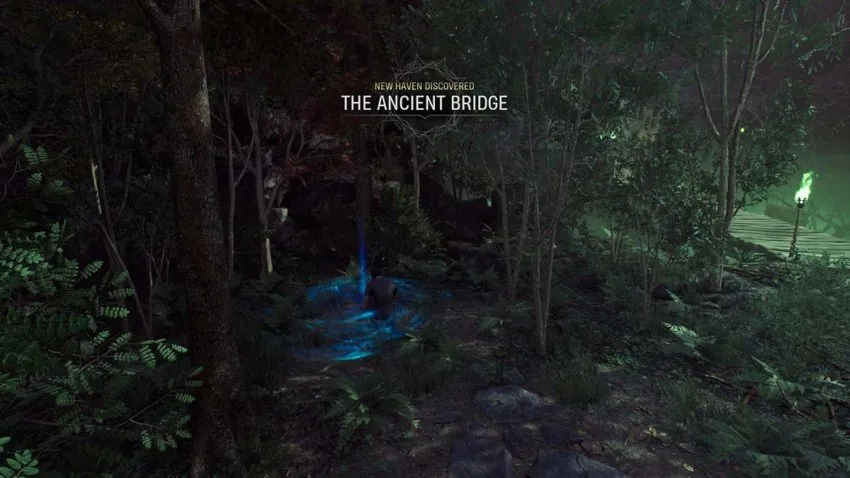
9: The Ancient Bridge Abbey Haven
This is one of the last locations you will find and requires extensive story progress to access the Purify Word of Power needed to enter this region.
10: The Towering Pillar Abbey Haven
Once you have the Reveal power, head back to the Abbey and use it to create a stone bridge to this location.

11: The Weathered Folly Abbey Haven
This haven is located below Lilith’s Garden. You need the Purify Word of Power to access this location.

12: The Quiet Valley Abbey Haven
You need to use the Break Word of Power to smash the cracked wall near the Abbey and head into the Misty Moors location.

13: The Dead Teeth Abbey Haven
This is one of the final Abbey Haven’s on the list and requires all four Words of Power to reach this location.

14: The Damp Hill Abbey Haven
This one is tricky, as it’s hidden near the Abbey but can’t be accessed until you have all four Words of Power abilities. You can find it while traversing Gideon’s Cross.

15: The Moist Depression Abbey Haven
This is right above Hunter’s Folly and hidden behind a large pile of boulders. Clear them out with the Break ability, which will complete your collection.

Once you have all of the Abbey Havens unlocked, you can choose which hero you want to bring to each location. Remember that each hero can only visit one Abbey Haven, and each location can only be visited once.





Published: Dec 2, 2022 08:25 am