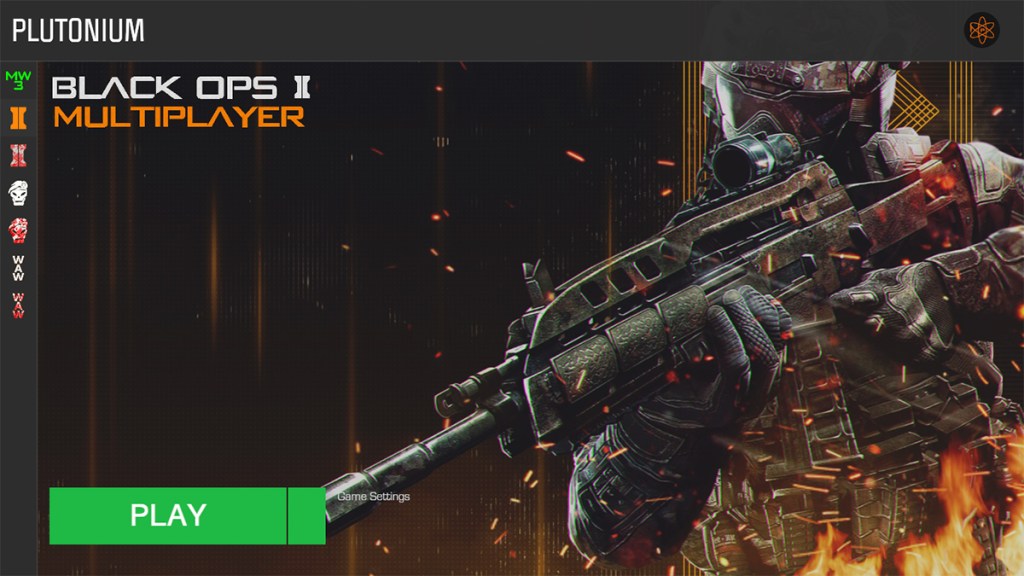
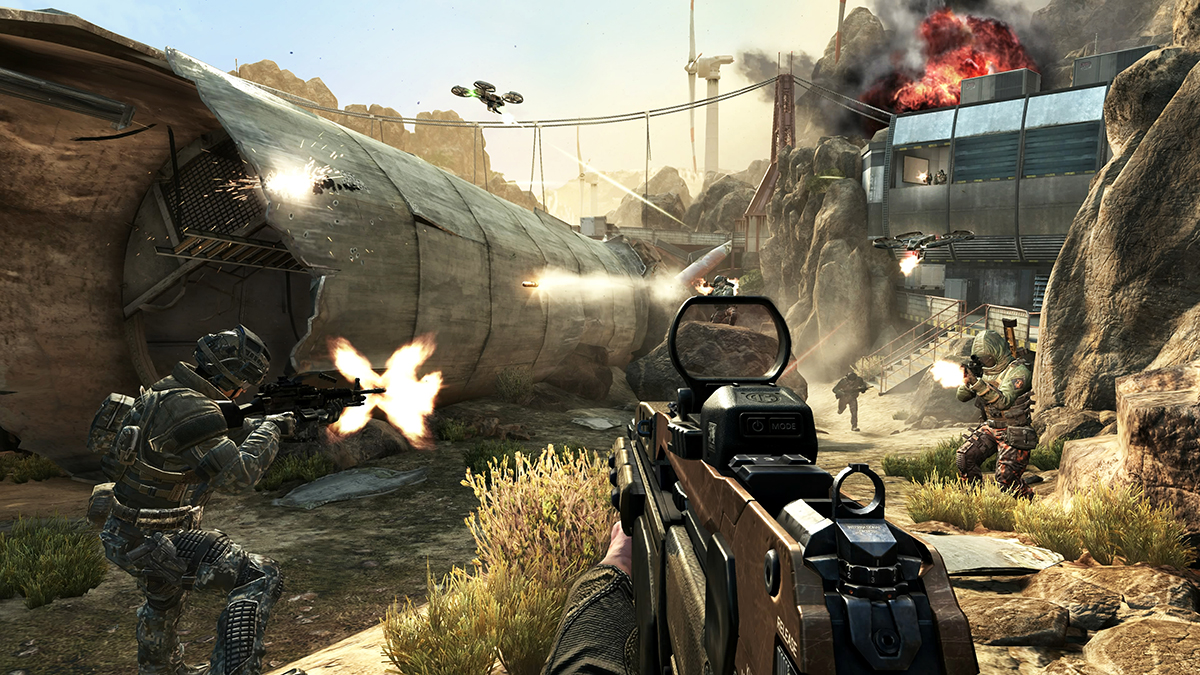
If the current state of Call of Duty is grating on you, like it is across Twitter, Reddit, and the wider community, there is hope yet to enjoy one of gaming’s biggest franchises. The Call of Duty modding scene is alive and well, and with the Plutonium mod, you can play the likes of Black Ops 1 and 2, World at War, their Zombies offerings, and even Modern Warfare 3. Better still, it all comes with a full server browser and community-run dedicated server support. We’ll review how to install and get the most out of it here.
Related: The 10 best Call of Duty games, ranked
Installing the Plutonium Call of Duty mod

Plutonium is a separate client outside of its supported games’ standard installations. It then runs a separate game instance with a server browser. We recommend owning a copy of the game you want to play and all its DLC to avoid any sudden server disconnects due to missing content. Many servers only use vanilla maps, thankfully, but if you want the full experience, it’s safest to own everything.
Installing Plutonium is a straightforward process.
- Download the plutonium.exe file from the official site. Allow your browser to complete the download if it gives you a warning.
- Make a Plutonium forums account. You don’t need to participate in their forums; these credentials only serve to identify you as a user in the app.
- Store the .exe somewhere on your computer (ideally not in the Downloads folder).
- Launch Plutonium and tell Windows SmartShield to Run Anyway (if the security window pops up). In the Smart Shield menu, click More Info to show the Run Anyway option.
- Allow Plutonium to install files.
- Log in using your Plutonium username and password.
- Select the game you want to play from the left sidebar, and click on the Game Settings text.
- Select the game directory where you installed the game. The default location on the C: drive is C:\Program Files (x86)\Steam\steamapps\common\[name of the game root folder]
- Press Play. If you did everything correctly, the launcher should start up.
Once you’re in the Plutonium Client, select Online at the top of the main menu, then Server Browser to see the full list of servers. You’ll want to filter the server list to exclude empty servers, as well as password-protected servers unless you have one of those in mind.
Plutonium supports full progression for all of their games, but you can also unlock everything in the game using the “Unlock All” command. There are two ways to do this. First, you can open the console with the ~ key and type “unlock all,” or use the option in the menus.
Your Create-a-Class menus might not be in their usual spot. In Black Ops 2, for instance, it’s behind the Public Match submenu. It’s more visible in MW3 and it’s in its regular spot in Black Ops 1. Blame needless UI updates for these changes.


Published: Mar 6, 2023 10:21 pm