If you want the Ace of Spades, you will need to track down Cayde’s Personal Caches. We show you where to find them in this useful guide.
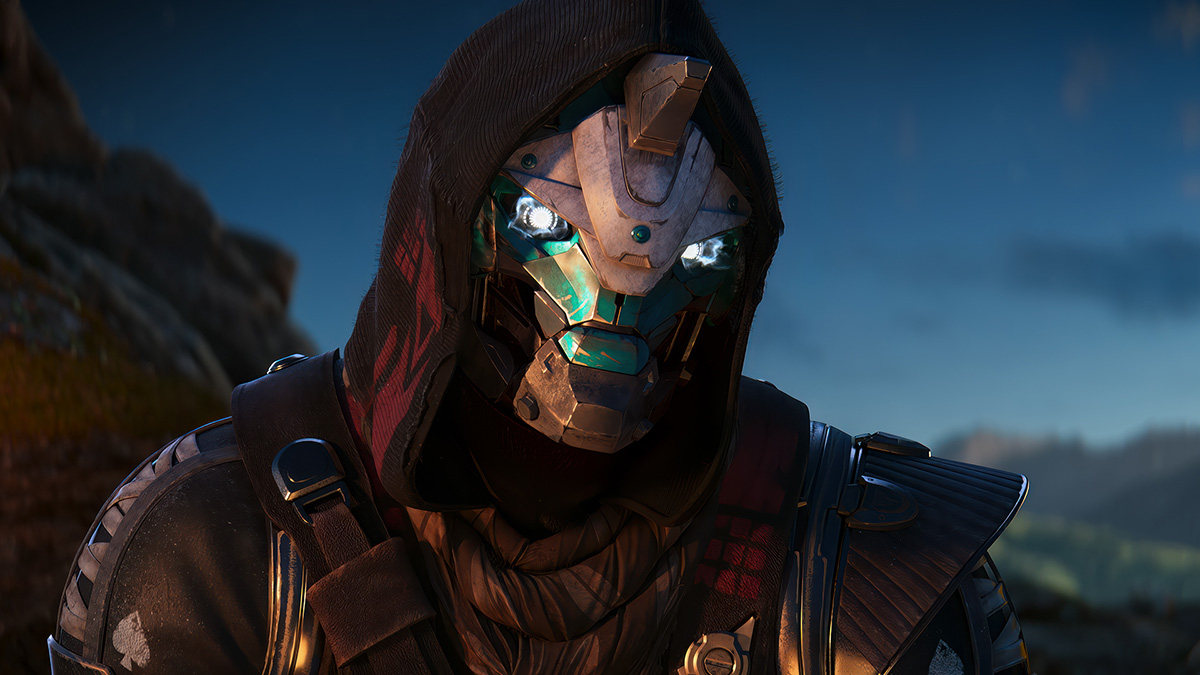
Once you have finished up the Destiny 2: Forsaken campaign, you will be sent on a quest to for the Ace of Spades! Fixing up Cayde’s famous Hand Cannon has a few steps that you will need to carry out, one of which is tracking down Cayde’s personal caches. It seems we need some spare parts, and Cayde might just have them hidden somewhere.
Cayde’s Personal Caches
Previously, we were led to Cayde’s Personal Caches by maps that we bought from the man himself. Now, with Cayde being no more, we need guides on the internet to help us track them down! Read on, for the location of each of the Caches you need.
Cayde’s Cache – Nessus
Spawn in at Exodus Black, and run along the map to your right. Head into the tunnel towards the Well of Stars, and follow it the whole way through.
Head into the tunnel towards the Well of Stars, and follow it the whole way through. You will eventually come to a circular room filled with Vex, lit by yellow trimmings in the back.
The cache will be high up on the back wall, on the left side of the room.
Cayde’s Cache – Io
For the Io Cache, spawn at the Lost Oasis and then make your way to Terrabase Charon. As you approach the base, jump up to the entrance on your left, and head into the tunnels.
Head down in the Wraith Mines until you come to a large room with a drill sticking down from the ceiling. Clear out the enemies, then jump from the large box to the drill.
Turn around, and jump across to the ledge, and the Cache will be waiting for you there.
Cayde’s Cache – Tangled Shore
For the Tangle Shore Cache, spawn at Thieves Landing and head left towards the Jetsam of Saturn. Keep to the left, going under the arch, the venture down into Hellrise Canyon.
Continue into the Canyon, crossing the ravine and past the columns. The back of the room will have two tunnels; you want to take the one that is a little higher up.
From there, follow the tunnel until you reach a large room filled with Hive, the Cache will be in the back of the room, hidden in a small alcove in the rock.
Cayde’s Cache – EDZ
For this Cache, you want to spawn in at the Sunken Isles. Head over to the entrance of Legion’s Anchor, and venture inside and down into the tunnels.
Run through the tunnel until you reach a room filled with enemies, and continue through to the brightly lit room ahead of you.
Turn left, and the Cache will be there on a large shelf.
That’s it, Guardian! You should now be finished this step and have gathered up all Cayde’s Personal Caches! If you need help with other aspects of Destiny 2, be sure to check out our comprehensive Guide Hub.






Published: Sep 6, 2018 05:07 pm