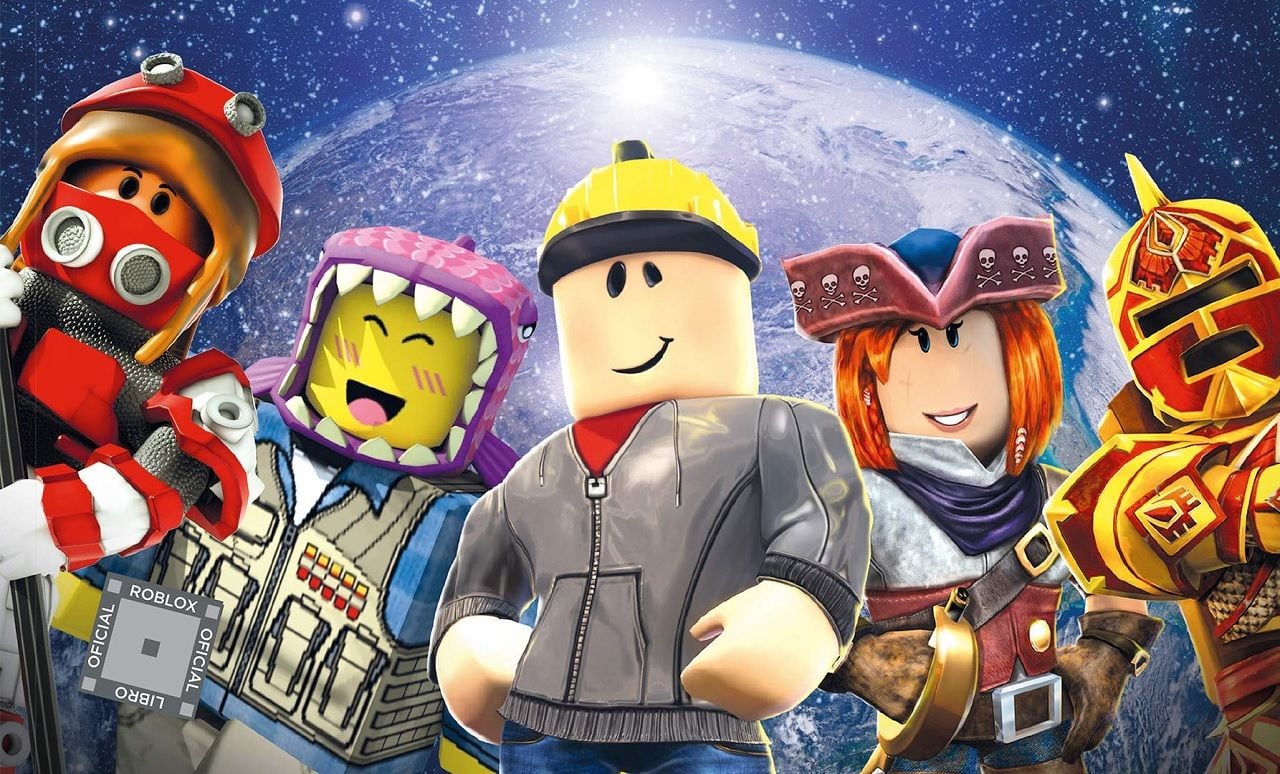
One of the most customizable gaming experiences is surely inside Roblox. Players are encouraged to create (and even sell) shirts and pants for their avatars. You will need to be a part of the Builder’s Club to allow personalized creations to be used in-game, so make sure you’re a member. If you desire to be an in-game entrepreneur or to have the best fashion sense out of all of your friends, here is how you can create shirts in Roblox.
Recommended Videos

- Step 1: You’ll want to begin by downloading the template photo above. This guide helps you figure out where each image you’ve collected should be placed.
- Step 2: If you don’t have an image editor on your PC or Mac, we recommend you download a free editing tool such as GIMP or Paint.Net. The editing tool will be used to move your images onto the template.
- Step 3: Open the template in your preferred editor, and add each image to their rightful blocks. To ensure they fit each box, follow the chart provided below.

- Step 4: When you are done putting together the shirt, download the image with the exact dimensions of 585 pixels wide by 559 pixels tall.
- Step 5: Head to the Creator page and select the “shirts” tab. From here, you will be prompted to upload your file.
- Step 6: After you upload it, it will take time for Roblox to approve the shirt, though, you will be notified in-game when and if they do. If it’s approved, it should now be in your inventory and ready to use!
Don’t forget that if your clothes are well-liked, you always have to option to sell them on the Creator page, as well. Unfortunately, nothing can be sold for free, but you can earn Robux with each sale.
Related: Best Roblox roleplaying games
Gamepur is supported by our audience. When you purchase through links on our site, we may earn a small affiliate commission. Learn more about our Affiliate Policy


Published: Jul 22, 2020 03:23 pm