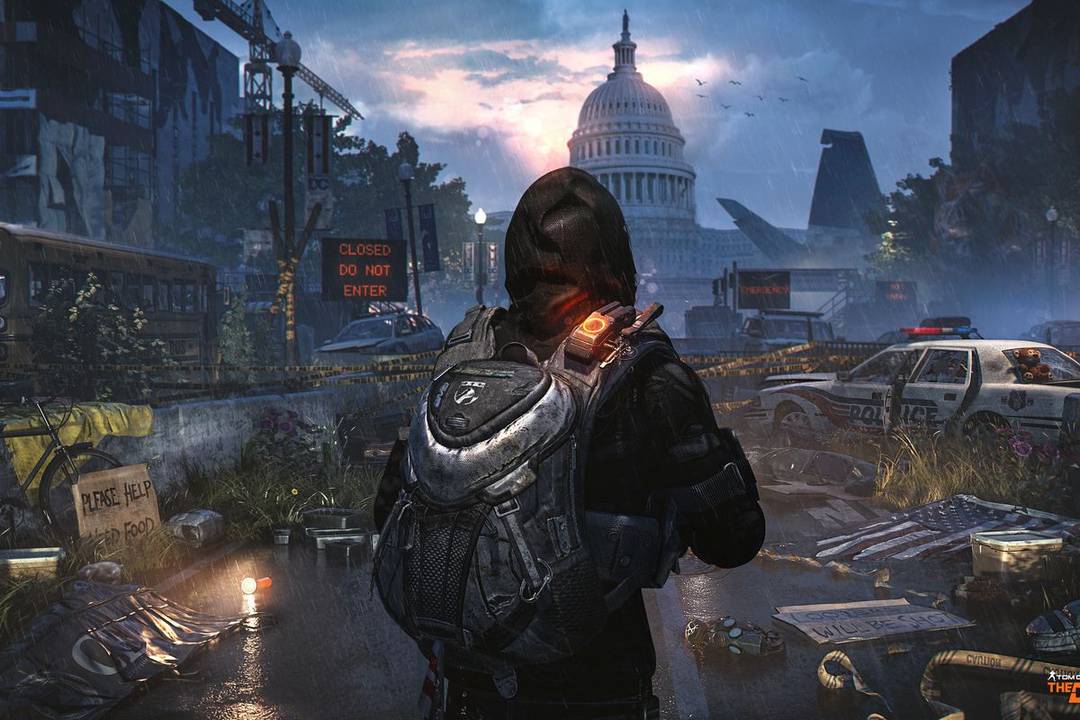
The Division 2 features a robust Photo Mode that you can access in game. In this guide we show you where to find those lovely pictures.
The Division 2 features a pretty solid Photo Mode that you can use to take nice screenshots of you and your friends playing the game. While it has no pause function—this is something you just can’t do in a multiplayer game—it is still a great little feature. It is not completely obvious where those photos end up though, so in this guide we will help you find them.
Where To Find Your Photo Modes Pictures
Your shots will be saved locally on PC and Playstation 4. If you play on Xbox One, your photos will be stored on your online storage. A copy of your photos will be uploaded to the Ubisoft servers—if you are online.
The local save locations are:
PC – C:\Users\username\Documents\The Division 2\Screenshots
PS4 – Settings > Storage > System Storage > Capture Gallery > The Division 2
If you cannot find the relevant folder on PC, then try the follow directory path:
PC – C:\Users\username\Documents\MyGames\The Division 2\Screenshots
Photo Mode can be used in all areas of the game, except for the Dark Zone. It comes with lots of useful features that are pretty important to being able to take good screenshots. You can use different filters to affect the image, change the contrast, brightness, and saturation, as well as the focal length of the screenshot. You can also have your character model perform different emotes, to get nice poses for your shot.
On PC, the photos are also stored as PNG files, which is great for people who want to take nice, high quality images of the game. So, now you know where to find your Photo Mode pictures, it is time to get snapping!


Published: Mar 14, 2019 02:17 pm