In Chapter 12 Walkthrough of Metal Gear Survive, you will have to Rescue Castaway Nicholas (survivor) and then reach singularity and activate the Wormhole Digger.
In the previous chapter after bringing the memory board back to the base, after the discussion to have to set up an Exploration Team Ready Room at the Base Camp. Go at the Construction Terminal, under Other Facilities you will find the Exploration room. After that, you will have to rescue one more survivor. After saving the person AI Virgil will tell you to assign each member a task so that your base camp can be self-sufficient to give you enough supplies. Once done you will be heading towards Singularity location to charge the Wormhole Digger for escaping Dite.
Rescue Castaway Nicholas Walkthrough
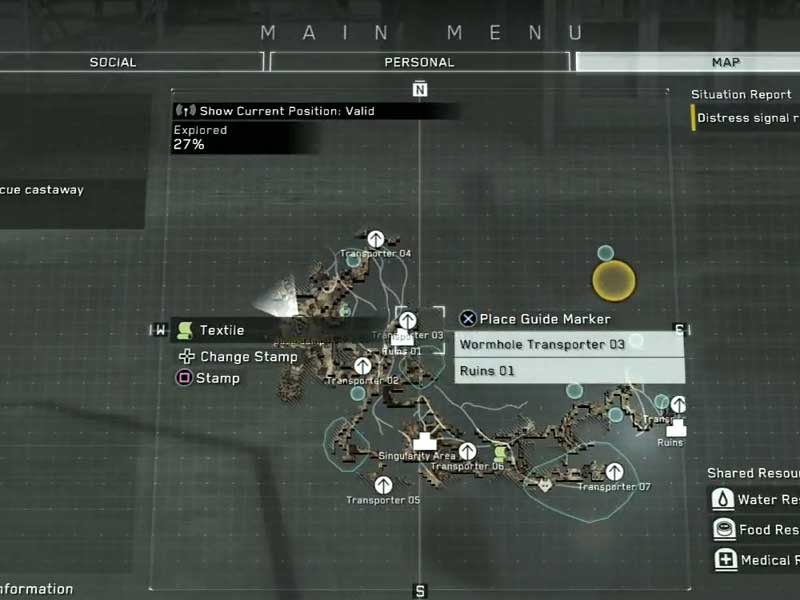
After you are done upgrading your amenities and getting new weapons, armors based on what all recipes you had located the AI will give you a location of a new survivor Nicholas in the region. If you had activated the wormhole transporters in the previous mission then you will be able to reach the nearest point.
Once again you will reach some ruins in the dust while following the trails to locate the castaway. You will reach a valley with wolfs from where you have to find the survivor. The place is filled with Wanderer’s, the castaway is near a crashed car. In order to draw the Wanderer’s away from there, you can find a space where you can climb up. The Wanderer’s cannot climb so they will follow you but they won’t be able to reach you. You can then use your weapons against them. There are cabins around where you can lure them and attack. Also, there is an inactive Wormhole Transporter you can activate for fast travel. It is better to activate the fast travel first.
Also, there are animals around so you have to play accordingly. At first, you can kill the Wanderer’s first and clear the area for your escape. Once you activate the transporter a lot of enemies will approach to destroy it so you will have to defend it. Once done you can carry the survivor and escape to base camp. Once you return to base the chapter is over and you can now have one more member of your crew.
After the conversation, you will have to two things to do first set up a Medical Team and a Food Supply Team. Later AI Virgil will give you the main mission. Interact with the AI at the base and under Crew Management, assign the members their duty. Like Nicholas to Food Supply Team, Miranda will be a part of Medical Team, etc. Assign the members job so that you can have a regular supply of items. Through Construction Terminal and clean the base area to get more space for constructing new things.
Place and activate wormhole digger at singularity
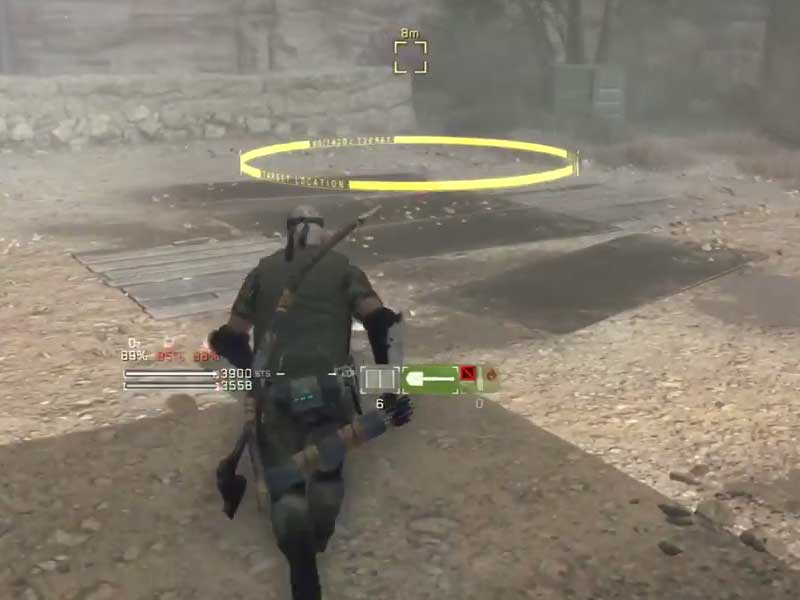
After going through the base and other upgrades you have to now head to the new locations to charge up the Wormhole Digger. As usual, you can use the nearest Wormhole Digger to reach nearby. Next, you will be heading to the place where you will deploy the digger to further charge it. Similar to the previous Singularity location you will reach ruins where first you can move around and look what supplies you can add to your inventory. Next, search for all Containers and open them up first. Just look for the blue lights. Finally in the big yellow circle place the Wormhole Digger.
Once you deploy it before activating it look for all possible paths around from where the enemies will attack you. You can see that in the minimap, once it is active you will spot the enemies coming in form of tiny red circles. So plant your defenses accordingly. The first wave will be 2:59 minutes. One thing you can do, instead of waiting for enemies, plant your defenses and try reaching the point from where the enemies spawn. You can try stopping them there to avoid further damages to your defense units. If you had upgraded your skills with some powerful combos then you can use them to kill a horde of Wanderers in one shot. There will be 29 seconds for the next wave. So prepare yourself. The next wave will be 2:59 minutes.
Once again after planning your defenses, you can try killing the enemies from the spot of their origin, if you have enough powerful weapons you can reach the path from where they are approaching and kill them. Placing fences all around the digger is also a good strategy, but if too many wanderer’s reaches near it can be broken easily. For the final wave after the break, you will have to defend the digger for 3.59 minutes. The enemies wills spawn from opposite directions, some will be coming up from the roof to keep a watch. Moving and killing is the best strategy to guard the digger. Once you had completed all the task successfully return to the base.
Here Chapter 14 completes, AI Virgil will tell you that there is now enough energy to generate a wormhole. In the Chapter 15 Expansion, you have to build strong defense units to guard base before the Wanderer’s attack once the digger is activated. For more guides and info on the game, you can read our Metal Gear Survive Wiki guide.







Published: Feb 26, 2018 07:47 am