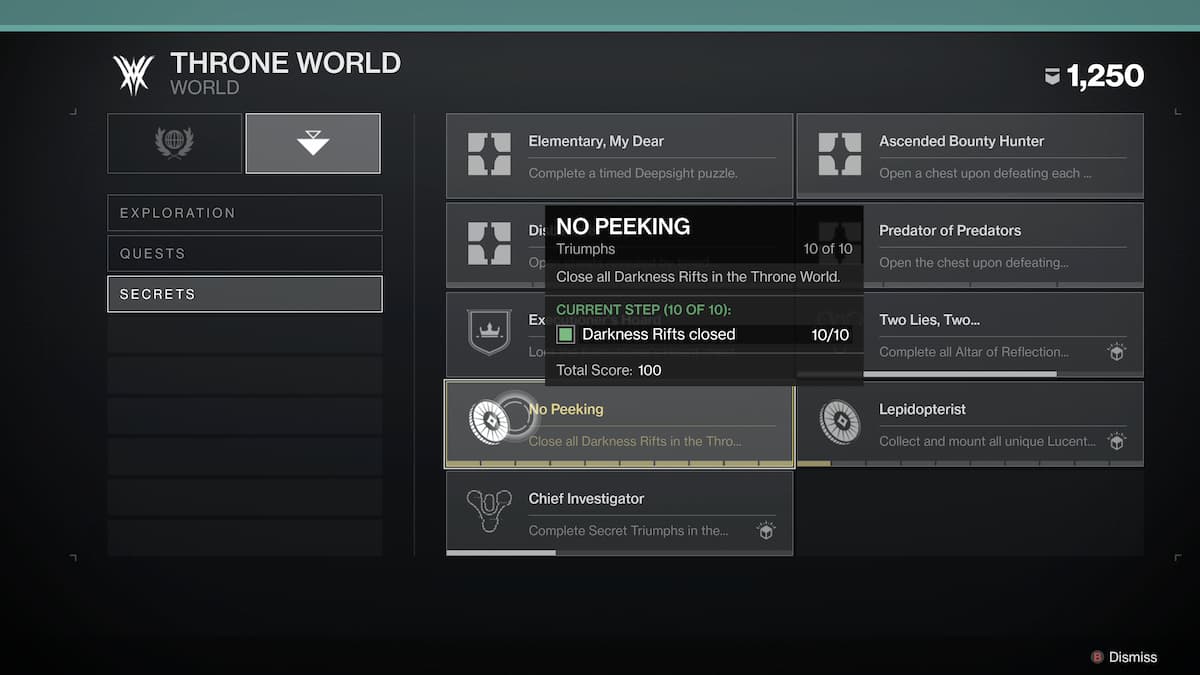
With The Witch Queen DLC, Bungie has packed a lot of new secrets in their action MMO Destiny 2. One of these secrets is Darkness rifts. These rifts are tied to a triumph called No Peeking.
To begin unlocking these rifts, you must first complete the entire Witch Queen campaign. This will open the quest steps necessary to get the Parasite exotic grenade launcher required for finding and closing the rifts. Follow our guide on obtaining this weapon if you don’t possess it currently. There are ten Darkness Rifts, and this guide will show you where to hunt them down.
How to close a Darkness Rift
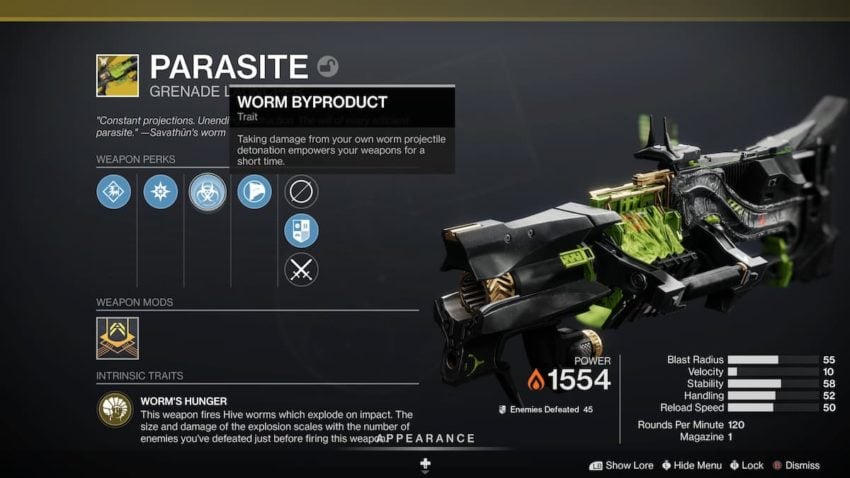
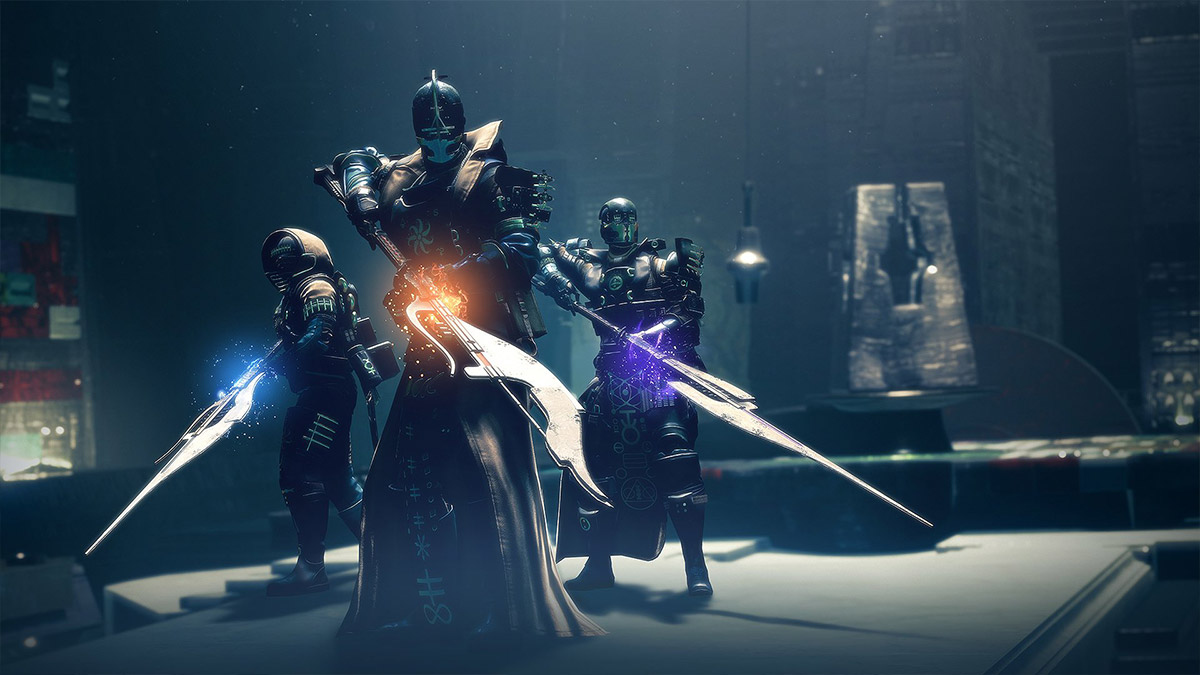
To close Darkness rifts, you must have this exotic weapon equipped. The Parasite is an unusual weapon with perks to match. The perk pictured above, Worm Byproduct, is key to closing the rifts. To use this perk, shoot the gun down near your feet, not close enough to kill, but enough to damage yourself. Doing so will grant a ten-second buff. At the same time, this buff is active; swap to any other weapon and shoot the rift to close it for good.
Extraction Lost Sector
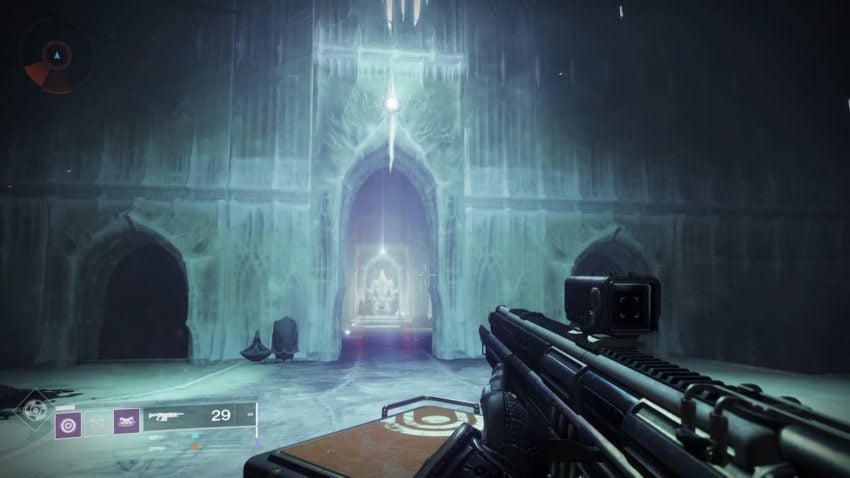
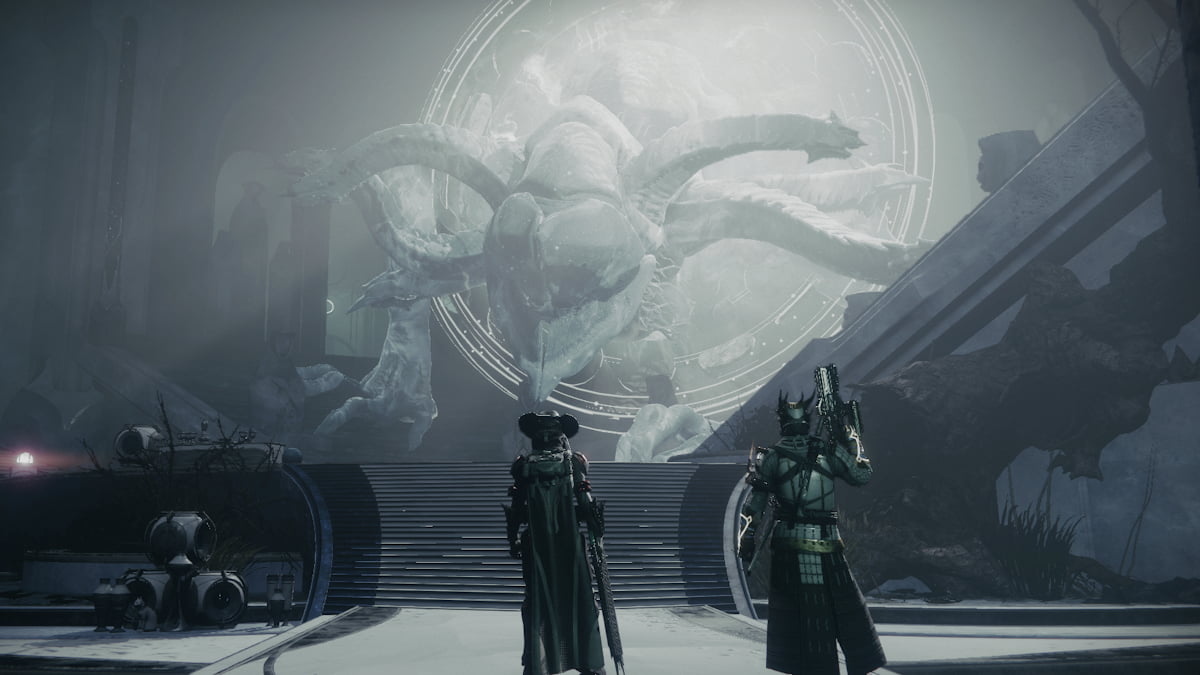
The first Darkness Rift is located near the end of the Extraction lost sector. This lost sector is situated in the Quagmire, which is the area you spawn at when you load into the Throne World.
Miasma Temple
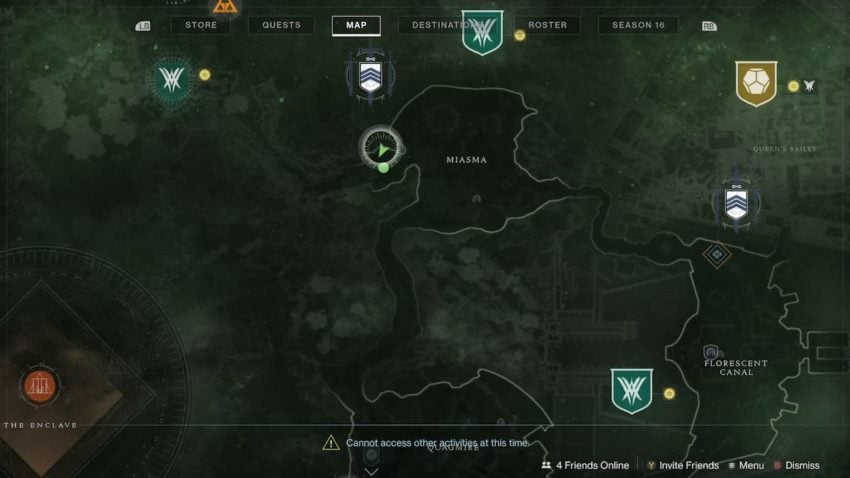
Head to the temple in Miasma located above the map once you get there and clear out the Hive champions defending the entrance. Look for the rift situated on the right side of the door.
Altar of Reflection
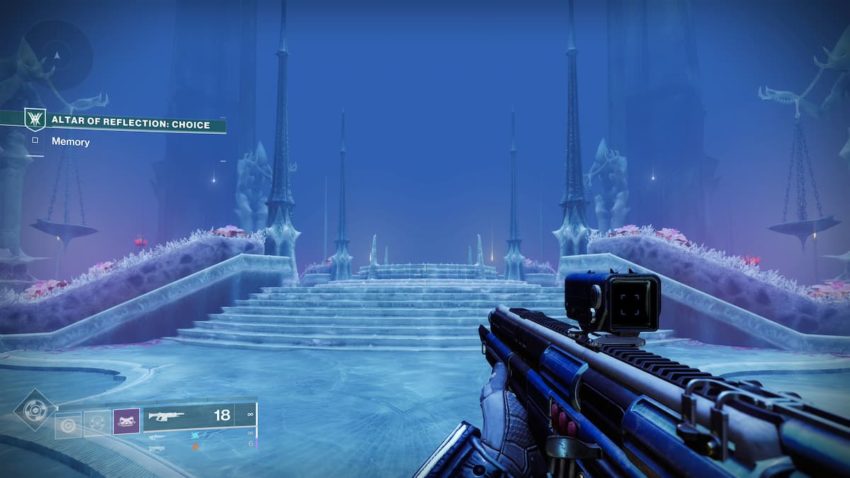
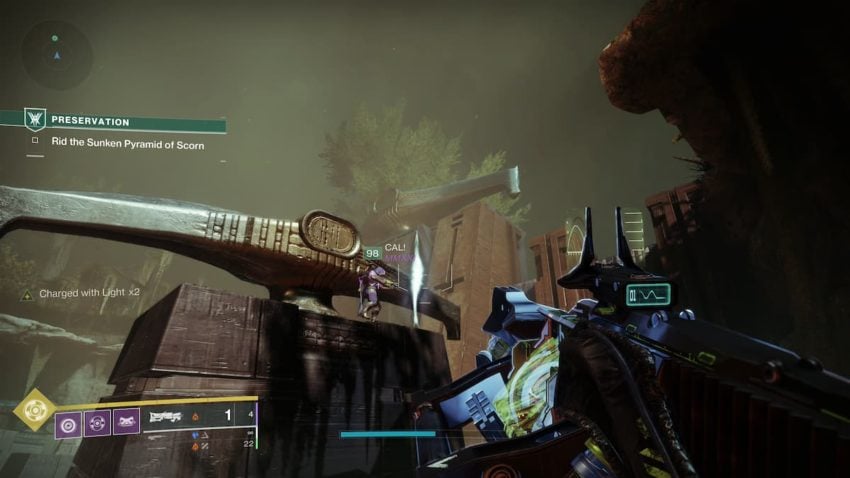
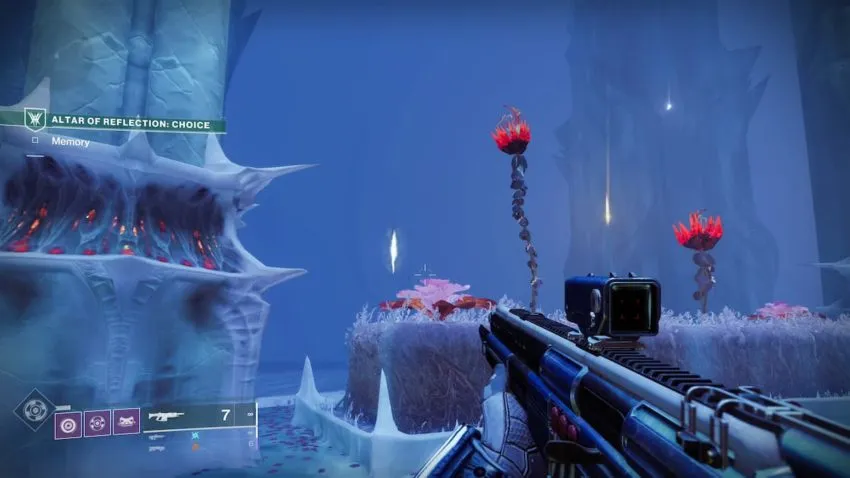
Select the weekly Altar of Reflection mission to teleport directly to the Altars entrance. Make your way through the Altar side mission, and in the final room, don’t activate the memory. Instead, look to your left and close the rift floating nearby.
Temple of the Cunning
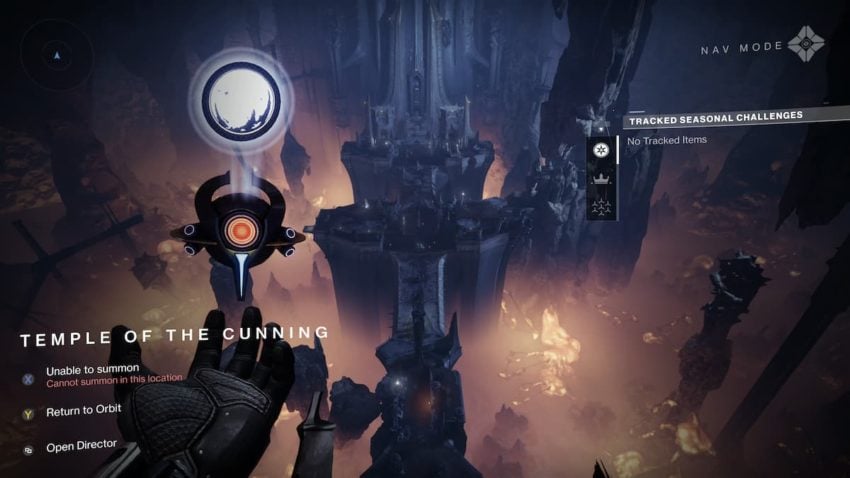
Head to Witches Echo and then deep into the tunnels below until you end up at the Temple of the Cunning location. Once you reach the entrance pictured above, leap down and make your way until you get to the sizeable middle platform. Once you go this platform, to your right up a sloped, curved hill, you will find the rift on top of a rock ledge.
Metamorphosis Lost Sector
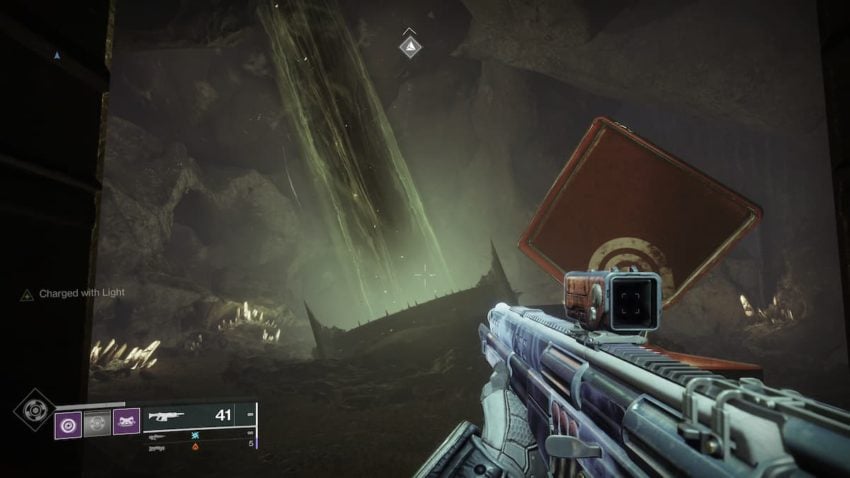
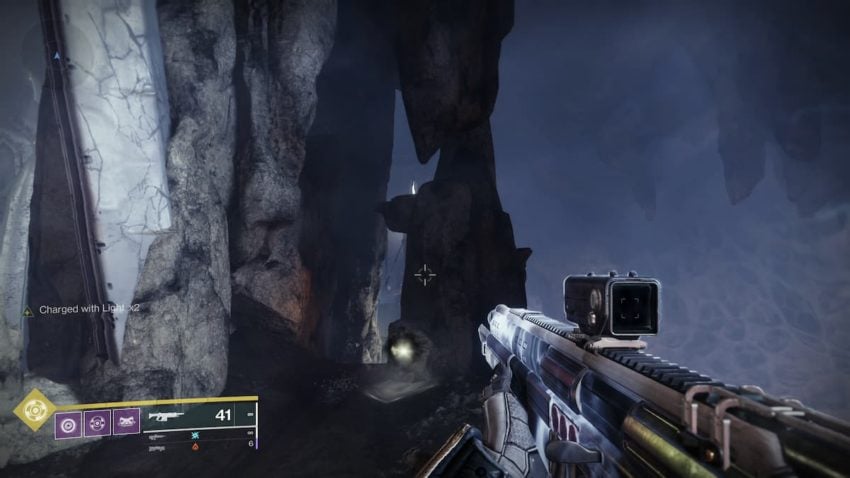
Head into the Miasma region of the Throne World. Locate and complete the Metamorphosis lost sector. This one is a bit tricky to achieve. A green beam of energy will launch you out of the final room at the end of the lost sector. You need to close the rift at the top of the lift located above. Ensure you have your worm buff active and a weapon ready to shoot quickly when you fly right by it.
Queens Bailey
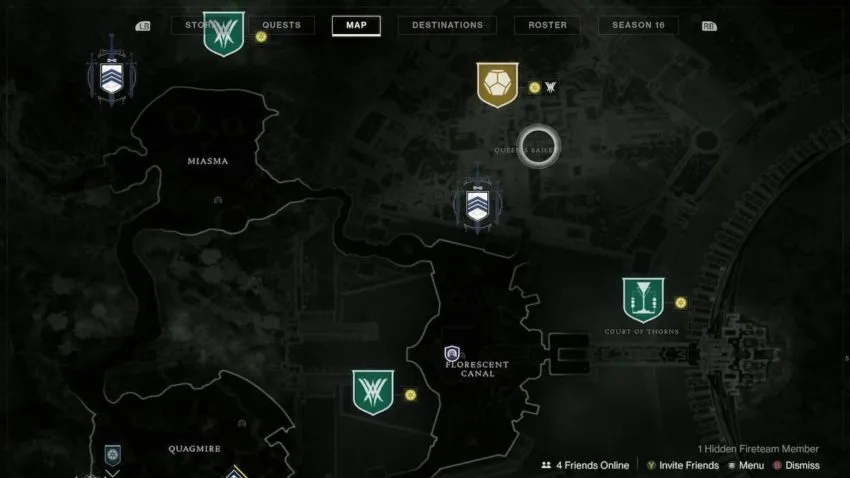
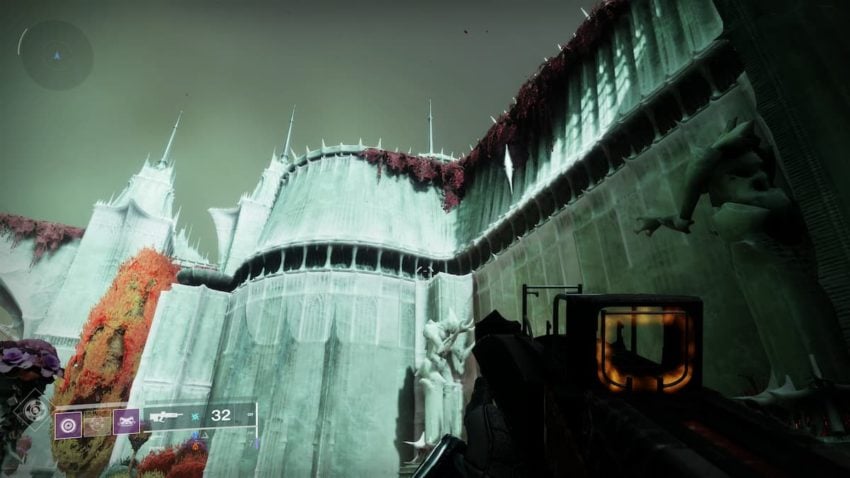
The next rift is located in Queens Bailey. Head there from Florescent Canal. Once you reach the Bailey area, look to the left side wall. Clear out enemies near a fountain on the left side wall, then look to the sky. The picture below will help you locate it.
Sepulcher Lost Sector
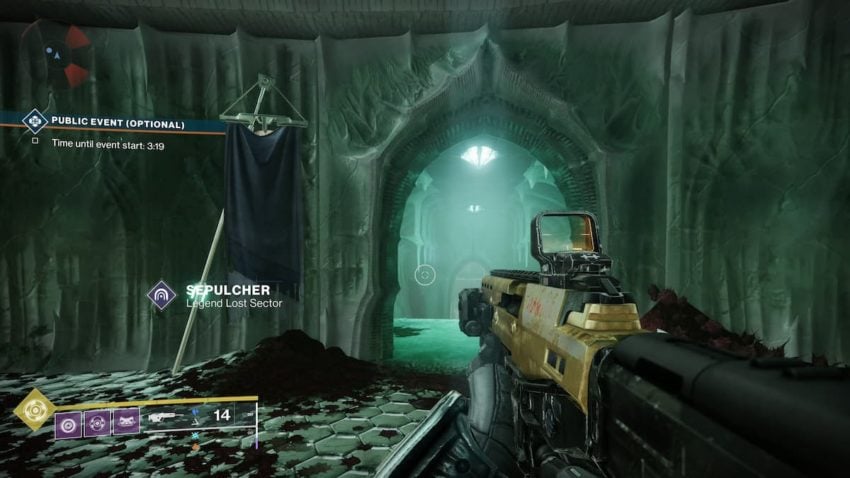
The next rift is located inside of the Sepulcher lost sector. Make your way to the end of the lost sector. Once the final boss and all enemies are cleared, look for the rift to be situated to the left side of the final chest.
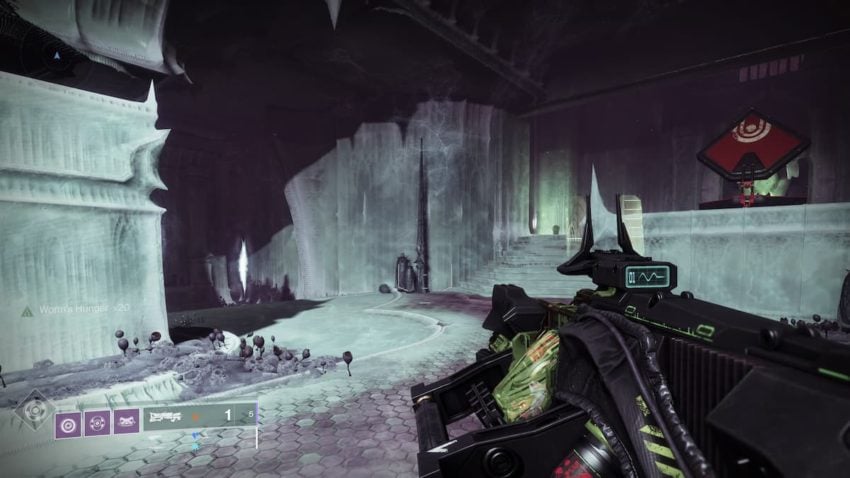
Court of Thorns
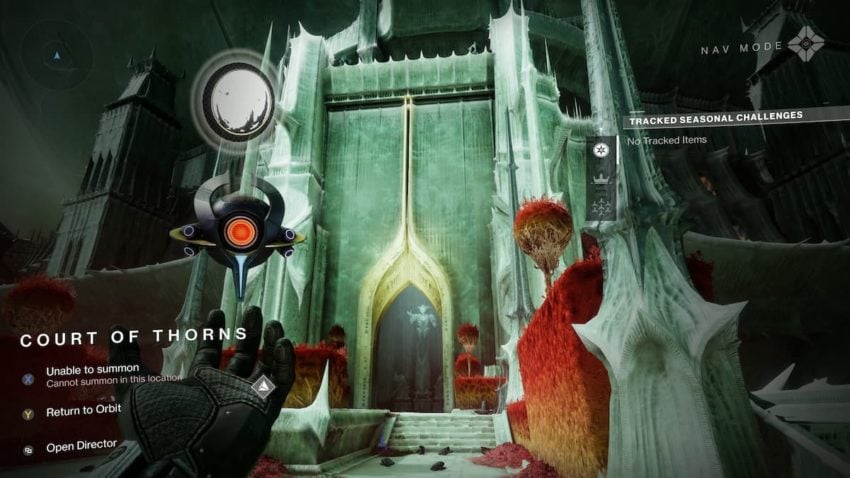
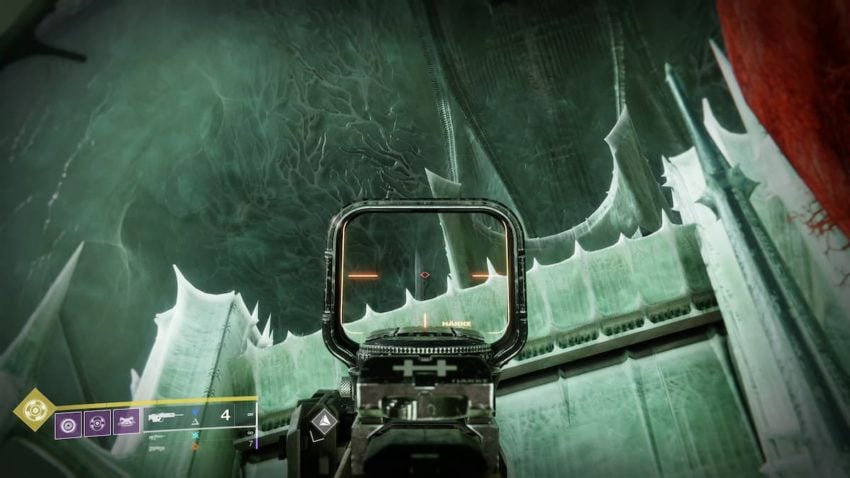
This can be a tricky Darkness rift to locate. It is often bugged and invisible, but it is able to be shot and closed despite this bug. In the picture above, stick to the red bush on the right side, then look up at the upper platform with a Scout rifle, preferably. Shoot at the location pictured below until you see immune damage prompts. Once you have the location locked in, activate the buff, then shoot it to close the rift for good.
The Florescent Canal
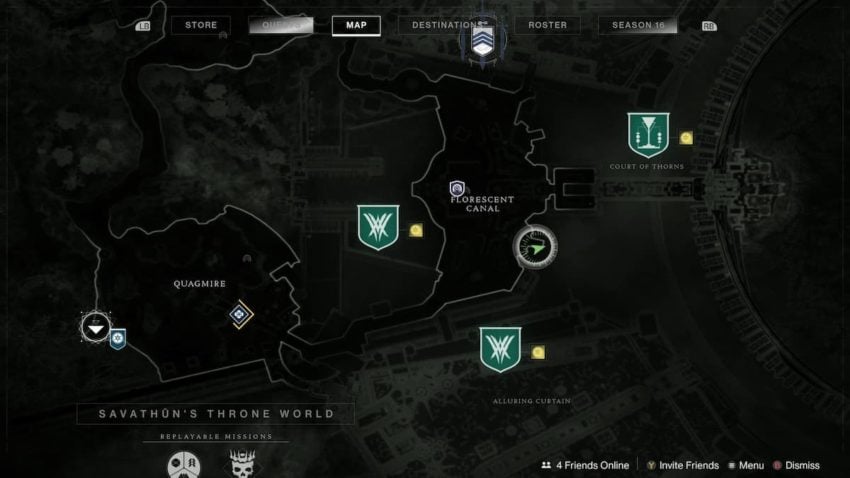
This rift is located in an alcove located to the Eastern wall near the bottom of the Florescent canal. Once there, the rift is located near the massive gate. Enable the buff and close this rift for good.
The Quagmire
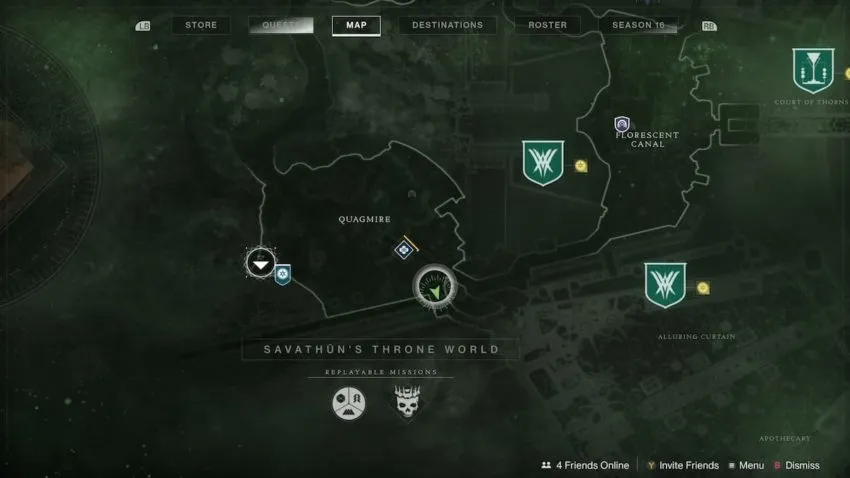
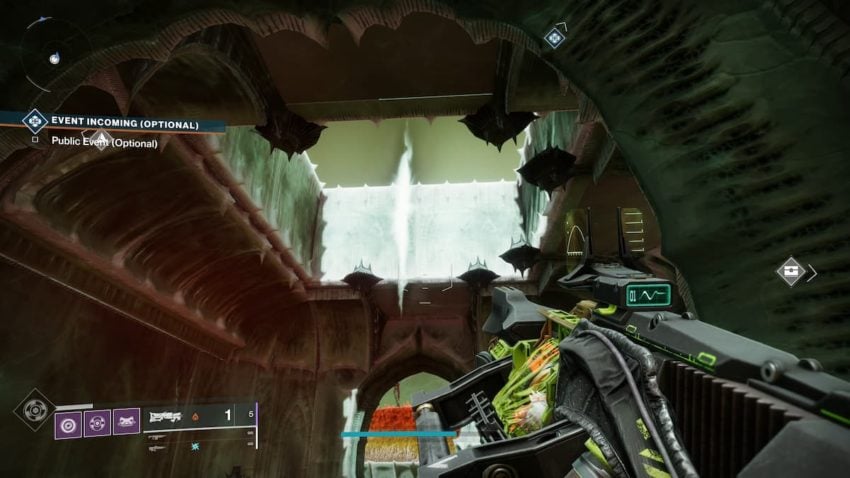
The final Darkness rift is located in the Quagmire to the South. The map pictured above will show you the precise location to look for. Once you get here, look for a small square-shaped temple. The Darkness rift will be floating in the center of the room near the open ceiling. Close this rift to complete the No Peeking triumph.




Published: Apr 17, 2022 11:34 pm