The Spire of the Watcher dungeon in Destiny 2 comes with plenty of challenges and secrets to unlock as you progress through it with your fireteam. One of the hidden collectibles is a handful of recordings. They have a distinct symbol you need to identify while exploring the dungeon, and there are six in total, called the Devil in the Details. Here’s what you need to know about all Devil in the Details recording locations in Spire of the Watcher in Destiny 2.
Where to find all Devil in the Details locations in Spire of the Watcher
There are six of these recordings for you to find. You can acquire them all in a single run or in different Spire of the Watcher dungeon runs.
Related: How to complete the Akelous, Siren’s Current encounter in Spire of the Watcher in Destiny 2
Devil in the Details recording 1
The first one will be available shortly after you open the entrance to the facility, and you survive the initial encounter. You will slide down a shaft, and when you reach the bottom, go to the right and jump onto the platforms over there. The top terminal will have the recording.
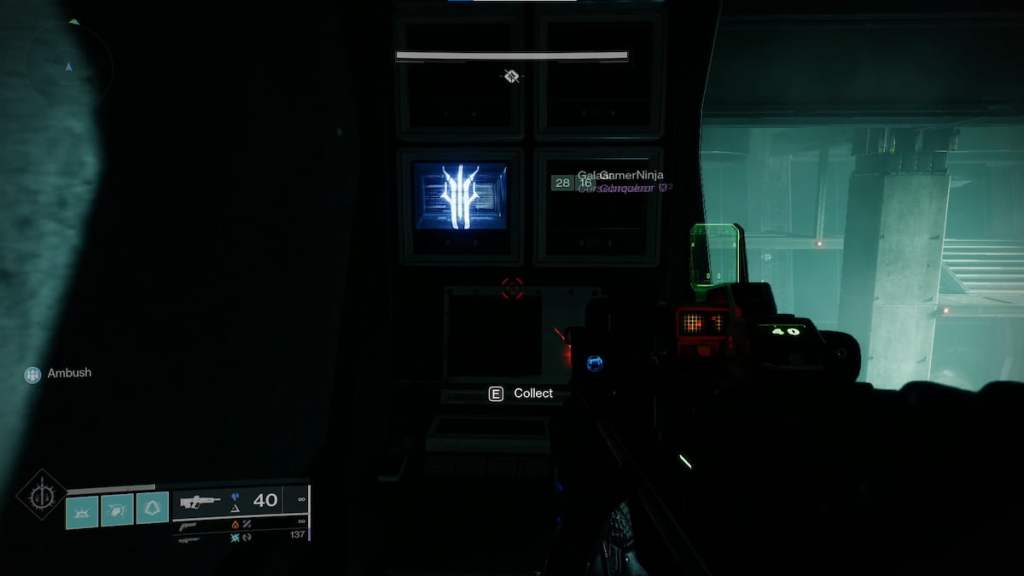
Devil in the Details recording 2
The next one is not too far away. Go into the next area, and there is a room with multiple vats and a walk-through platform. Fall to the bottom, which is a short distance. On the right side will be another terminal.
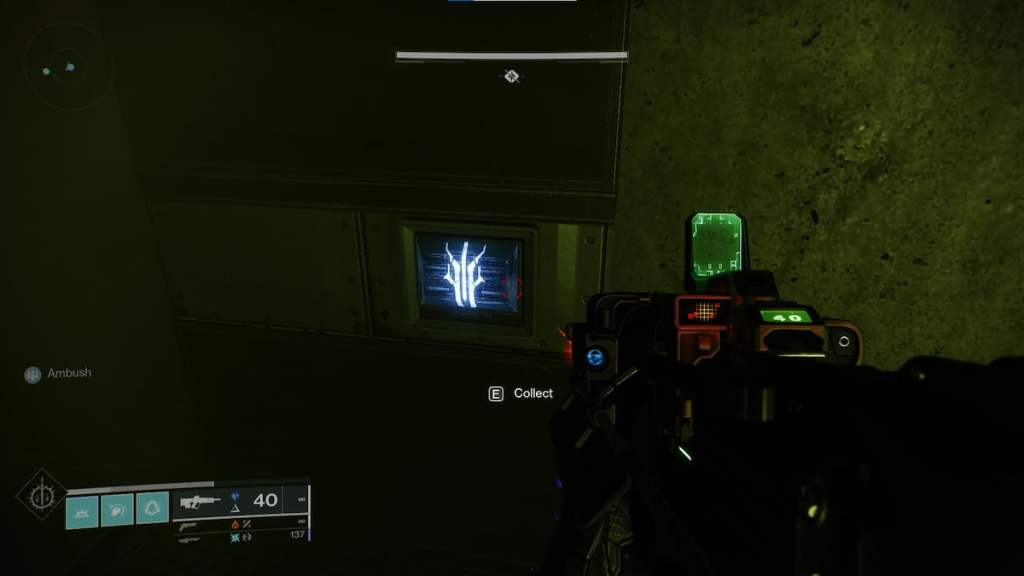
Devil in the details recording 3
The third one is a bit trickier. You must continue onto the brief jumping puzzle, where you must make your way to the large platforms on the other side of the facility. When you get here and have to jump to the top, stop there and turn to the left. You can reach a platform on the other side, and the recording will be there. This is after the first jumping puzzle.
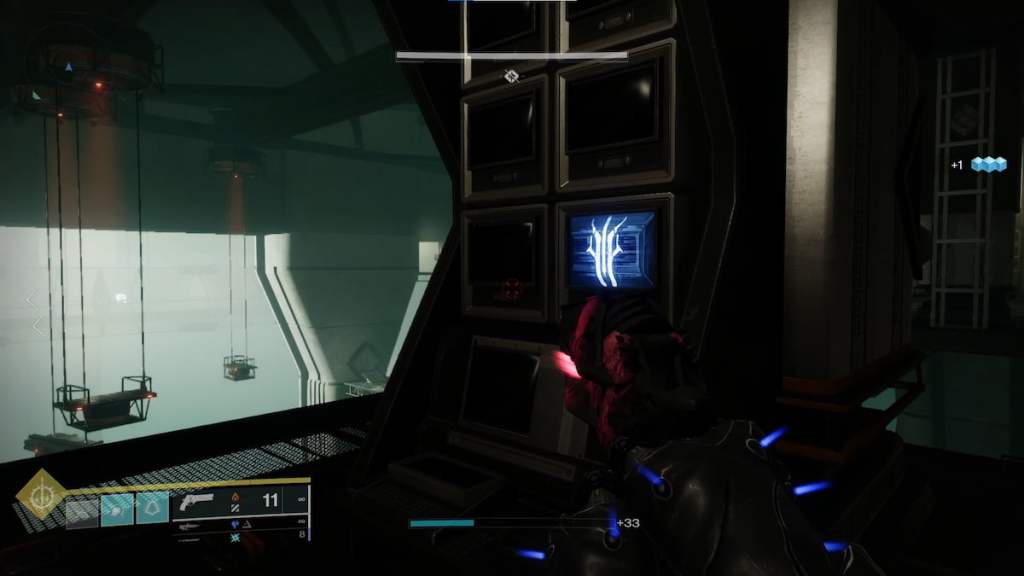
Devil in the Details recording 4
The fourth recording will be before you leave this area. Continue going forward, and you should see it to the left of the doorway that takes you out of this location.
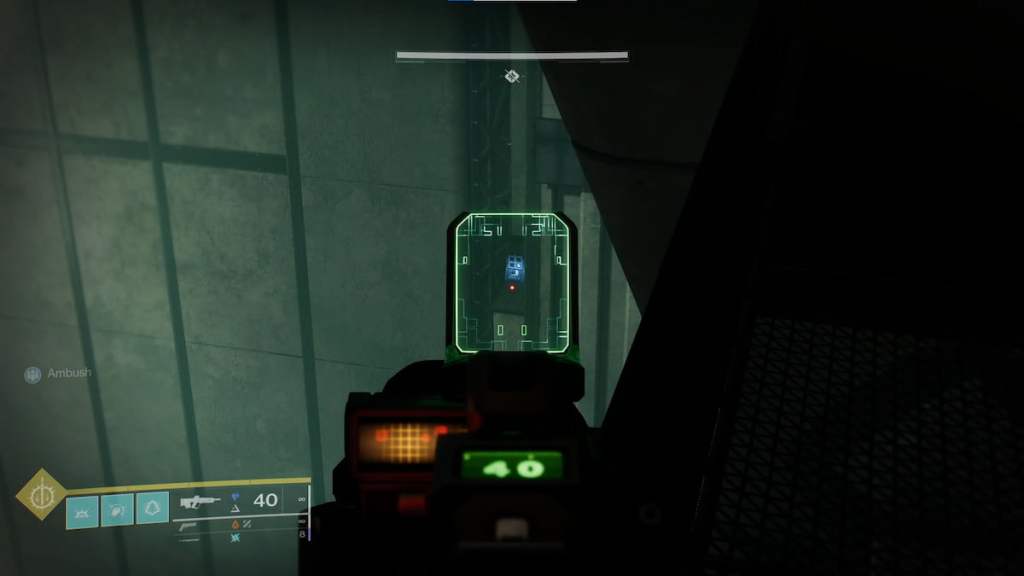
You can reach it by jumping down to the bottom, and before you enter the doorway, turn to the left and jump across the chasm to the platform with the terminal. Interact with it to grab this recording.
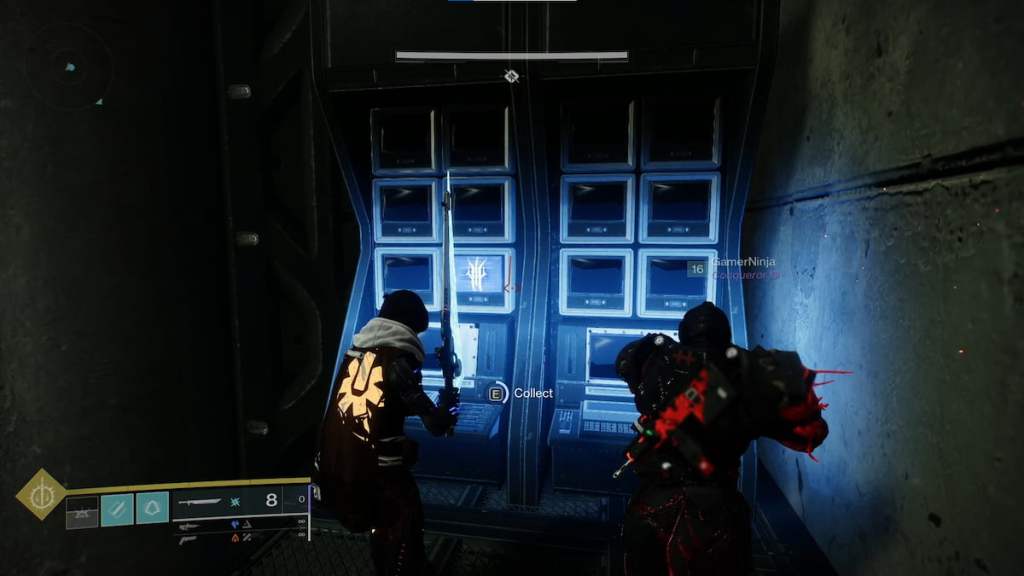
Devil in the Details recording 5
The fifth one is a bit further ahead. You will need to continue going forward until you see the motivation you’ve entered the Ares Spire. From here and where you drop down, go to the right, and there will be another set of terminals, with the fifth recording waiting for you to collect.
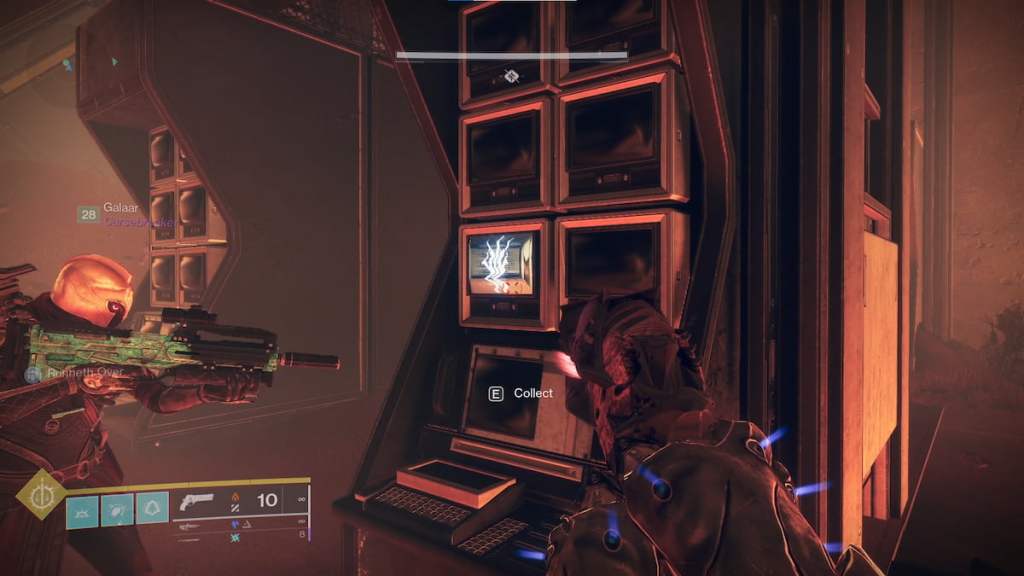
Devil in the Details recording 6
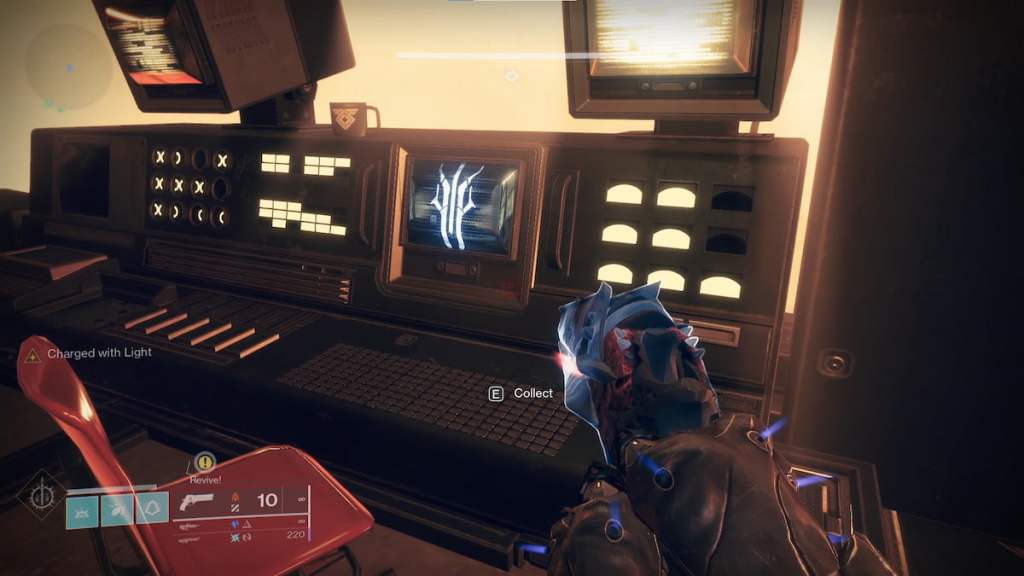
The final recording is after the significant encounter on Ares Spire, where you climb to the top and activate the elevators. After you clear this area and earn your chest, the final terminal will be before the subsequent boss encounter. It will be on one of the computer terminals.


Published: Dec 9, 2022 03:56 pm