Though Raiden is pretty good at stealth, finding and disarming bombs in Metal Gear Solid 2 won’t be easy. Despite receiving training from defusing expert Stillman, Fatman appears to have outshone him as the emperor of explosives.
Out of the twelve scattered bombs, your responsibility is to disarm just six. To assist you in this task, Stillman provides a Coolant for freezing the bombs in place and an Ion Mobility Spectrometer for radar assistance. The Coolant is a freezing spray while the Spectrometer detects the C4 bombs’ gas scent, marking them with a distinctive green cloud on the sensor. Even with all this tech, Raiden is still a noob at disarming C4 bombs, and you’re even more at a loss trying to find them in Metal Gear Solid 2.
All C4 Bomb Locations in Metal Gear Solid 2
There’s a total of 6 bombs that must be disarmed all over Shell 1, but they’re not in plain sight. Here’s where you can find every bomb in Shell 1.
Related: Should You Knock Out or Kill Bosses in Metal Gear Solid 2: Sons of Liberty?
| C4 Location Appearance | C4 Bomb Location | How to Find Every Bomb |
|---|---|---|
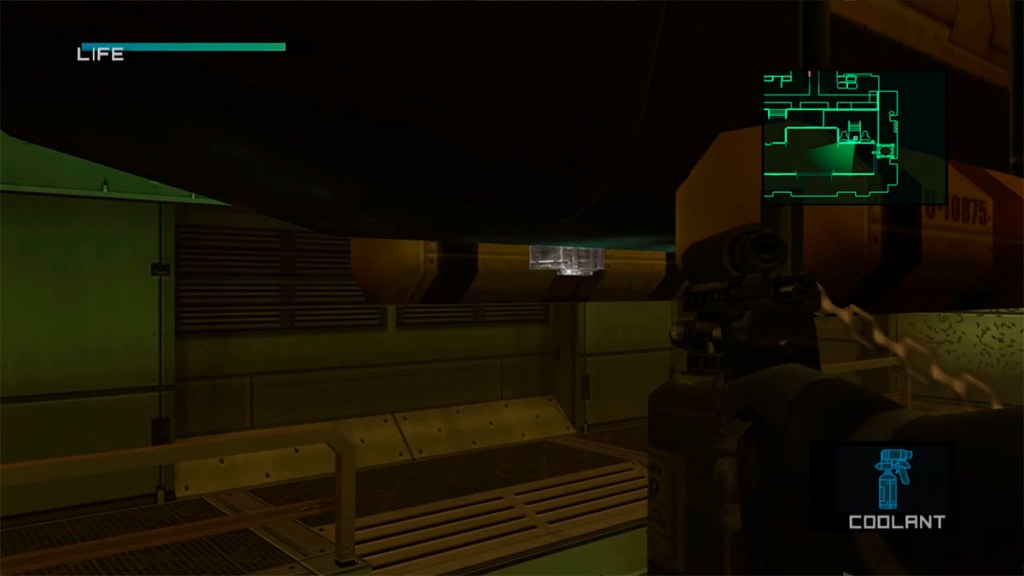
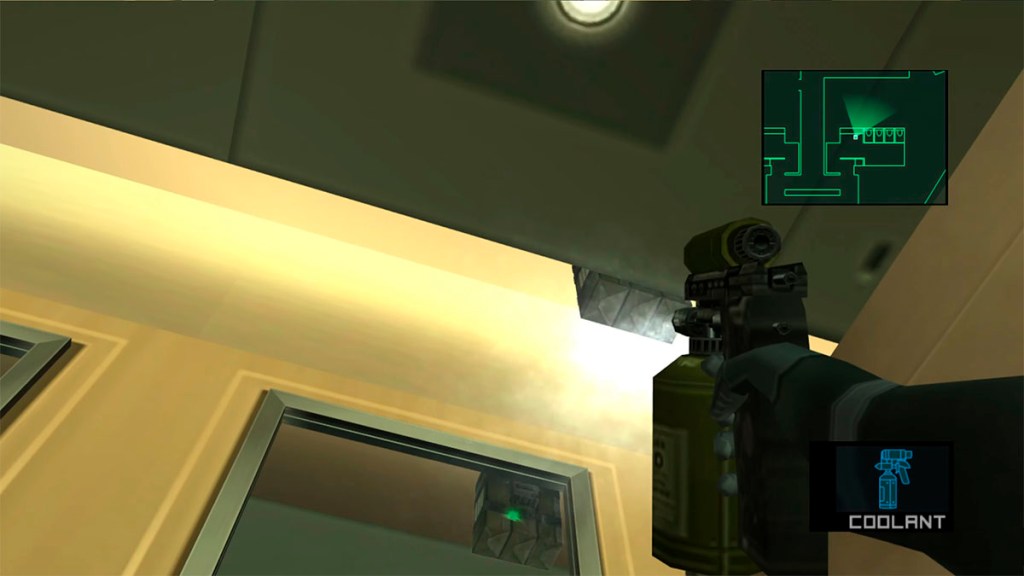 | Strut C Bathroom | 1. Head outside the dining hall, take a left, walk toward the camera, and hug the wall on the right. 2. Here, walk forward while avoiding the bathroom stalls. 3. When you hit the wall at the end, aim the Coolant toward the ceiling to spot the first bomb. |
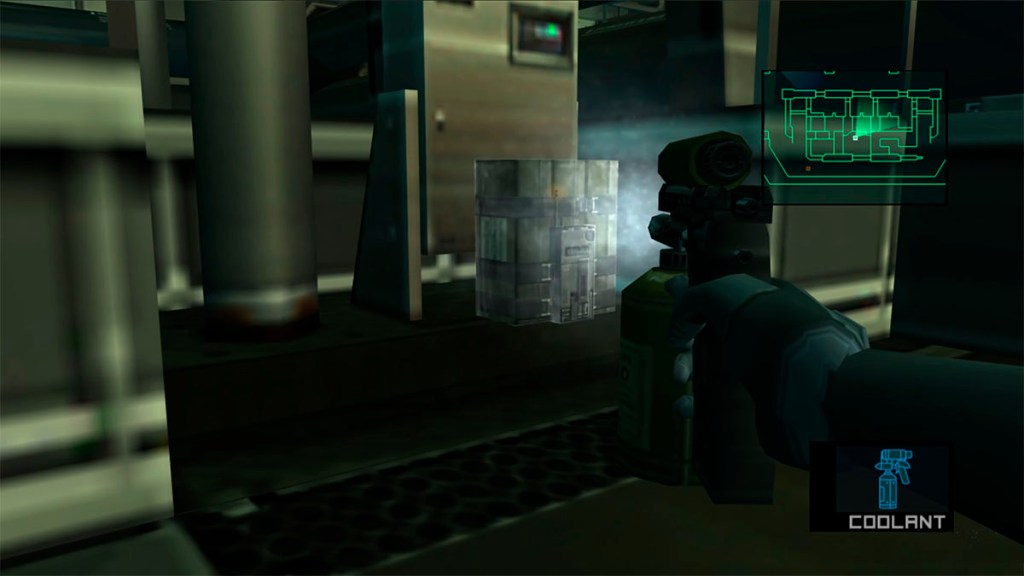
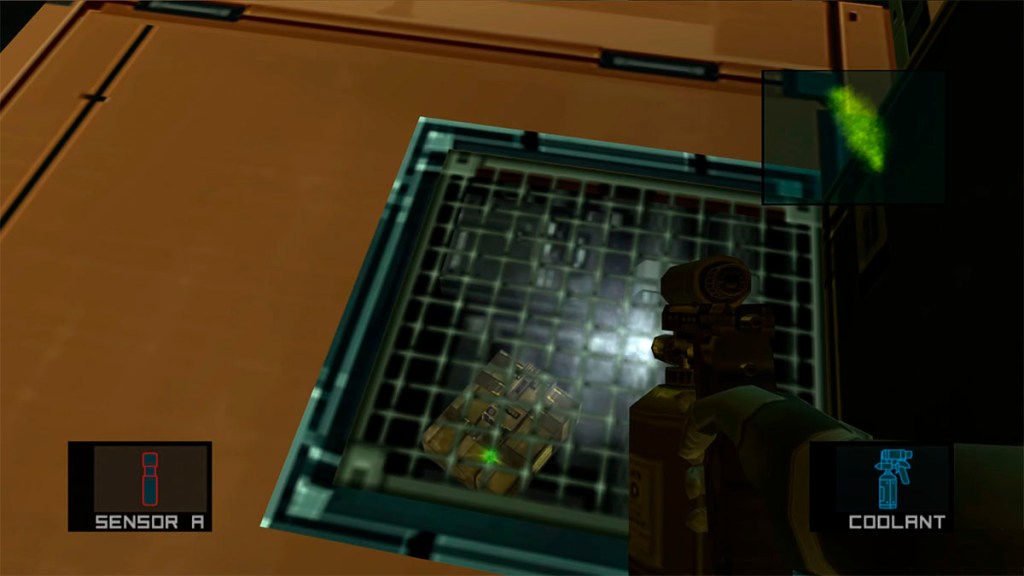 | Strut D Sediment Pool | 1. Head outside the bathroom and walk past the dining hall area. 2. Here, take a left and then turn right to enter the CD Connection Bridge. 3. Once outside, avoid the cameras and enemies and enter the Strut D Sediment Pool. 4. Inside this building, reach the lower floor and look for a black hatch to open on the floor. The second C4 waits inside. |
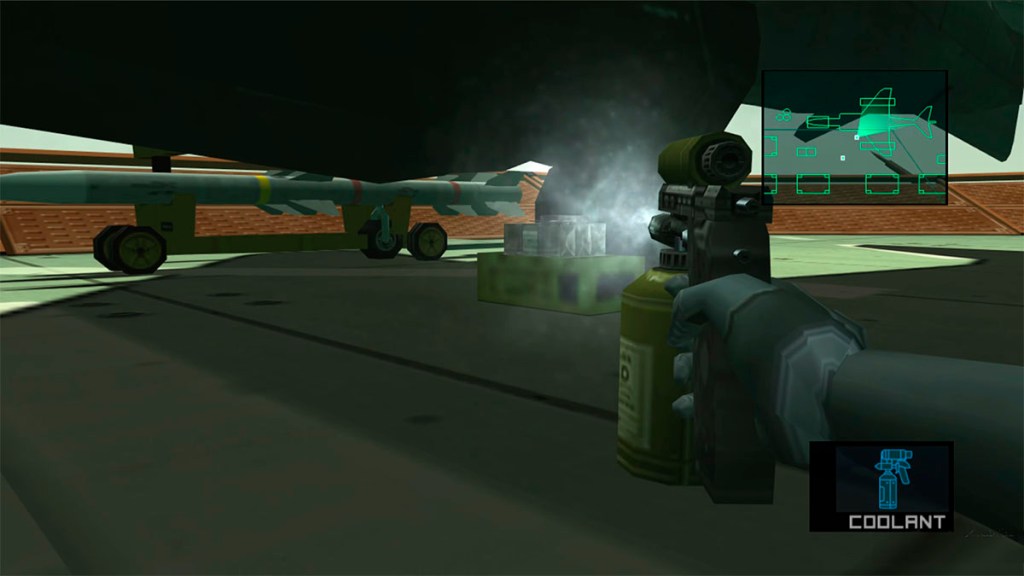 | Strut E Heliport | 1. Stealthily make your way toward the door to the rightmost section of this area to reach the DE Connection Bridge. 2. Take the spiral staircase to the right and keep heading in that direction to enter Strut E Parcel Room, 1F. 3. Find the stairs to this room’s right and enter Strut E Heliport. 4. After a cutscene, look under the plane for the third bomb that needs disarming. |
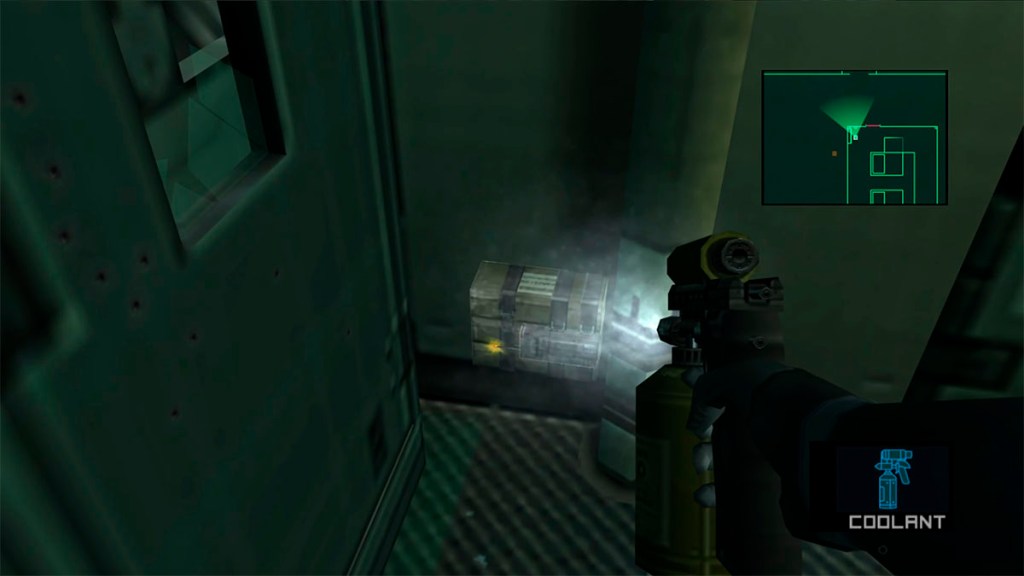
 | Strut F Warehouse | 1. Head down to Strut E Parcel Room, but this time, exit through the door southeast to access EF Connecting Bridge. 2. Here, activate the thermal sensor to avoid Claymore Mines. Once past them, head through the door to enter Strut F warehouse. 3. Take a left walk toward the camera while taking care of the enemy patrolling the area. 4. While standing next to the stair rails, drop down and look for the fourth bomb in this level’s left wall. |
 | Strut A Pump Room | 1. Look for an exit south and open the door to the left. Crawl through the vent pipes south. 2. Once outside, use the door to exit the room and head north to enter the FA connecting bridge. 3. Keep heading west and enter the door upstairs to enter Strut A Pump Room. 4. Enter the door south and crawl past the green pipes until you run into a red one. 5. Follow this one south to spot the fifth C4 that needs disarming. |
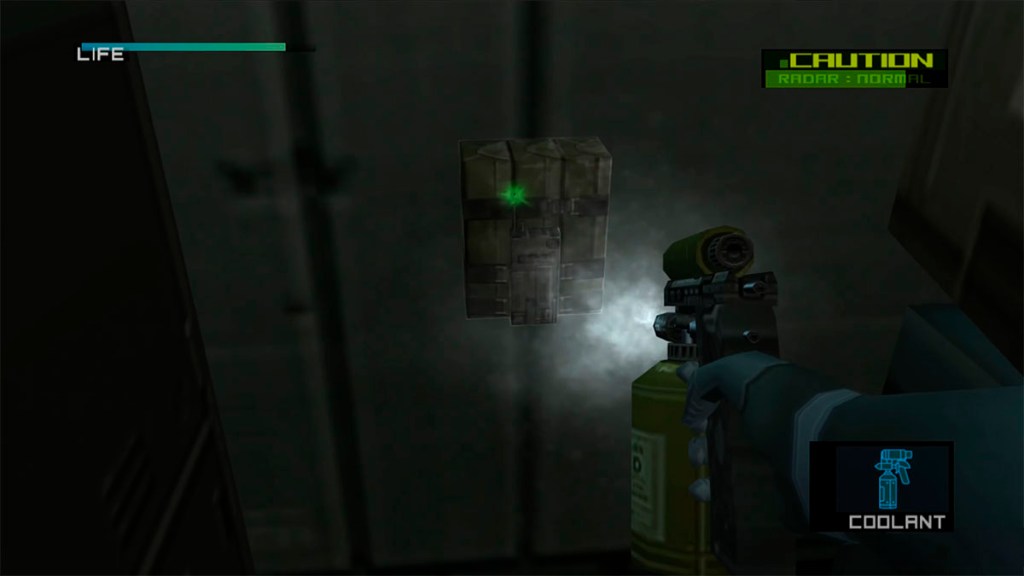
 | Strut B Transformer Room | 1. Crawl out of the pipe area the way you came, and exit through the north door. 2. Use the door northwest to enter the AB connecting bridge. 3. Head west past this open area to enter the Strut B Transformer Room. 4. Enter the first red door to the right and look for a cabinet northwest. 5. Close the door to spot the sixth bomb. |
How to Reach Strut A’s Bottom Level and Disarm The Last Bomb in Metal Gear Solid 2
You can get to the bottom of Strut A by mainly sticking south and east until reaching Strut A Pump Room. Here, take a left and head upstairs. While on the Strut A roof, take the elevator to the bottom.
Enter the door southwest and keep heading south until you reach a pool. Use the ledge to get to the short stairs to the right. The last step is to crawl to spot the last bomb. Dump all the Coolant you can on it, on Stillman’s memory.


Published: Oct 25, 2023 09:41 am