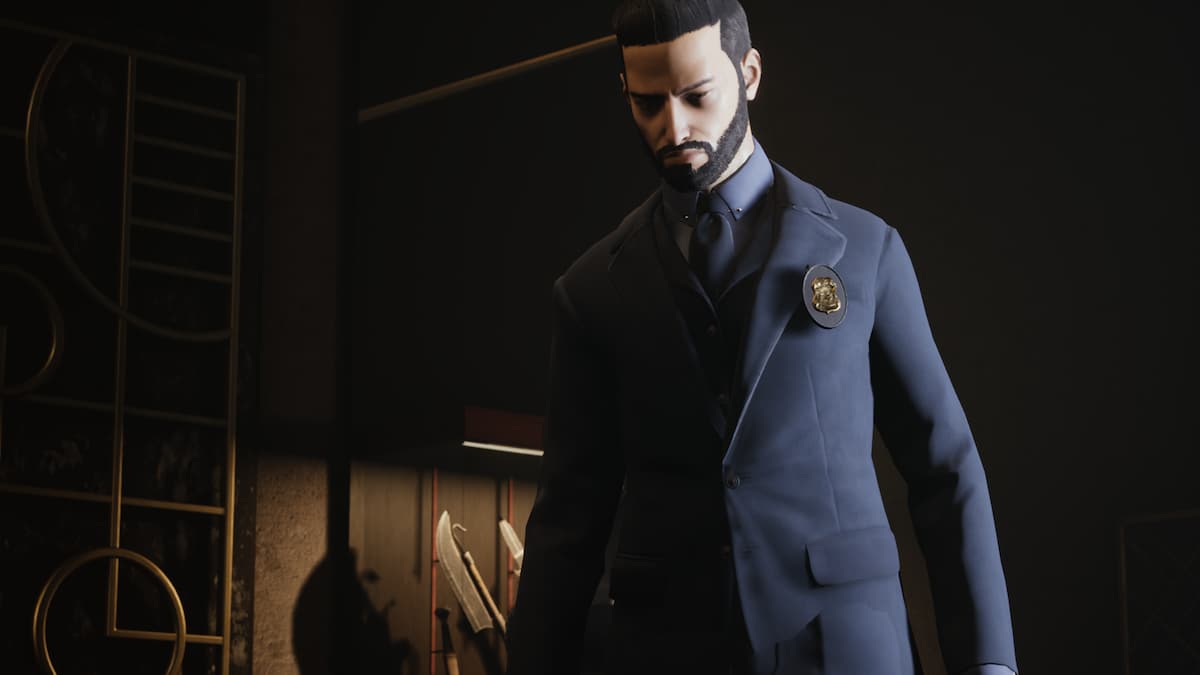
Your first non-tutorial mission as Galeb will have you infiltrating the apartment of Jason Moore, the Prince’s human accountant. Your orders are to collect any information that could break the Masquerade should they fall into law enforcement hands — so you’ll have to sleuth around, pretending to be an FBI Agent to find these files. They’re pretty well hidden, so if you’re missing a few here are all five file locations in Moore’s Apartment in Vampire: The Masquerade – Swansong.
Before we begin, this mission will involve more than a little Persuasion to not only obtain the files, but also unlock secret items. It may be in your best interest to spend some points along the Rhetoric, Persuasion, and Intimidation lines. Security and Technology are also good choices. There are ways to get around needing these requirements, but it will require you to be extra observant about your surroundings before speaking to certain NPCs.
Richard Dunham’s File

Head upstairs to Jason Moore’s office — you’ll know it by the foreign coin displays and giant paintings. Head to his desk and investigate the foot pedal. This will move the painting and reveal a hidden safe. If you have the Technology skill, you can hack the safe and retrieve the file. If not, you’ll need to find the code.
This can be found by searching Lydia’s design room and finding her phone — on it, she will mention that the safe code was changed to be Moore’s daughter’s birthday. To find the birthday, head to June’s Room and look at the photographs on the wall — April 9th, 2015. Galeb will remark that this is June’s fourth birthday, which makes her actual birthday April 9th, 2011. The code is 040911.
Berel Underwood’s File

Head upstairs to Moore’s bedroom — there will be various clothes scattered about, along with a copious amount of blood. Check the bag on the bed to retrieve the file. While you’re in here, you can also find a Coin consumable on the table across from the bed, as well an interactable mirror, which can reveal some lore as well as give you a horoscope reading, if you so choose.
Jara Drory’s File

Head upstairs to the library — you should see a police officer reading a file. This officer is actually a Ghoul in disguise, working on behalf of the Council. You’ll have to engage her in a Conversation battle to attempt to get the file, which will require a significant amount of power — it’s best to go into this Conversation with as low a Hunger meter as possible.
Should you lack adequate Persuasion or Rhetoric, you can still acquire the file — you will lose the Conversation, however. If your Hunger meter is too high to use Domination at the end of the Conversation, you will be unable to acquire the file.
Dajan Siaka’s File

Head to Moore’s office again — in his desk, on the right side, is a drawer that you can open. Inside is an Archives key, which opens a door at the back of Moore’s office. Inside, on the table on the right, is Siaka’s file. This room doubles as a Safe Room to feed your Hunger, so if your meter is high, it’s best to use it. You can technically picklock your way into the room, but since the key is literally a few steps away, it’s best to save your meter.
Hilda MacAndrew’s File

Head down to the parking garage — you’ll need to calm down the Caretaker and interrogate him to get the Magnetic Key that grants you access. Down there you will see some skidmarks leading away from a parking spot. Next to that parking spot is another vehicle that you can interact with. If you have a good enough Security rating (two is plenty) you can hack the door and retrieve the file. If not, you’ll have to find the car keys.


Published: May 19, 2022 2:15 PM UTC