Metroid Prime Remastered is a true gem when it comes to re-releases on the Nintendo Switch. It’s faithful to the original while upgrading the experience in every way you want as a long-time fan. This includes the lack of achievements and hard-as-nails self-imposed challenges. Among these challenges is getting every scan, which will net you the 100% ending. This guide outlines all the missable scans in Metroid Prime Remastered, so you don’t skip one and need to restart the entire game just to grab it.
Related: Is the Fusion Suit in Metroid Prime Remastered?
Do you have to get all scans in a single playthrough?
No, you don’t need to get every scan, including the missable ones, in a single playthrough in Metroid Prime Remastered. Instead, you can start a New Game+ once you’ve finished the game and go through it a second time, picking up all the scans you missed in that initial playthrough.
All missable scans in Metroid Prime Remastered
We’ve listed all the missable scans in Metroid Prime Remastered below in chronological order. This is the order you’ll encounter them as you play through the game. Follow each one in order to ensure you don’t miss any. Otherwise, you’ll need to wait until you can start New Game+ again.
Map Station – Various
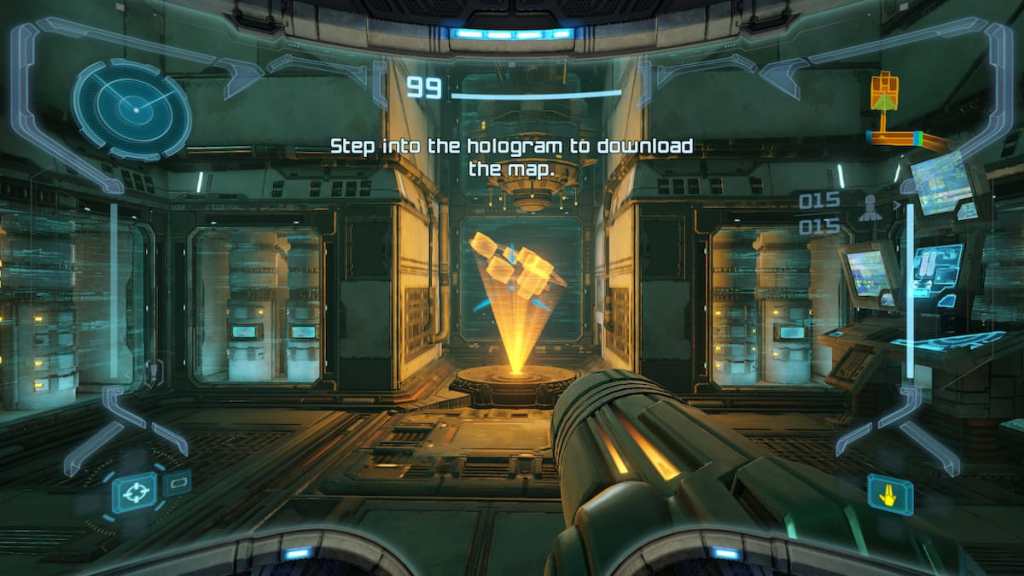
Unlike the other similar devices in the game — namely Save Stations and Missile Stations — you can actually miss out on scanning the Map Station if you use all of them in the game without scanning it, because they all shut down once used. The first opportunity to scan one will come right at the beginning of the game, in the Map Facility in Research Frigate Orpheon, and the last chance will likely be in the Phazon Mines area much later on — it can be found in the Map Station Mines room, just off Omega Research.
Related: All Changes in Metroid Prime Remastered From the Original on Twinfinite
Parasite – Research Frigate Orpheon
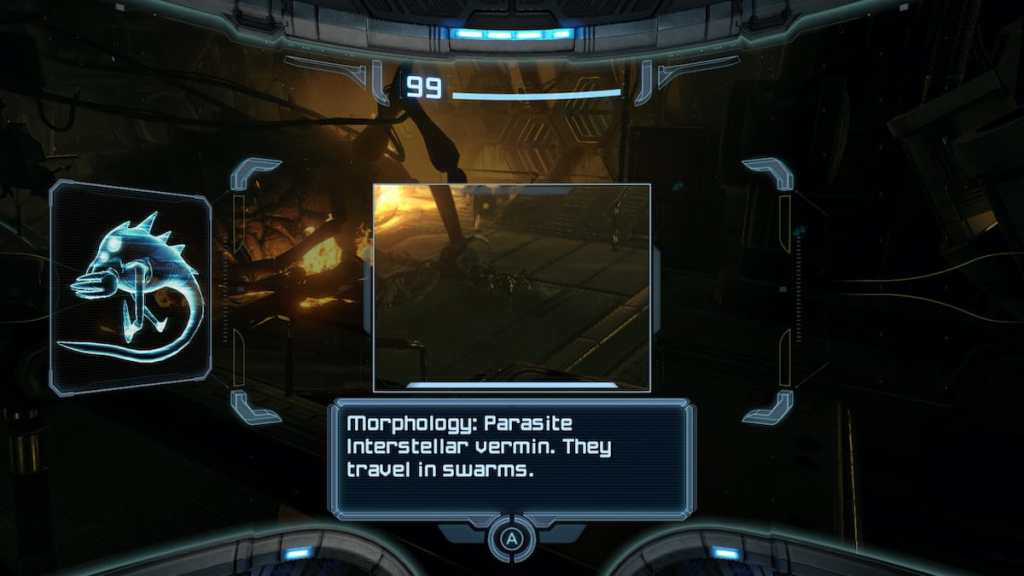
Parasites are the first enemy you’ll come across in the game, and so they can be easily missed if you’re too focused on fighting them. They only appear on the Research Frigate Orpheon, and you’ll first encounter them in the Emergency Evacuation Area. Since they’re a regular enemy, they’ll occasionally respawn until you defeat the Parasite Queen and have to flee the frigate, but once the ship goes down they’re gone for good.
Pirate Data – Fall of Zebes – Research Frigate Orpheon
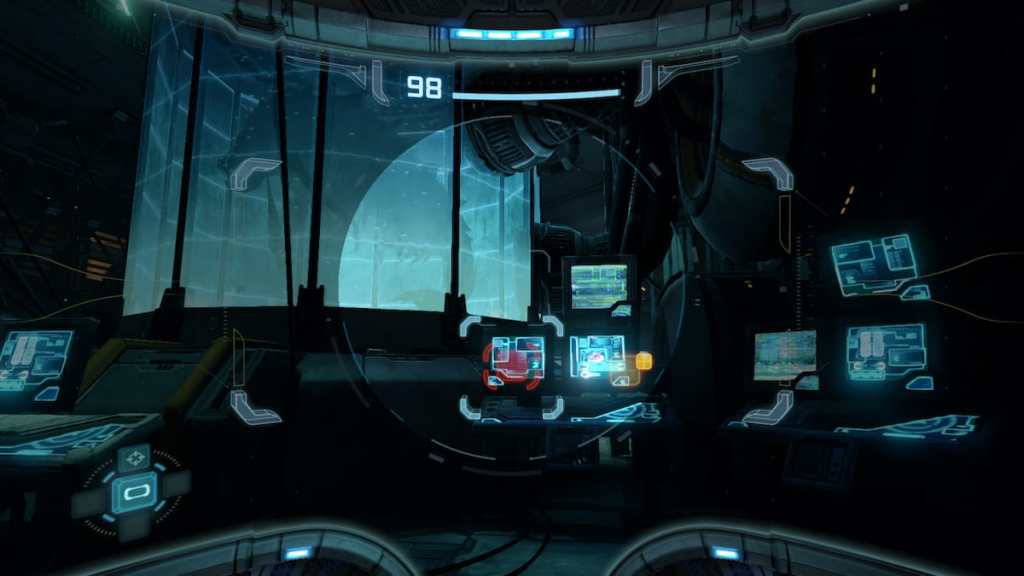
This is thankfully the only piece of Pirate Data that’s missable in the game, but if you don’t scan it before the frigate crashes at the beginning of the game, you’ll be out of luck. It can be found next to a Parasite Queen in suspended animation in Biohazard Containment on Research Frigate Orpheon, and will handily show up as a red scan symbol in your Scan Visor, making it hard to miss.
Parasite Queen – Research Frigate Orpheon
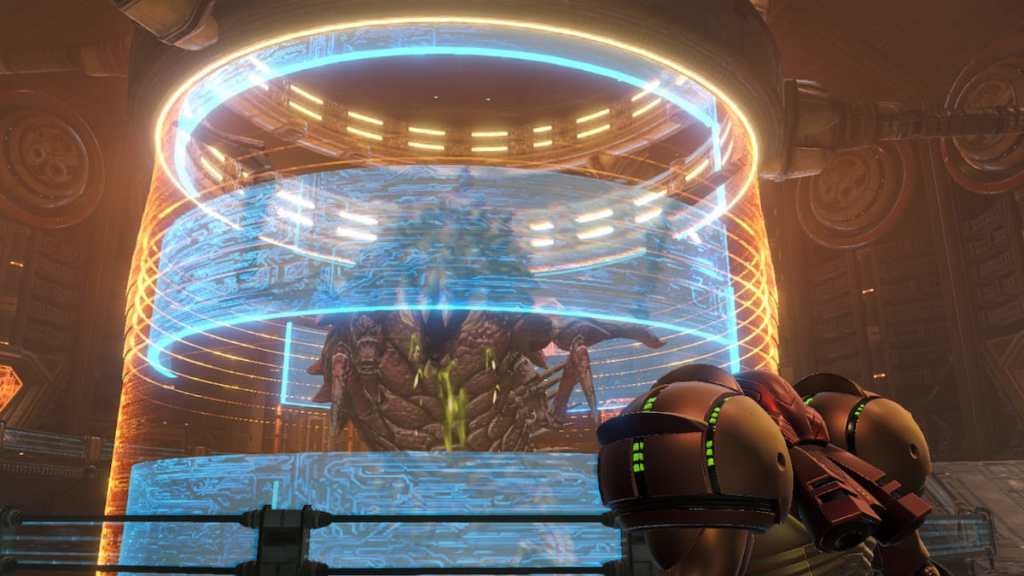
Most of the bosses in Metroid Prime Remastered are one-time-only scans, and the very first one you face is no different. Whip out your Scan Visor as soon as you encounter the Parasite Queen in the Reactor Core on Research Frigate Orpheon and you’ll then be able to focus on dodging her acid spit in the subsequent fight. Make sure you’ve scanned everything you need to on the frigate before fighting her, because as soon as she goes down you’ll need to flee the ship in suitably dramatic fashion.
Blast Shield – Various
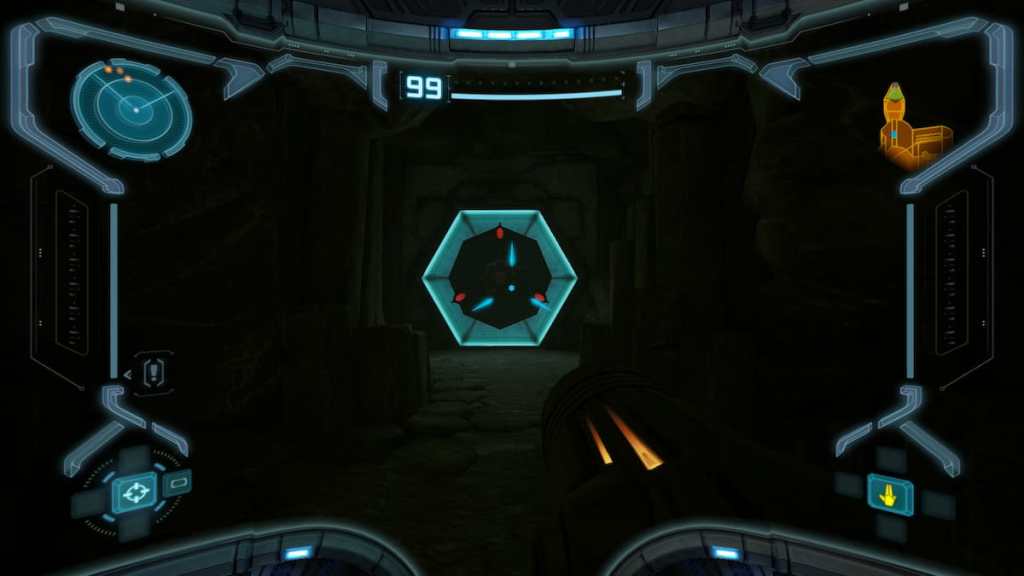
Shortly after you arrive on Tallon IV, you’ll find the first of these shields barring a door. If you’re into exploring you’ll probably come across one in the Root Tunnel in Tallon Overworld, but if not you’ll bump into one sooner or later in the Chozo Ruins. These shields can be destroyed by missiles, but once you blow them up they’re gone forever. As such, although there are plenty to find throughout the game, if you somehow manage to avoid scanning them until you’ve destroyed them all, you’ll miss the chance altogether.
Hive Mecha and Ram War Wasps – Chozo Ruins
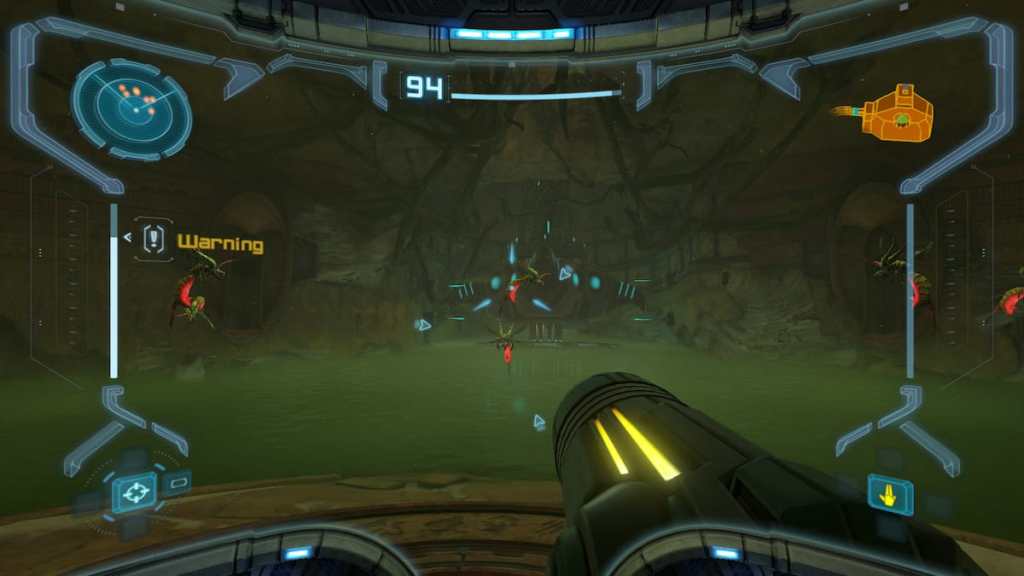
Once you find your way to the Hive Totem in the Chozo Ruins, you’ll find your opportunity to reclaim your Missiles, but they’re guarded by the Hive Mecha. As another boss, the Mecha itself is a pretty obvious one-time-only scan, but don’t forget to scan the Ram War Wasps it sends out as well. These are unique variants of War Wasps that can’t be found anywhere else in the game, and once you defeat the Hive Mecha, you’ll be unable to scan them again.
Incinerator Drone and Barbed War Wasps – Chozo Ruins
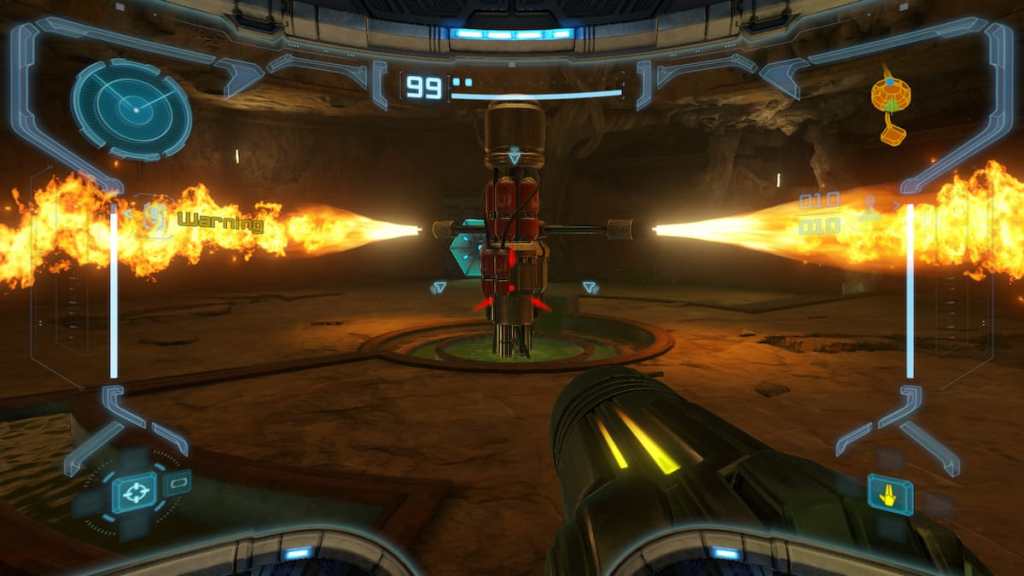
Similarly to the Hive Mecha, the Incinerator Drone — which can be found in the Burn Dome in the Chozo Ruins and hides the Morph Ball Bombs upgrade — is another unique boss enemy that will need scanning before its defeat. However it too is accompanied by an exclusive variant of War Wasp, and if you miss the chance to scan the Barbed War Wasps in this fight then they too are gone for good.
Flaahgra and Flaahgra Tentacle – Chozo Ruins
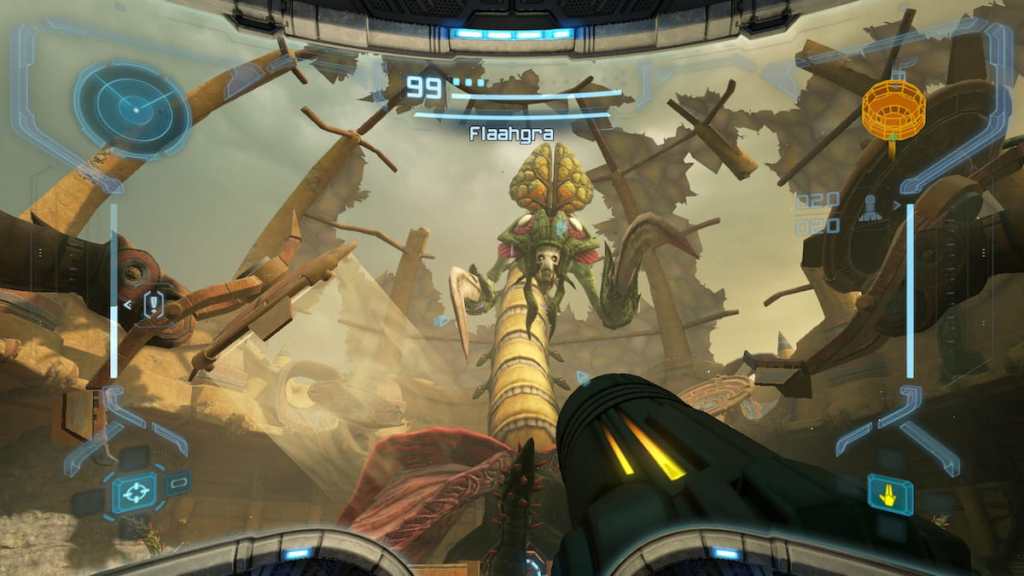
The big boss of the first Chozo Ruins arc, Flaahgra can be found in the Sunchamber high up in the ruins. The fight against it can run a little long, giving you plenty of time to scan the monster, but don’t forget to also scan one of the tentacles that block the Morph Ball passages at its base — for some ungodly reason, this is considered a separate scan and missing it will deprive you of that tantalizing 100% completion satisfaction.
Related: How to Get and Use Super Missiles in Metroid Prime Remastered via Touch Tap Play
Ice Burrower – Phendrana Drifts
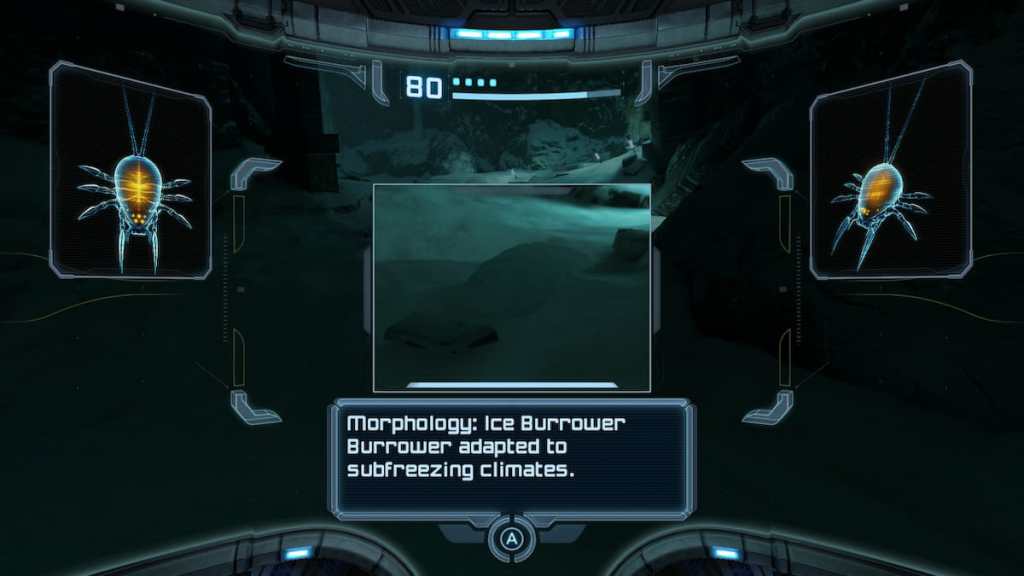
There are a handful of creatures in the icy Phendrana Drifts which hang around only until certain milestone points, usually the collection of an important upgrade. In the case of the Ice Burrower, which can initially be found in the Plaza Walkway and Ruins Entryway areas in Phendrana, they will disappear completely after Samus collects the Thermal Visor from the bottom of the Research Core room in the Space Pirate base in the area. After that, the Burrowers will be permanently replaced with Sentry Drones in those areas, and if you didn’t get the scan you’ll be out of luck.
Ice Shriekbat – Phendrana Drifts
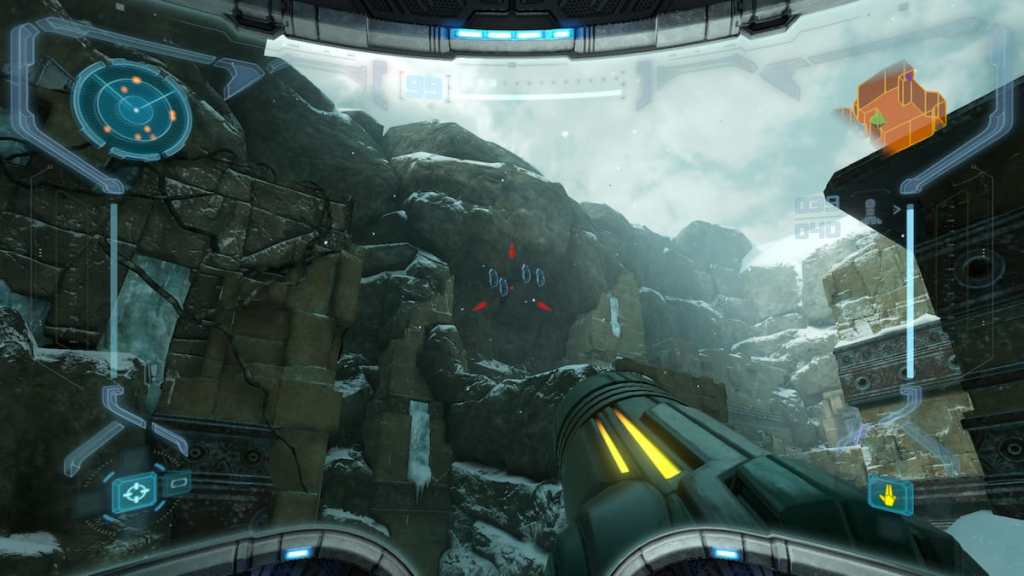
The Ice Shriekbats of Phendrana Drifts have been a thorn in the side of Metroid Prime completionists ever since the original game’s release. Not only do they only appear in a single room in the game — namely Ice Ruins West in Phendrana Drifts — but they also permanently disappear from the game after collecting the Thermal Visor. On top of that, since they exhibit the same attack behavior as regular Shriekbats, dropping out of hiding and charging at Samus with a scream when they spot her, many players will instinctively shoot them without even realizing that they’re a unique species. Don’t be fooled — get the scan from a distance, then murder them with impunity.
Ice Parasite – Phendrana Drifts
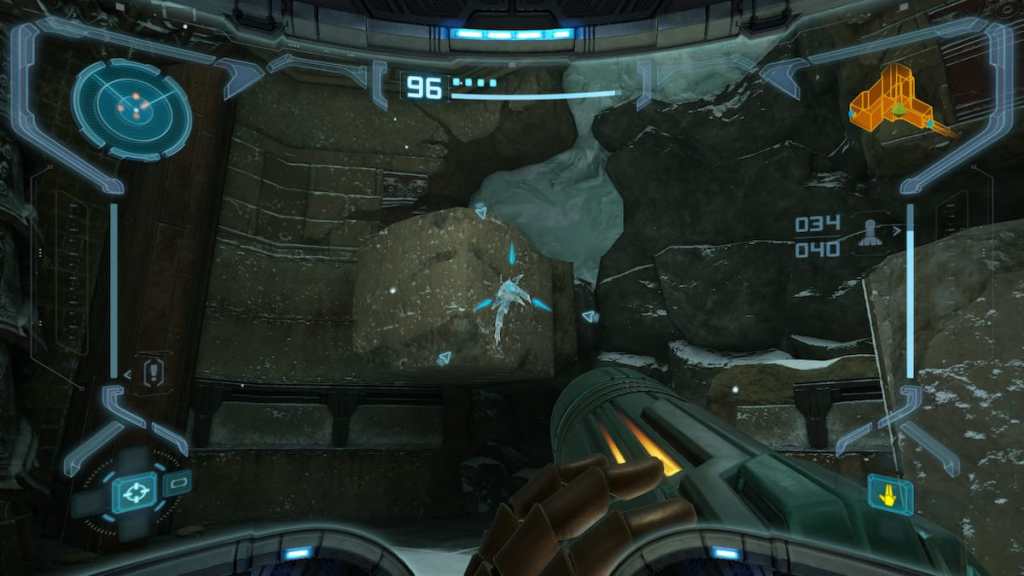
The last in the subgroup of “regular enemies in Phendrana Drifts that inexplicably disappear permanently after a certain point,” the Ice Parasites can first be found in the Chozo Ice Temple. They disappear from that location once you defeat Sheegoth and pick up the Wave Beam in the Chapel of the Elders, but players will get one more shot to scan them in the Frozen Pike, until they grab the Gravity Suit. After that, you’ll be out of luck altogether.
Stalactite – Various
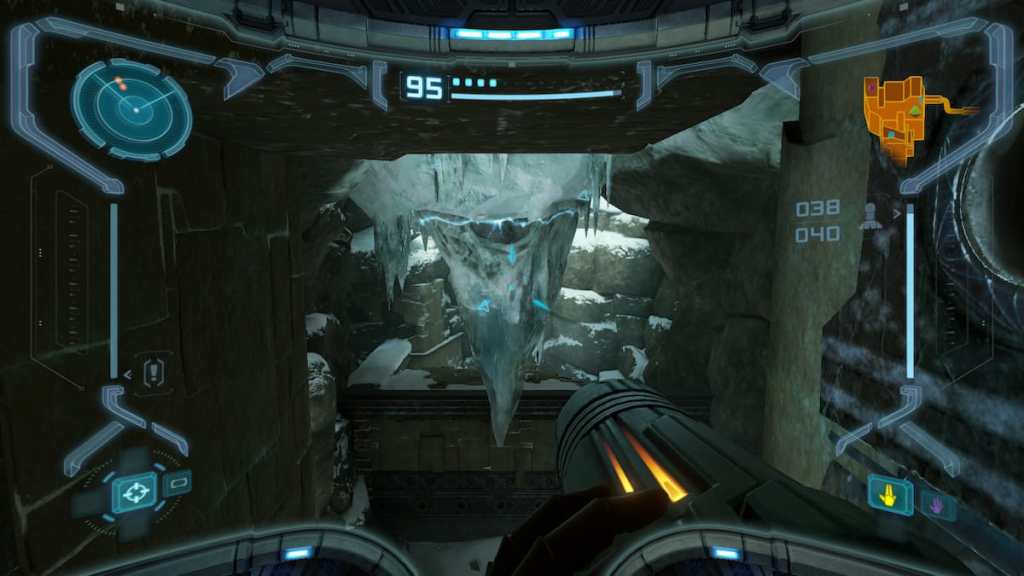
Similarly to the Map Stations and Blast Shields, several Stalactites can be found throughout Phendrana Drifts and Magmoor Caverns. The first can be found in Ice Ruins West in Phendrana, the same room as the Ice Shriekbats. These pointy rocks can be knocked from their spots on the ceiling with a well-aimed Missile, usually creating handy platforms to grant access to new areas. However, once you shoot them down they’re no longer scannable, so if you manage to dislodge all of them without scanning them, you’ll miss your chance for good.
Thardus – Phendrana Drifts
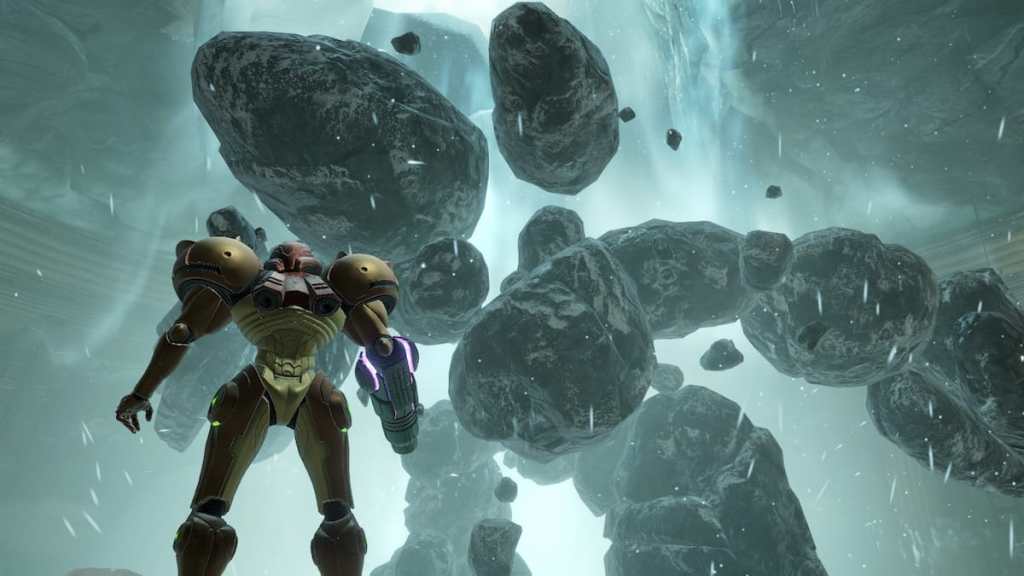
Another boss enemy, rock monster Thardus takes up residence in the Quarantine Cave in Phendrana Drifts and guards the Spider Ball upgrade. As with most other bosses, this is a unique encounter, so make sure to scan him before you take him out. You’ll need the Thermal Visor to see his weak points, so remember to scan the Ice Burrowers and Shriekbats before picking that up.
Aqua Drone – Tallon Overworld
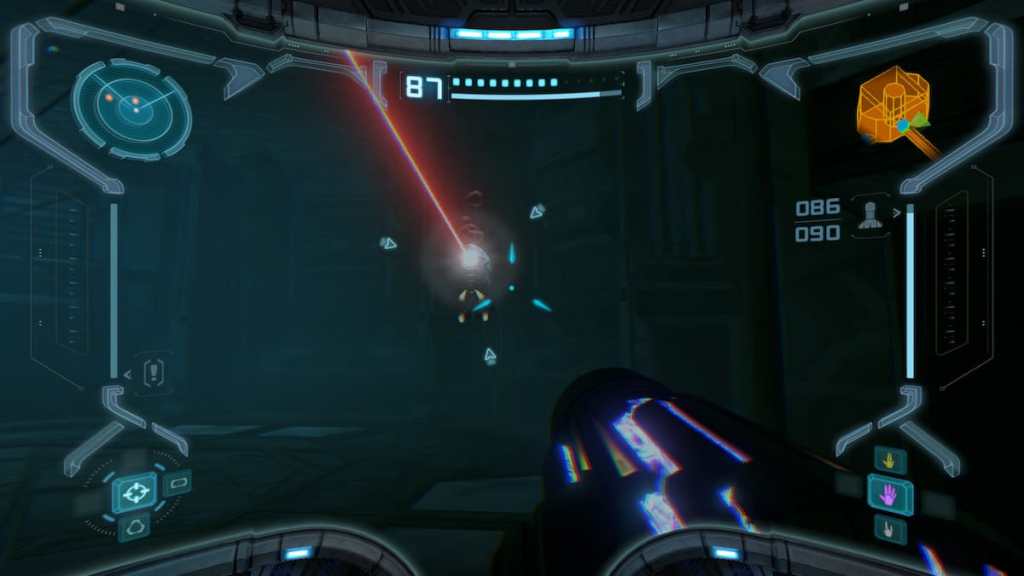
The Aqua Drone may have the shortest shelf-life of all the missable scans in Metroid Prime Remastered. It’s encountered in a single room, which players won’t access until fairly late in the game, once they’ve picked up the Gravity suit and can fully explore the crashed remains of the research frigate on Tallon Overworld. In Biohazard Containment — the same room that previously had the missable Pirate Data entry — a couple of Aqua Drones can be found patrolling the lower level, but they’ll disappear as soon as you enter the Phazon Mines. Considering the elevator down to the mines is just a few rooms later, this really is a short window for scanning the Aqua Drone, so make sure to nab it while you have the chance.
Elite Pirate – Phazon Mines
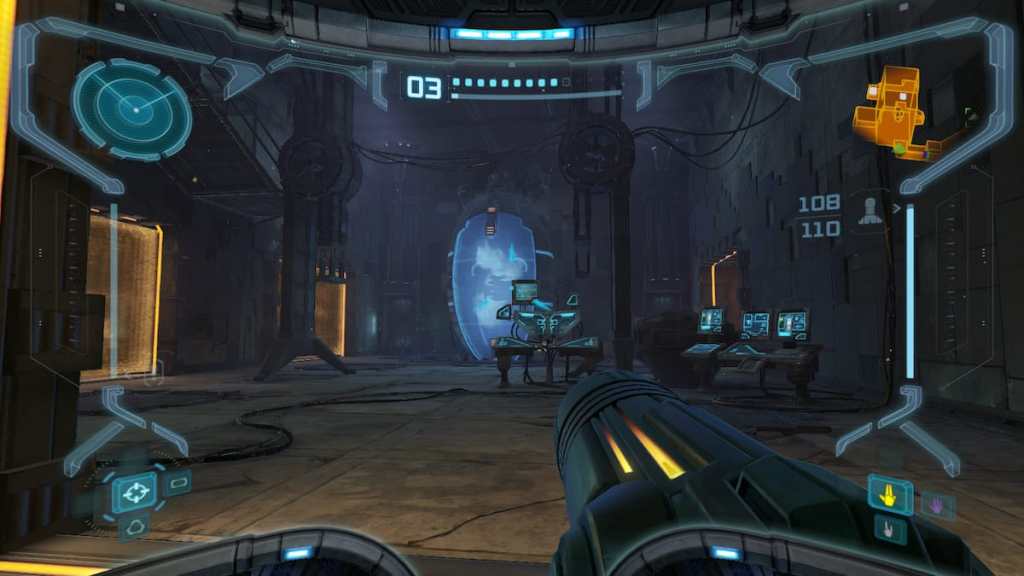
The Elite Pirates aren’t quite a boss-level enemy, but they are certainly limited in number. There are only three that you can encounter in the Phazon Mines, found in Elite Control, Omega Research after picking up the Power Bombs, and Dynamo Access after grabbing the Plasma Beam. It can be a little tricky to get a bead on the Elite Pirates, as there are often various consoles and other scannable points in the rooms where they’re fought that your Scan Visor might lock on to instead in the heat of battle. However, it is actually possible to scan the first Elite Pirate from a distance if you position yourself just right in Elite Control. Just don’t cross the forcefield border and you should be able to scan the Pirate in his tank without starting the fight.
Phazon Elite – Phazon Mines
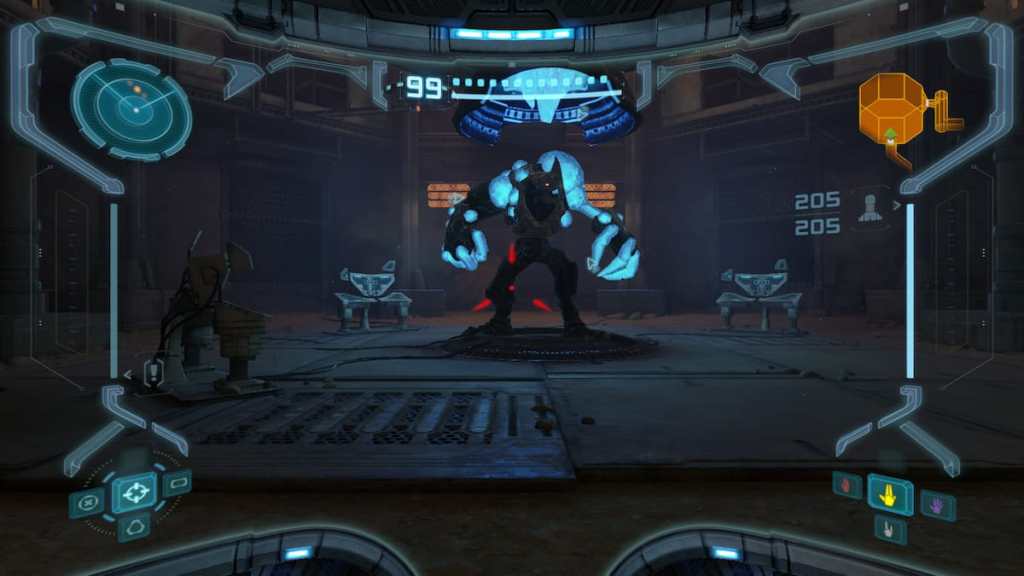
The Phazon Elite is a souped-up version of the Elite Pirates, and can be found by Power Bombing the tank in Elite Research. It’s the only one of its kind, so make sure to give him a scan before wiping the floor with him and claiming the Artifact of Warrior from it.
Omega Pirate – Phazon Mines
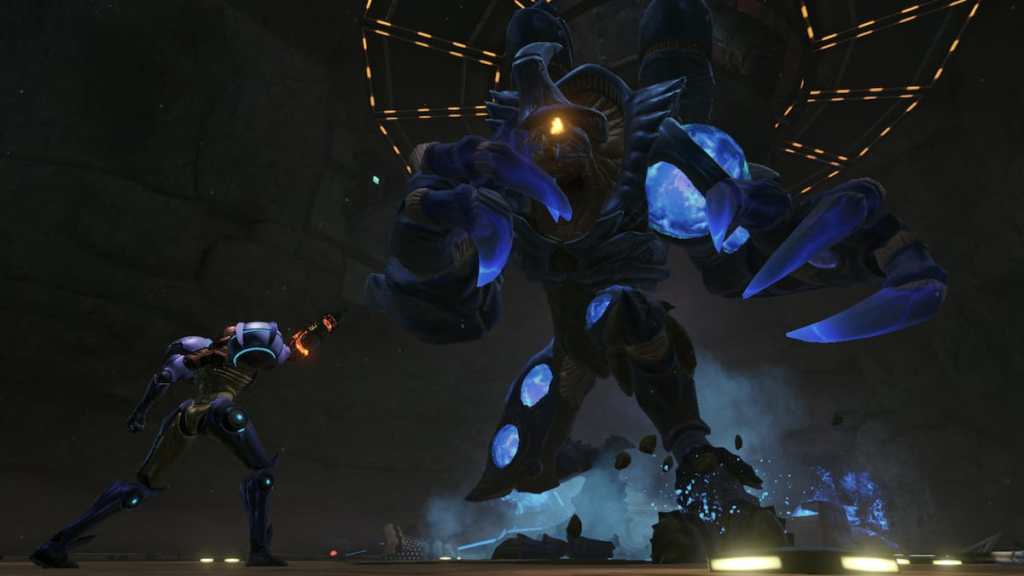
The Omega Pirate is the strongest Space Pirate you’ll fight in the entire Phazon Mines, and he’ll really make you work for your reward. He’s a full-on boss enemy, so as with most of the others you get one shot to scan him when you encounter him late in the game in the Elite Quarters. Don’t get too distracted by the fight to skimp on your scanning — like with the first Elite Pirate, you can actually scan him while he’s in his tube before the fight properly starts.
Meta Ridley – Tallon Overworld
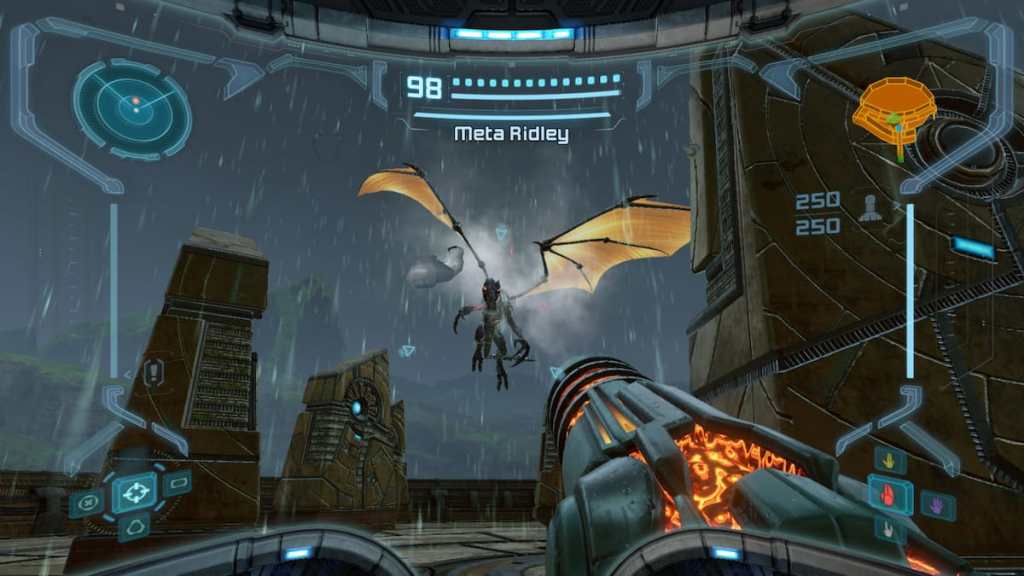
Your old foe Ridley has shown his reptilian face a few times over the course of the game, but the final fight with him in the Chozo Artifact Temple on Tallon Overworld is your only opportunity to scan this cyborg monstrosity. You won’t be able to access this fight until you collect all 12 Chozo Artifacts, so be ready with your Scan Visor once you return them to their rightful places.
Metroid Prime – Impact Crater
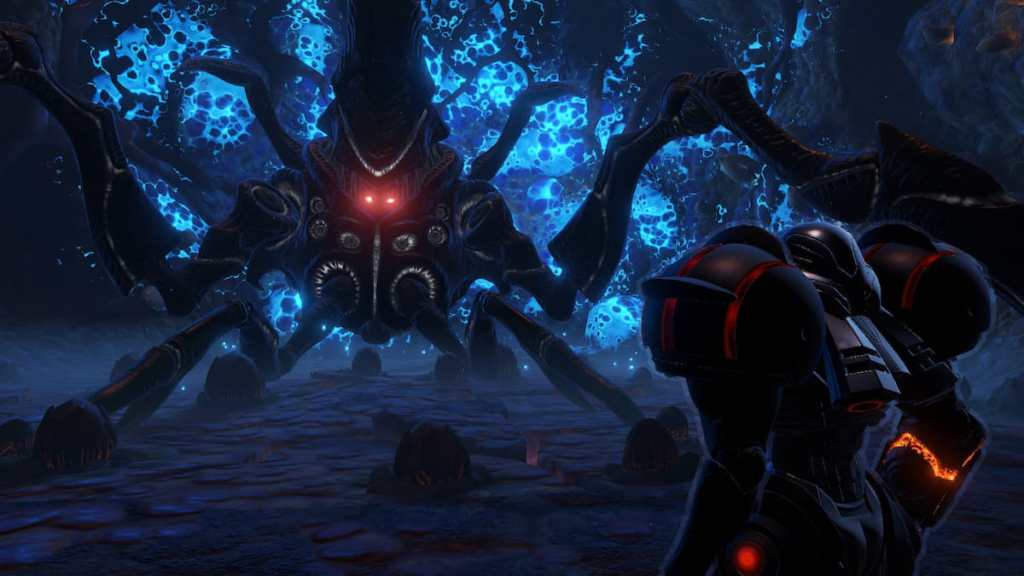
The final boss of the game is naturally a unique scan, but as with a few other bosses, there are actually two scans hidden away in this fight. The fight is split into two phases, first seeing Samus and Prime duke it out through four subchambers in the Impact Crater before landing in the Metroid Prime Lair at the bottom for the final leg of the battle. The two phases are actually considered two separate scans of Metroid Prime, so make sure to scan them both to complete the Logbook and languish in your satisfaction at 100%-ing a notoriously difficult challenge.
Max Fagandini helped contribute to this article.





Published: Mar 22, 2023 11:21 am