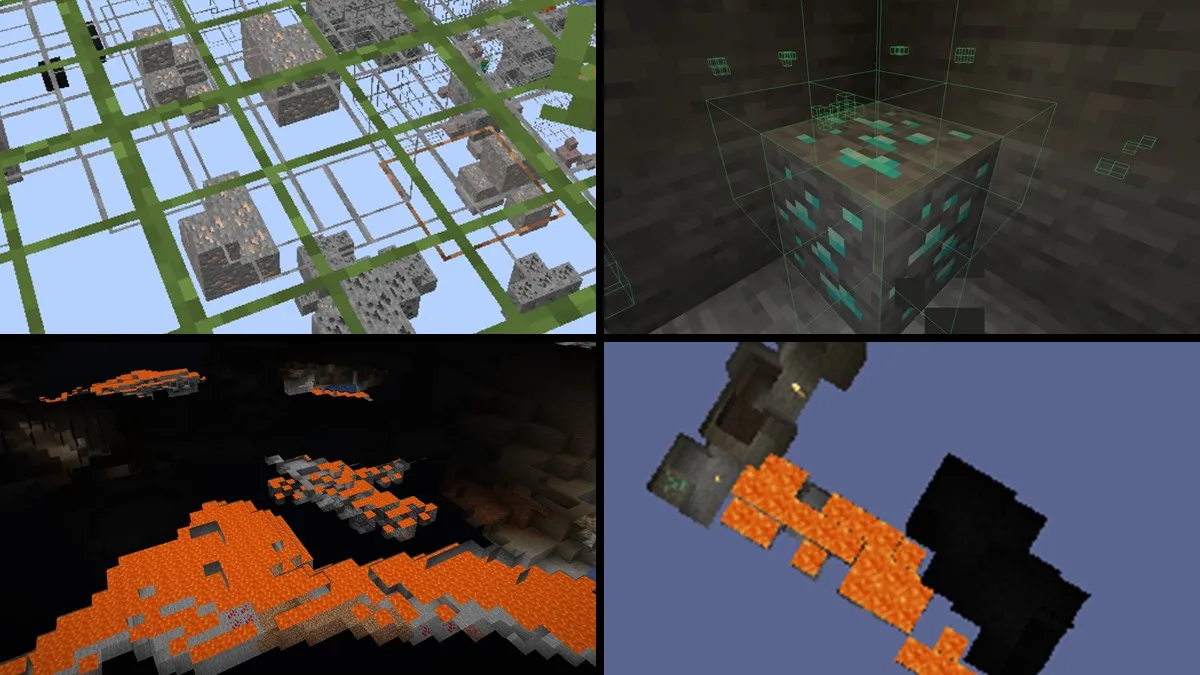
In Minecraft, one of the hardest things about it can be finding the ores and cave systems you need. If you don’t mind playing the game in a way that is technically ‘cheating,’ using an X-Ray is a great way to track ores down, from the rarest to the most common. It is highly recommended that you only use these methods in singleplayer or your own private server, as public servers may ban you for using the X-Ray function. That said, as long as you are using it ethically, there are four major ways to use X-Ray in your Minecraft world. Let’s take a look at them.
Ultimate Xray Resource Pack

If you are looking to go the Resource Pack method, there is a clear frontrunner. The Xray Ultimate Resource Pack is an easy way to look for ores and only requires one extra step. Once you have installed the Resource Pack, you will be able to see the chunks where ores are, but not what they are. To be able to see what they are, you have two choices. One is to install the Optifine mod or give yourself Night Vision via potions or commands. Commands are easier, but cheats or creative must be enabled.
/effect give [PlayerName] Minecraft:night_vision [duration]
Set the duration to 99999 if you want the effect active permanently. If not, choose how long you want it active. Once active, you will be able to see all of the ores through the ground.
Advanced XRay Forge Mod

When people think of Xray in Minecraft, there is a good chance their brain autos to the Advanced Xray mod. It is by far the most powerful Xray on the market and the most complex option on this list. While there are other Xray mods, this mod is the crème de la crème. It is a forge mod, so to install it, you must first install Minecraft Forge. Once you have that up and running, go into the Minecraft launch and link the Forge launch to a new directory. This will allow you to add mods without risking corruption of your vanilla game. Once you have done that, download Advanced XRay.
Make a ‘mods’ folder in your new directory, then drag or copy/paste the downloaded executable into the folder. Next time you open Minecraft through the Forge option in the launcher, the mod will be installed. There is a key/button that will toggle the Xray on and off; you will have to figure out which that is via the controls menu because it can be different for different players. Scroll down to see what key/button it is bound to.

Once you turn it on, you can access an in-game menu where you can choose which ores you want to find and highlight. The most common ore the mod is used for is diamonds, and the chance of someone needing it for Iron or Coal is super low. That said, it is also very helpful for tracking down Lapis Lazuli, Redstone, Gold, and especially Emeralds. Emeralds often fly under the radar, but they are a rare, coveted resource.

When the Advanced Xray mod is first installed, the outline color for each ore is not the same as the ore color, but you can customize the colors within the mod so that the outline and the ore are the same color. This is especially helpful if you want to be scanning for multiple ore types at the same time. Here is an example of what it might look like scanning for all of the rare ores, with the updated scanner colors.

You can easily tell after color coding which ore is which, and it sure looks like a lot of diamonds are down there, so best get digging!
Spectator Mode Command

Spectator Mode can’t see ores in the ground, but it is a great option to see cave systems and surface ores in those caves while being infinitely mobile. This requires cheats or creative to be enabled but does not require any outside downloads. All you have to do is change your game type via commands.
/gamemode spectator
Once that is active, switch into fly mode, as you will clip through everything around you, as if you are not in the game. This is great for finding deep cave systems full of ores, and if you mix this with some of the other options, it can be especially powerful.
To leave spectator, just repeat the game mode command with whichever mode you were playing before (creative, survival, etc.). Just be sure you are not in a block when you switch back, or you will suffocate.
Piston and Composter Vanilla Build

This is the only option that works entirely in Minecraft survival mode without cheats, mods, or anything. It is stationary and cannot show you ores, but you can see caves below you, similar to a weaker version of the spectator method. The way to do this is to build a certain type of structure. For this, you will need:
- 4 solid blocks of any kind
- 1 Redstone Torch
- 1 Composter
- 1 Piston (or Sticky Piston)
Stack the 4 blocks into a vertical tower. Place the Redstone Torch on the side of the highest block. Place the Composter on the ground, touching the front of the lowest block on the same side. Then, climb into the Composter. It takes a moment, so wiggle around until your player character falls in.
Once you have done this successfully, look up and place the Piston directly below the Redstone Torch. This will push the player character deeper into the composter, thus into the ground. Because you are clipping, if you look down, you can see what is below you in terms of caves. At any time, if you want to get out, break the composter. This method is limited, but the fact it can be done in cheats-off vanilla survival makes it unique.
Overall, Xray is great, but it is (for the most part) a cheat. It’s good to remember that when you use it, and to keep it out of public servers. That said: Have fun when using it in a private location! Minecraft is a sandbox, and there is no rule saying you can’t use cheats on your own worlds, so the sky’s the limit.


Published: Apr 12, 2021 11:54 am