Call of Duty has evolved a ton over the years, and Modern Warfare 3 represents the pinnacle of its growth. There are more ways to experience the game than ever before. Controller players are given an unprecedented amount of control over their gameplay, but I know that choice paralysis is real, and it’s easy to get overwhelmed by a million little tweaks.
If you need help getting started or parsing the ridiculous number of options, let me walk you through what I consider to be the best Settings. I’ll also give some alternatives along the way so that you know where to look if our preferences don’t align.
MW3 Controller Settings: Optimal Button Layout

Okay, this is all about button mapping and will lay the foundation for everything else we discuss. Call of Duty’s Default setting will be familiar to most people — Xbox’s A/PlayStation’s X is jump, B/Circle is crouch, and Melee is bound to R3/RS. It’s a standard FPS layout, but leaves a lot to be desired for me.
I recommend switching the layout to Tactical, which will swap the Crouch and Melee inputs, giving you more control over your movement. That’s a good start for beginners and will allow you to keep both thumbs on the joysticks when you need to crouch/slide/go prone while running around the map.
My personal preference is for Bumper Jumper Tactical. This places your jump button on LB/L1 and moves the Tactical Equipment input to A. In most scenarios, being able to mantle objects or add in an occasional jump shot fluidly is far more important than tossing a Flash/Stun.
This control scheme still has flaws and is vastly improved by the use of a controller that has paddles or extra buttons on the back, but I’ve played this way with a normal DualShock 4 since 2015 and have made it into the upper ranks of multiplayer and Warzone this way.
Tactical Sprint, Interact, & Reload Behavior Settings
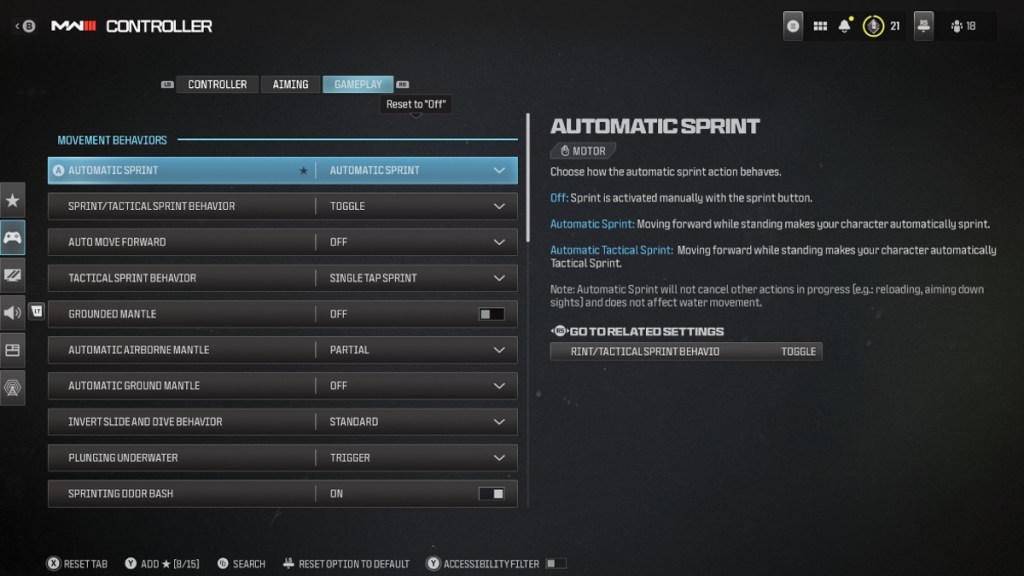
These get their own section due to a few specific settings. First, if you played with Contextual Tap in Modern Warfare (2019), I hope you’re with me in mourning the loss of that setting. I prefer Tap to Reload now, as the Prioritize options don’t work as well as their beloved predecessor setting.
There are too many situations in MW3 where you’ll end up opening a door or climbing into a vehicle on accident by playing with any other setting.
I’m a full-steam-ahead player, so I also prefer to keep Automatic Sprint toggled on, but your mileage may vary. I also keep my Tactical Sprint Behavior set to Single Tap. This will create a clear difference between walking, sprinting, and Tactical Sprinting.
Even if you don’t want your Operator to sprint as soon as you press the stick forward, I would highly encourage you to copy the other settings. Your hands will thank you in the long run.
CoD: Modern Warfare 3 – Best MW3 Sensitivity
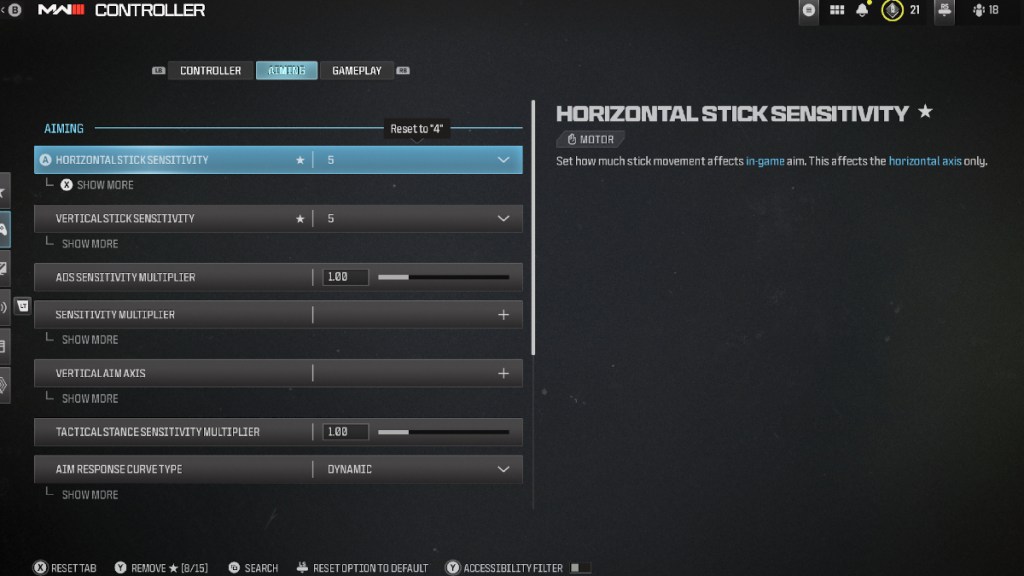
Sensitivity is another comfort setting, but there are some guidelines we can use to inform our decisions. If you’re new to FPS titles like Modern Warfare 3, then you’ll definitely want to stick to something manageable. Level 3 is the default for a reason. It’s not completely immobile, but it slows your aim down enough that you get an idea of how to be precise.
Some players stick with this their entire gaming experience, but as your skill grows, it’s typically a good idea to increase your sensitivity up to at least 5. Tracking high-skill enemies who know how to employ movement techniques will give you a huge headache on low-sens. That being said, stick to whatever makes you feel comfortable in the moment and stick with it.
Changing your settings around a lot will impact your muscle memory, and that’s the last thing you need when trying to get better at the game.
Modern Warfare 3: Which Aim Assist is Better?
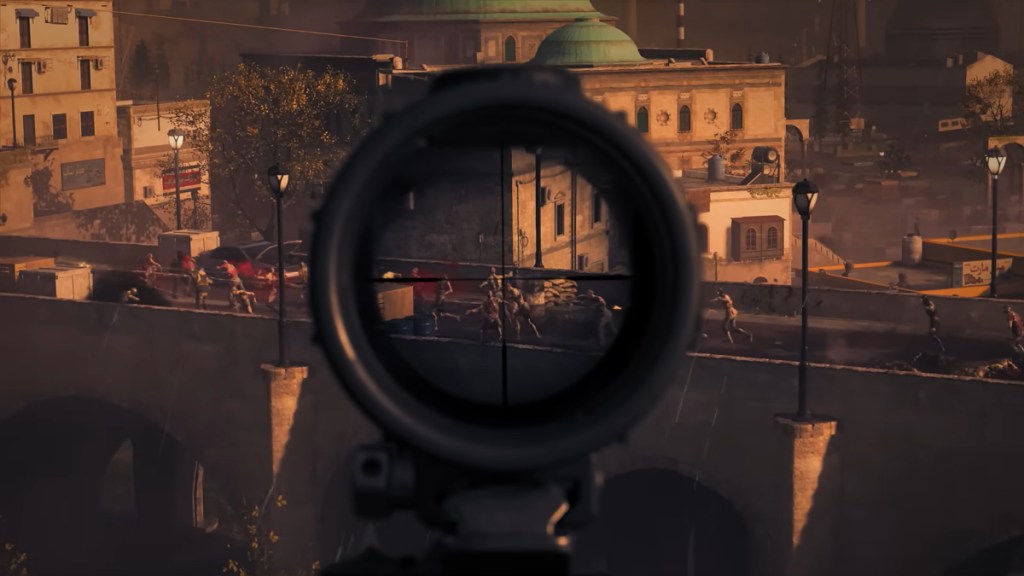
For me, the Default Aim Assist setting is perfectly tuned in Modern Warfare 3. I’ve traditionally used the Black Ops setting, but it doesn’t feel quite as crispy in comparison. Focusing is the best option for newcomers, but if you’re a vet, give Default a shot and see how it feels.
This will make a massive difference in how your shooting feels. If you’re a veteran, give your settings a once-over and make sure you’ve got the right one enabled.
MW3: What Are Deadzones & How Do You Set Them?
Hand in hand with sensitivity are your controller’s deadzones in MW3. If you’ve ever encountered stick drift (where your character moves forward or drifts their aim off in a wayward direction unprompted), then you need to know how to set these boundaries.
Think about it this way: your deadzone settings represent the amount of force needed to get your character to behave the way your input tells them. So, if you’re not touching the controller and your character looks to the left for no reason, you need to raise the minimum deadzone on your right stick.
The opposite is also true. If you’re pushing your joystick all the way into the edge and your character still isn’t behaving correctly, then your controller has an unresponsive area (hence the name deadzone) and you should lower the DZ maximum on the appropriate stick.
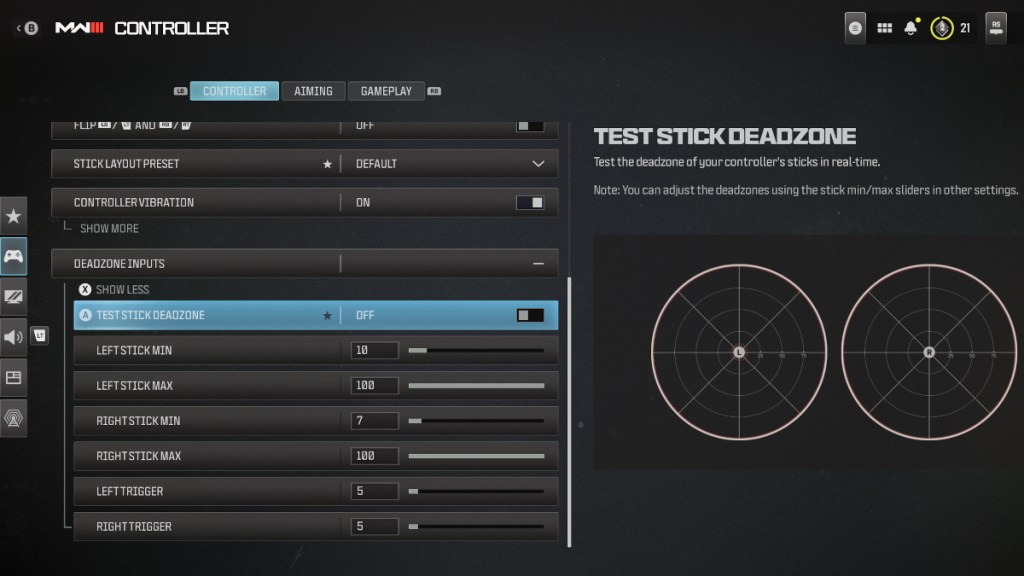
If you’re interested in how Deadzones works, think about the little indentations that hold your analog sticks as a set of concentric circles. Raising the minimum deadzone means you need more force to escape the innermost circle, but it leaves you unaffected outside of that area. Lowering the maximum deadzone tightens the outermost circle but has no effect on the interior circles.
I know that’s a lot to understand, but Modern Warfare 3 has an in-game testing system (seen above) that provides an easy-to-read visual aid to help you sort things out. You can find that under the Deadzone Inputs tab on the Controller settings page.



Published: Oct 13, 2023 01:04 am