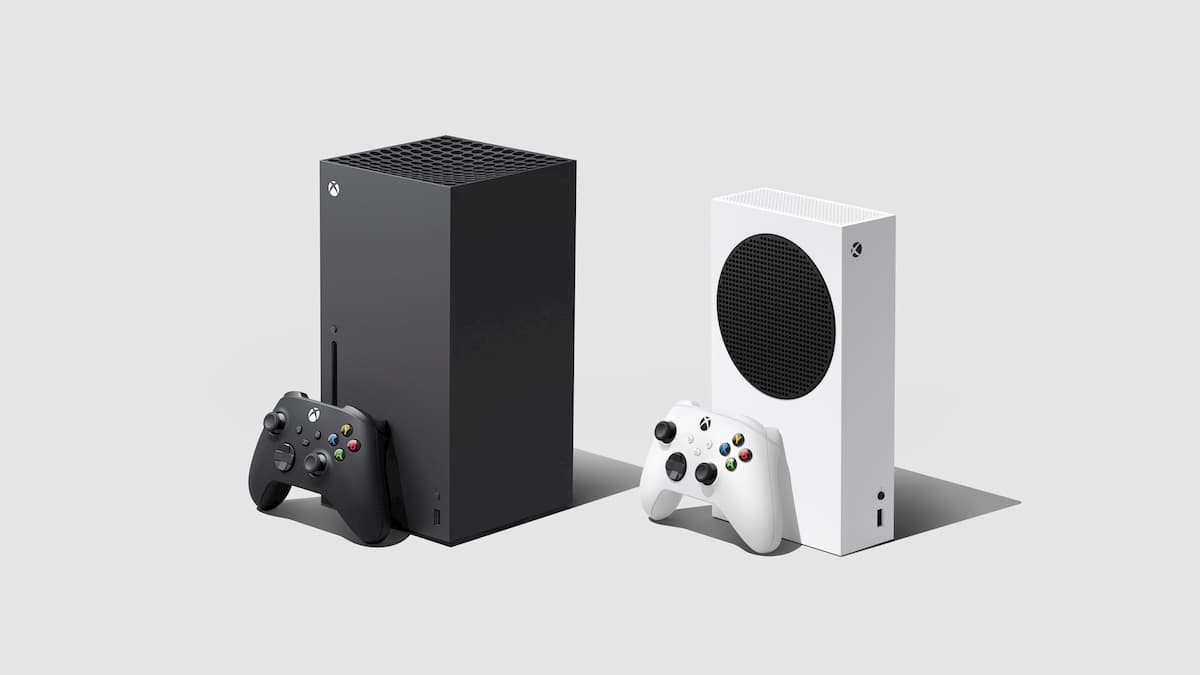
The Xbox Series X and Xbox Series S are launching Microsoft consoles into the next generation of gaming using a solid-state drive, quick resume, and more. Like with all new video game consoles, the first time you set up the console is essential to make sure you have the best experience possible. Here are some tips on setting up your console.
Placement of the console
Before you turn on your Series X or S, it is crucial you have them in an area where they can get enough air. If you put your console into an entertainment area with little space for the vents to push out its air, your console will start to overheat. An ideal situation will be to have your console out in the open so that it can breathe. Also, ensure that it is close enough to your television and the power outlet so that the power cord and HDMI are not pulling the console or tightened in their connection.
Connecting your controller

You will notice when you first turn on your controller that the light will slowly blink. This is showing that your controller is not currently connected to anything. Hold down the button on top of your controller and the light will start blinking faster. This tells you that it is searching for something to pair to.
Press the power button on your console and then press the button on the console’s bottom right, and the console’s light will start blinking. After a few seconds, both lights will turn to a constant “on” indicator to show that the console is connected.
Turning on your console for the first time
Now that you have your console situated just how you want it with good airflow around it, you are ready to turn it on. Luckily, setting up your Xbox Series X or Xbox Series S is easier than ever before with a new smartphone set-up. If you choose not to do this, the steps below will be the same, but it will take a little longer as you wait for the update to complete and continue set-up.
Set up using the Xbox app
If you would like to set up your console using the Xbox app, you can download it from the iOS App Store or the Google Play Store. Open it after downloading, sign in to your Microsoft account, and search “Set-up a console.” When available, select the console that you want to set up via the app. A code will then appear on your TV that you need to put into the app.

Once that code is in, select Join on your phone to connect to the Xbox’s wireless signal. From here, everything will be done on your phone. Choose your language settings and internet connection. If there is no ethernet cord connected, you will need to find your router name and input the password.
Once connected to the internet, you will be prompted to do a console update. If you opt to update now, the console will start updating, but you can continue the set-up process on your phone. If you did not do any set-up by phone, you will need to wait until the update completes. Do not worry if your console turns off and on during this process — that is normal.
First up will be choosing power settings. If you select Instant On, you will have access to your game installations on your phone, but it will use more power. Energy-saving will cut down your electric bill, but the process will be a little longer than Instant On.
Next are your Sign-in and security preferences. You can set it so that your Xbox account can be signed in at any time through a passkey, or you can set a full lockdown with access only granted through signing in with your email and password every time the console is turned on. If you want, you can set the console to always sign into the account you are using for set-up when turning it on.
If you want your console to always keep your games and apps up to date, you can select this as an option. Having this on has you waiting less, but if you have a low cap on your internet, you might want to reconsider this since there will be many games downloading on your console in the future. That way, you can choose your most played games and apps to download, but you will have to wait.
Next is the remote features option. When this is turned on, you can set your games to install or use Xbox Remote Play to play your Xbox on your phone. These are excellent options to have and they will not cost you anything more than the usual installation size on games.
After this, the app will ask if you want to share data with Xbox. Microsoft uses this information to recommend games to people, improve console performance, and provide troubleshooting solutions. This is entirely up to you if you want to allow this or not.
Now you can change the name of your Xbox. This is particularly useful if you live in a house or apartment with multiple Xbox consoles in the area. If you are trying to connect your phone to the console, seeing the name you give your Xbox makes the process much easier and faster.
Once everything in the app is done and your console finishes updating, the console will check your account’s settings for what you put into the app, give you a welcome message, and ask you to turn on your controller again.
At this point, your controller needs to be updated. This makes sure your controller will give you the best performance possible. Select Update Controller and set it down somewhere for a couple of minutes.
Now that everything is updated, your console will look through your Gamertag’s history of Xbox settings. If you owned an Xbox One beforehand and set to upload your settings, you will see them available here. This ensures that all of your settings from the previous Xbox will instantly be assigned the same way here.
Your television settings will now be set up. Your console will detect at what resolution your television can output and automatically do a test for that. If you do not like the way it looks, you can choose Go Back, or wait 20 seconds for it to change back on its own. If you like it, choose to Keep Display at whatever resolution it’s set to (4K, 1440p, etc.).
Now you will load into your dashboard, and standard set-up is completed.
Television settings

While the previous step in set-up decided the resolution your console will output in, there are more television settings you should look into.
Press the Xbox button on your controller to bring up the guide. Go to Profile & system, select Settings, and from General, select TV & display options. Here you can see and choose what resolution you are outputting in, select the refresh rate, see your 4K TV details that show what features your television can support, and Calibrate TV, which will make sure that your picture is set at the best settings possible.
Be sure to look through these settings and the ones in Device control to choose what is best for you. If you would like, you can set your television to power on and off along with the console (if your television supports it), and more.


Published: Nov 14, 2020 08:33 pm