Update: July 7
The Liability has returned to Hitman 3 as part of its June Year Two roadmap. We’ve checked the method below and can confirm that it still works, so you can jump in and take him out without anyone noticing. Even if you’ve completed The Liability in the past, you should be able to take the target on for another round while it’s live in the game.
Original article
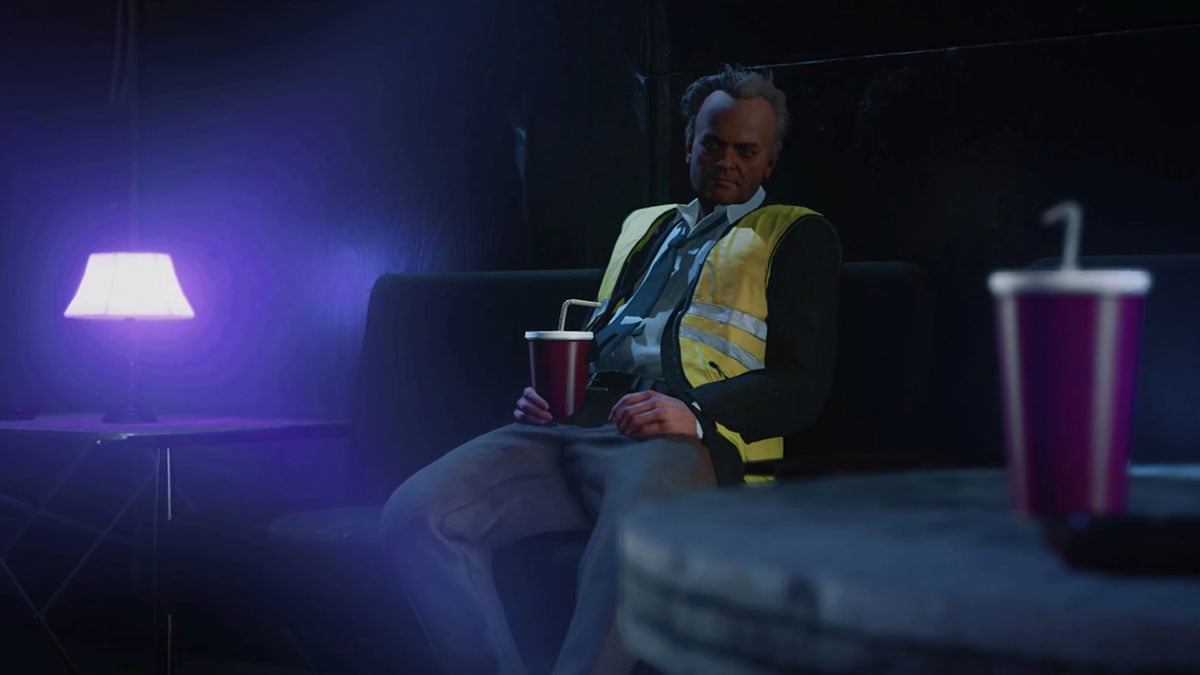
The Liability is another brand new Elusive Target for Hitman 3. Set in the Berlin location, you’ve got to take down a building inspector who has racked up a colossal number of victims through sheer negligence in the past. He has a guide with him as he tours the club as well as a bodyguard, making this a potentially tricky mission. In this guide, we’ll show you how to complete this Elusive Target with a rank of Silent Assassin and very little gear.
Elusive Target Warning
Since this is an Elusive Target, you only get one chance to complete it. You can restart and replan the mission up until you start completing objectives. In the case of The Liability, that means killing the target. Once you’ve done that, you can’t restart. We recommend following our route a few times without killing him before you go for the kill. It will give you a chance to work out the best path to the target, as well as the easiest escape route out of the area.
Loadout
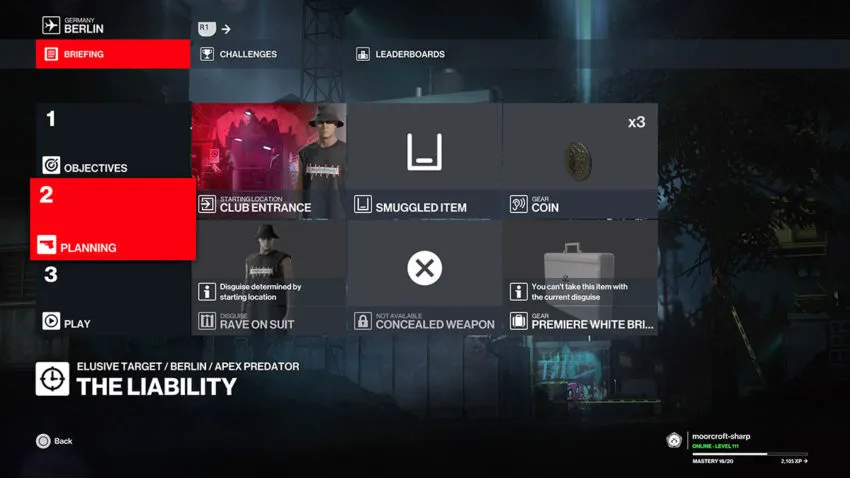
To make this route as accessible as possible, you require no gear that you have to unlock. The only thing you should bring with you is the coins. The starting location is outside the club itself. Once you’ve got that all set up, start the mission.
Step 1: Reach your target
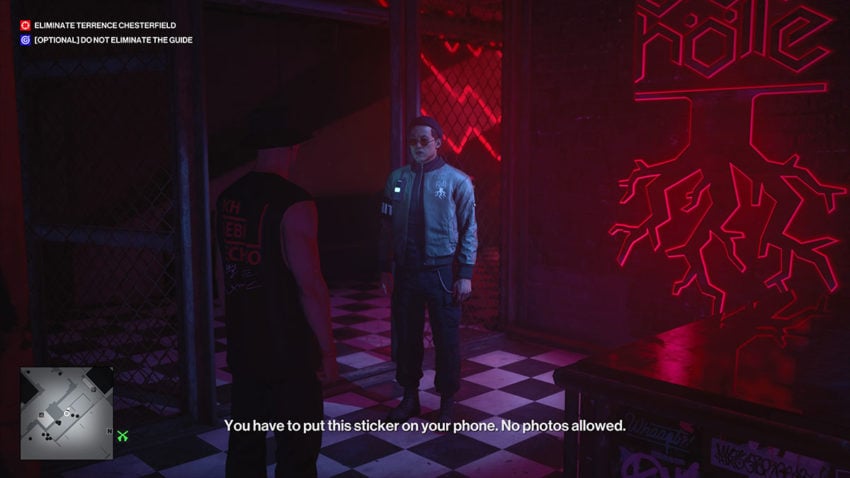
Outside the club, you have two options to get in. You can either use the standard entrance and get frisked before going through or use the secret shortcut around the side of the club. Either will work for this mission. The goal is to get into the club and then the outdoor bar as fast as possible.
Once you’ve found the outdoor bar, head through and over the bridge at the back on the left-hand side. Once you’ve over the bridge, you’ll see a path leading away to the right. This is the direction you need to go in next.
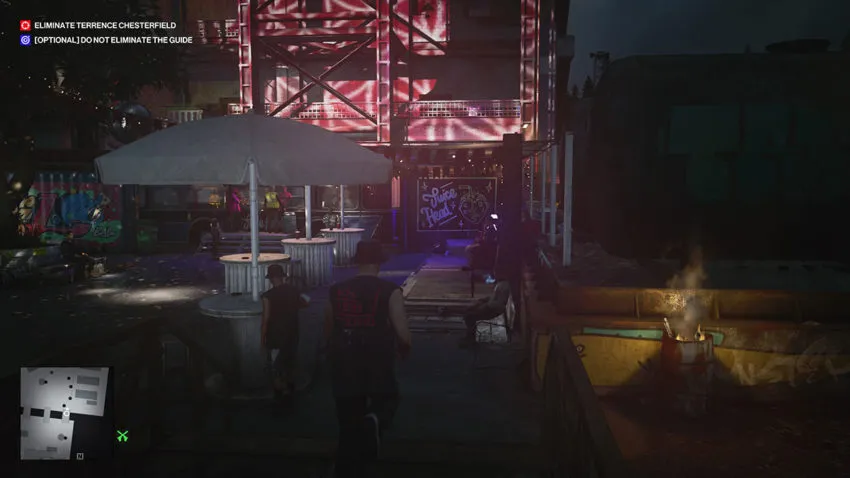
Follow the path to the right and stop in the middle of the path at the back. You want to be between the two oil drums back here. Using instinct and looking between the oil drums will reveal the outline of an NPC. That’s your target. He’ll be having a drink at the juice bar.
Step 2: Distract the target
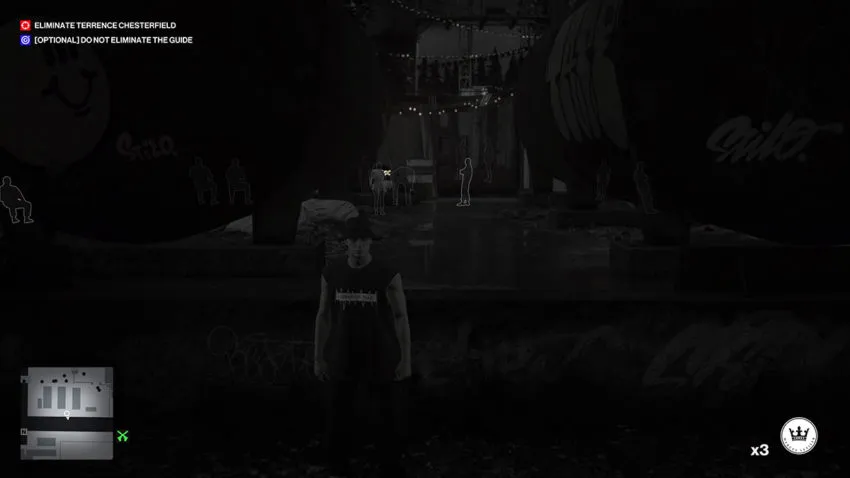
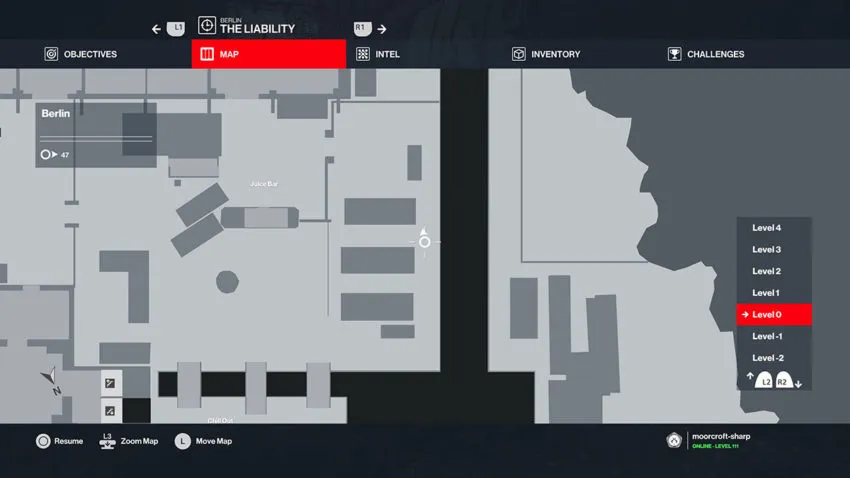
Keep an eye on the target using instinct and wait until he takes a seat near the fence that you can see ahead of you. As soon as he takes a seat, flip a coin at the low wall in front of you. This will distract the target and get him to start walking over. Below is a map reference for where you need to be standing when you flip the coin.
Pick up the coin and place it right next to the water. We want the target to come around and investigate the coin, leaving him exposed.
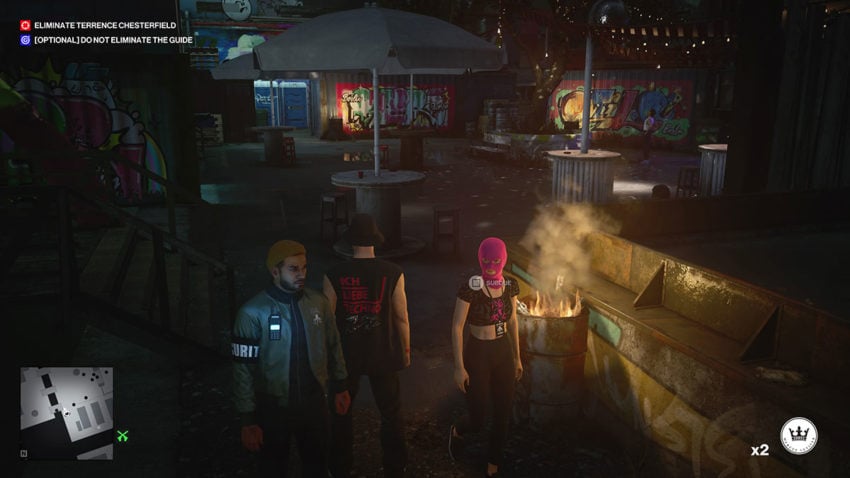
The target’s guide and bodyguard are going to follow him on his investigation. Head back to where you turned down this path off of the bridge. Allow the target to walk past you. When you see the guide and bodyguard, bump into them a few times. As you run away from them, drop your two remaining coins to distract them even more. You need to do this enough to give the target a chance to reach the coin and bend down. Once you see that he’s stopped, you can run around to him.
Step 3: Kill the target
You need to be quick here. As soon as you approach the target, push him into the water. You must be fast because the guide and bodyguard might catch you in the act if you’re not. That’s why you need to bump into them early on and keep them a good distance away from the target.
Step 4: Exit
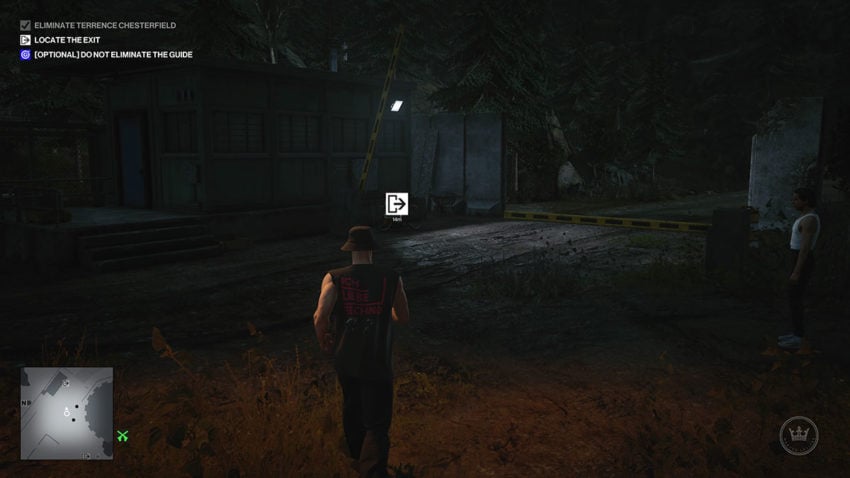
The guide and bodyguard won’t know what to do now that the target is dead, so feel free to use any exit you fancy to leave. The closest one is directly outside of the club.
Alternative method
If that all sounds like too much work for you, we do have an alternative method to try. Use the Chill Out start location to start the mission at the outdoor bar. This will allow you to get around to the point where you can distract your target much faster. However, this unlock requires a lot of location mastery, so not all players will have access to it.
This guide is still in progress.




Published: Jul 7, 2022 06:55 am