Completing the Sniper Assassin challenge in Chongqing might seem impossible. Both targets are either underground or safely inside apartment buildings for the majority of the mission. In this guide, we’ll show you how you can complete the challenge in Chongqing with a rank of Silent Assassin as well.
Questionable loadout
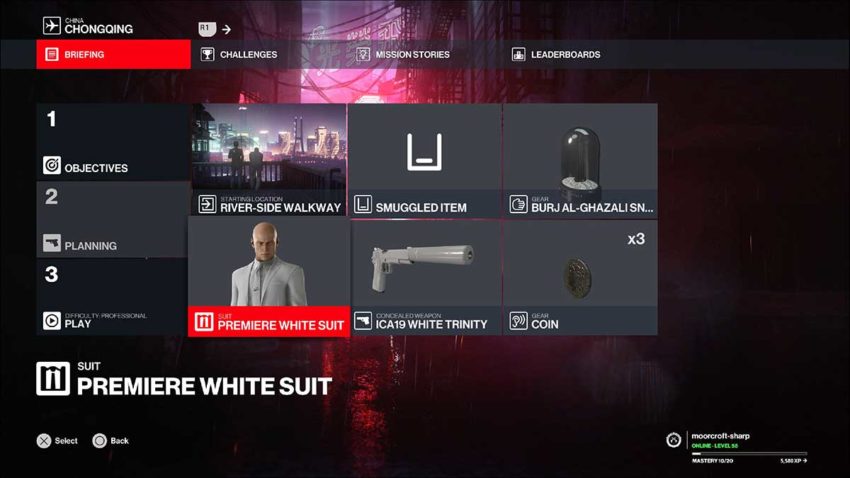
The loadout we recommend you take has no sniper rifle in it. Thankfully this should avoid any cutscene glitches like the one present at the end of our Mendoza Sniper Assassin run. Instead, we’re going to pick one up in the mission. All you need is Agent 47 in a beautiful suit, and a River-Side Walkway starting location.
Since we’re using the River-Side Walkway starting location, you won’t have to hack the server to complete the mission. This makes the run even easier.
Step 1 – Reach the laundromat rooftop
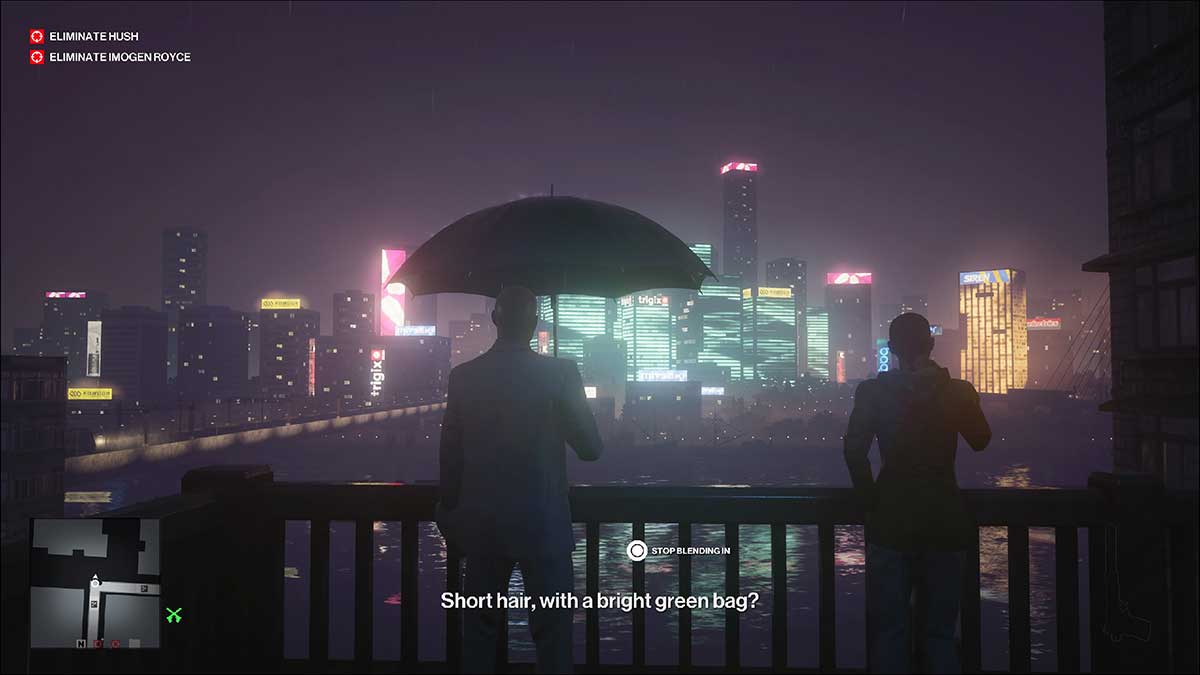
Agent 47’s starting location has him looking out onto the neon-lit waterfront. Head right and down the walkway, working your way down to street level. Check the image below to make sure you’re heading in the right direction.
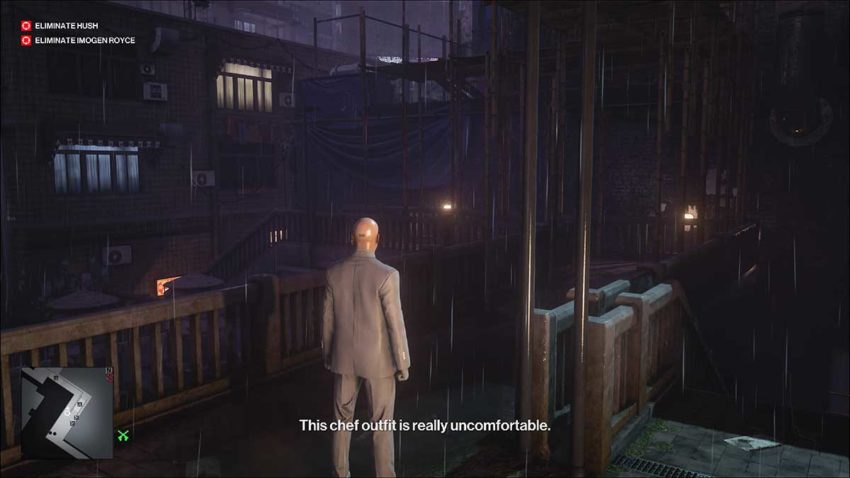
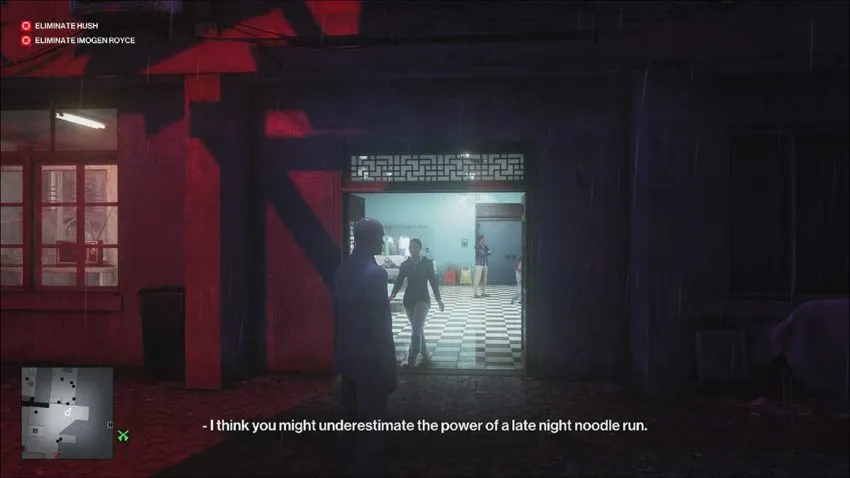
Once you’re on street level, run up the stairs to the row of stores there. You need to find the laundromat.
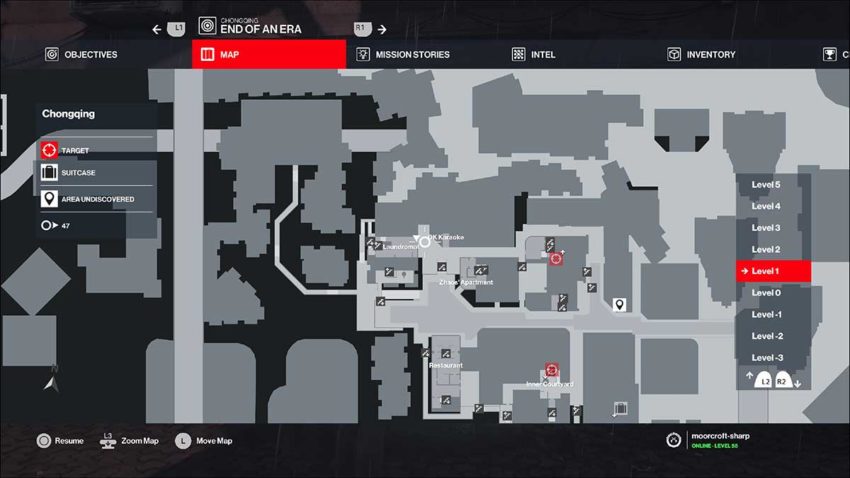
Below is a map reference for the laundromat.
Head to the back wall inside the laundromat. There’s a keypad here next to a door. Enter the code “0188” to get in and head up the stairs. You need to walk up two flights of stairs and then exit onto the rooftop. Be careful. There are two guards stationed here.
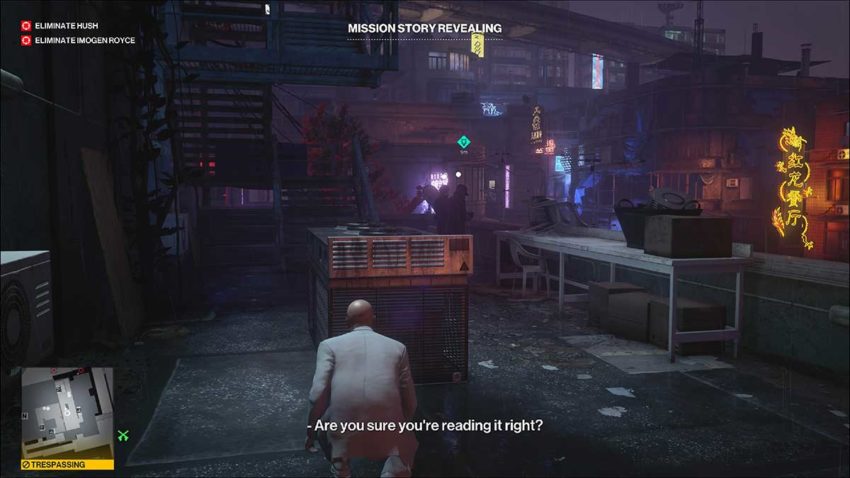
Sneak past these guards and up the stairs. Eventually, you’ll be taking them down, but there’s no need to worry about that just yet. At the top of the stairs is a single guard.
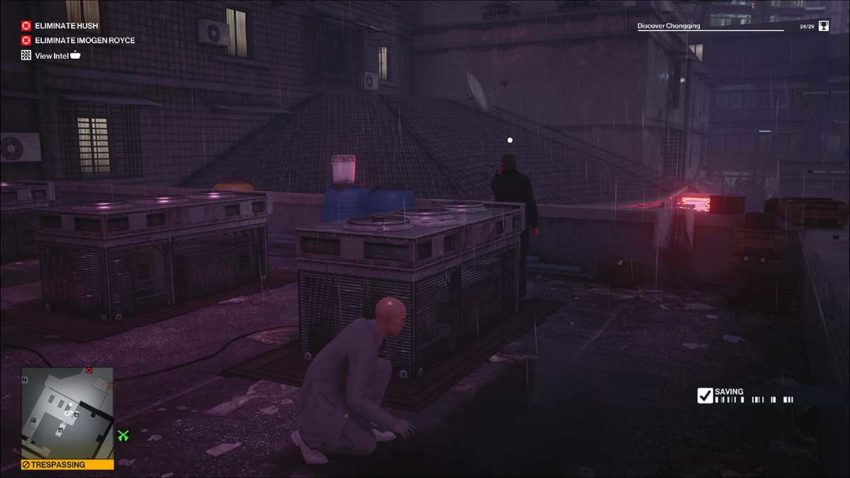
Subdue this guard and hide his body in the container on the same rooftop. Head back to the wall where he was standing and pick up the sniper rifle leaning against the wall.
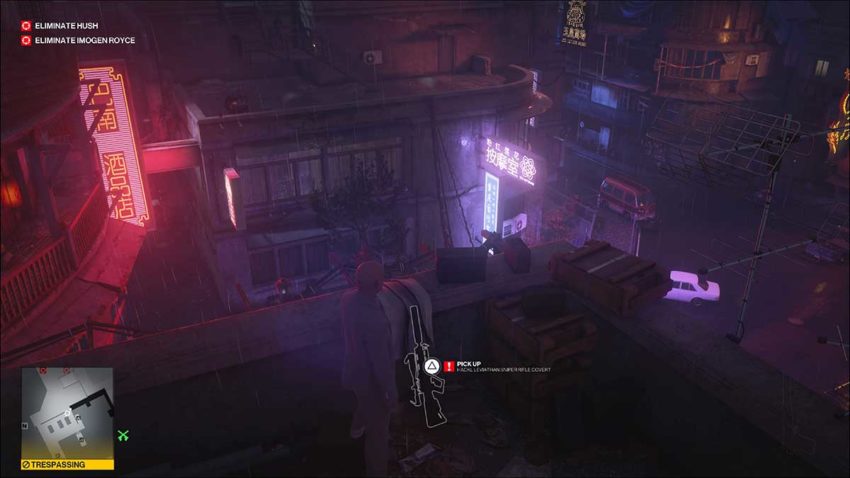
Now all you need to do is go up the staircase from this rooftop to the one above. There’s a platform up here that is the perfect vantage point for everything you need to do next.
Step 2 – Set up the killing shot
You can see the rooftop in the distance where five camera drones are buzzing around from this platform. Use the sniper rifle to shoot them all. The weapon has three levels of zoom, and you can slow down time briefly by half-pressing the trigger. This will help immensely when trying to get those finicky drone shots. Our only piece of advice is to wait until they pause at the end of one movement cycle to shoot them.
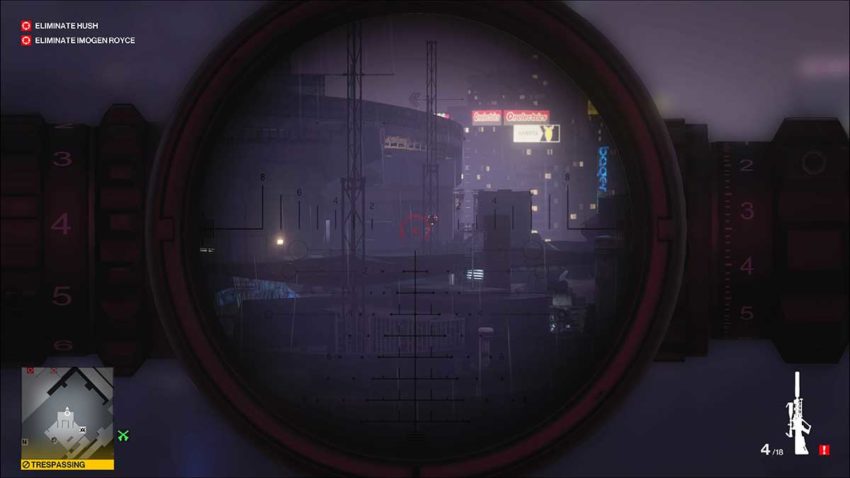
By now the guards you passed earlier will be on the rooftop below. They’re looking for whoever is shooting those drones. After a while, they’ll come up to your rooftop to investigate.
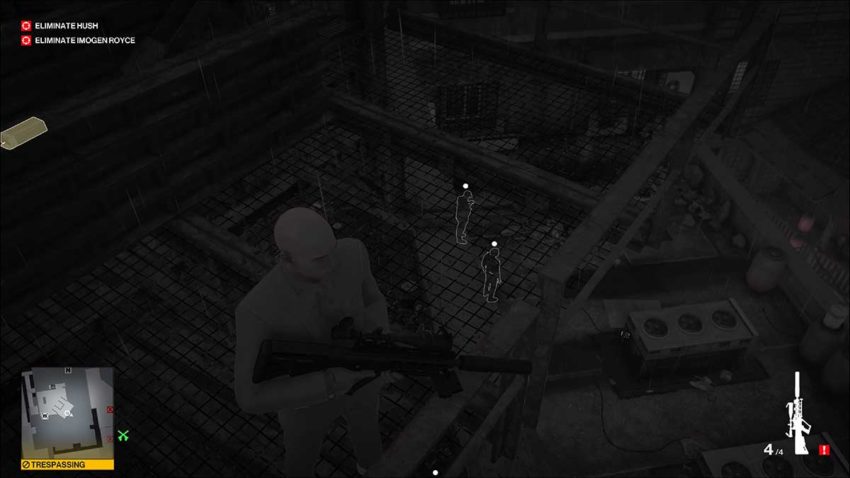
At the back of this roof is a piece of machinery. Hide behind it and wait for the guards to come up onto the roof. One will walk up to the platform you were shooting from. The other will walk right towards your hiding spot. Take him down when he’s close enough.
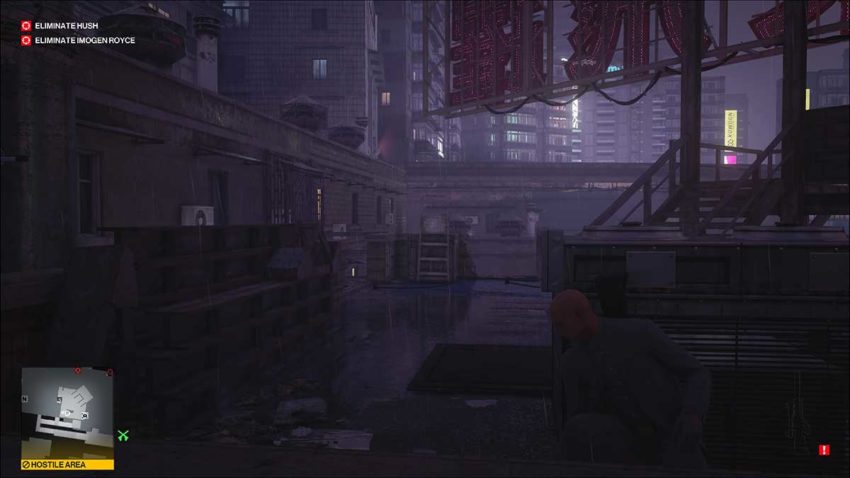
As soon as the first guard is down, sneak up the staircase on the left of the platform. The second guard will be coming down the staircase on the right. Get behind him as fast as possible and subdue him.
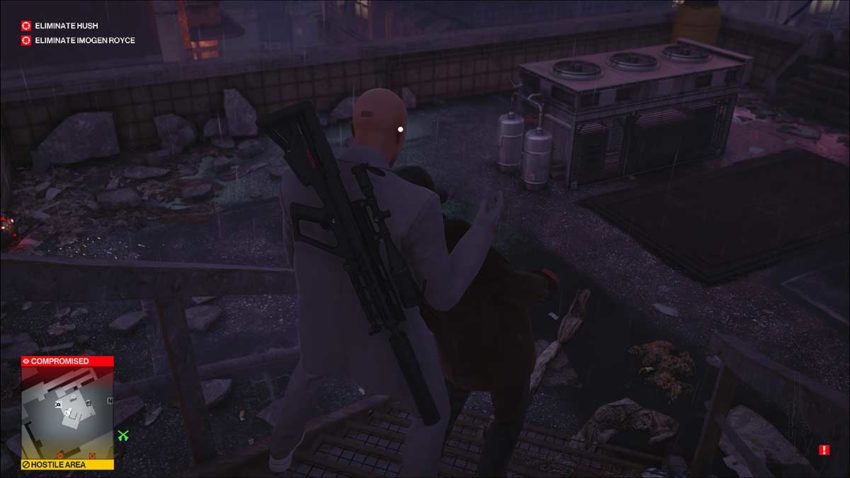
You can leave both bodies where they fall since no one will come up here to look for them.
By now, two more drones will have appeared on the rooftop to the left of the platform. Shoot them to finish the setup for this challenge.
Step 3 – One shot, two kills
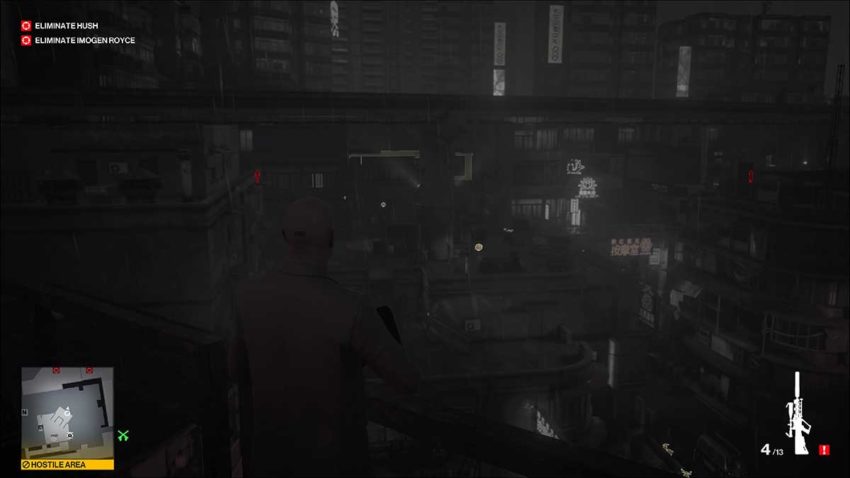
At this point, all you need to do is wait. Both targets will come out onto the walkway near the bright blue sign in the distance.
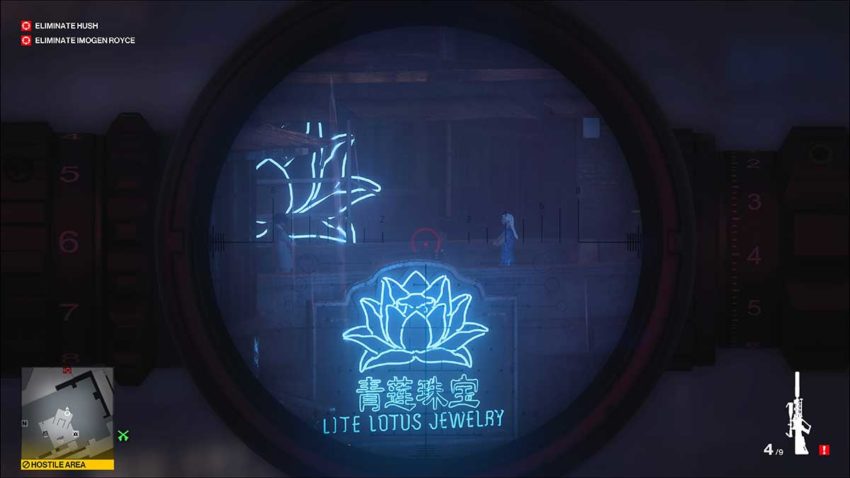
The targets will walk past each other three times during their conversation. Keep your sights trained on Hush though, because the first time they pass will see Imogen walk behind him.
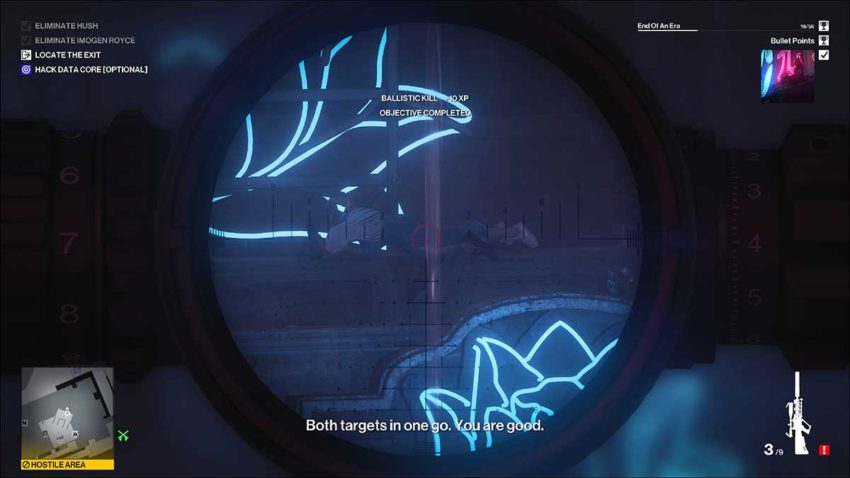
As soon as Imogen is behind Hush, fire a shot. You can kill both targets with a single bullet. You’re also able to use this setup to kill both in an explosion by shooting the propane tank that’s just in front of Imogen.
Step 4 – Exit
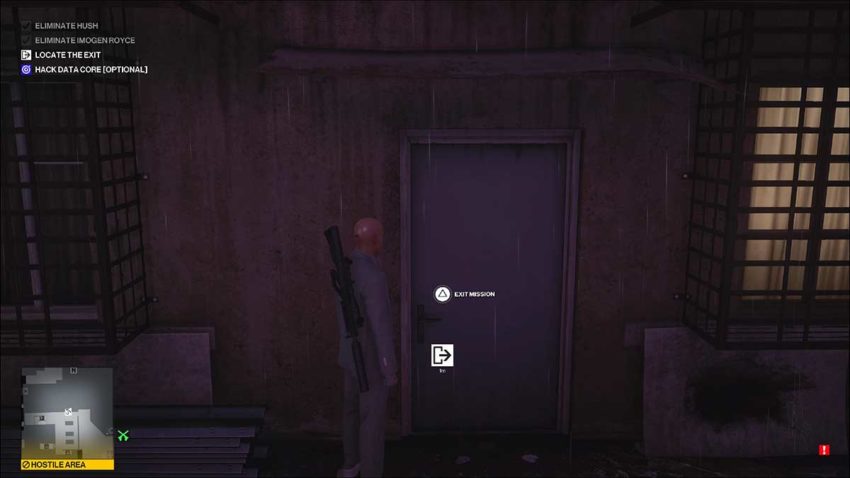
With both targets down, you can walk calmly back down the stairs and exit the mission using the door to your left.




Published: Feb 18, 2021 08:59 am