The Burning Shores DLC for Horizon Forbidden West feels incredibly overwhelming when you first start it. There’s an entire region to explore, and it’s hard to know where to start. Thankfully, there’s a side quest you can pick up in the first major hub, Fleet’s End, which acts as the perfect introduction to Burning Shores. This guide explains how to complete The Splinter Within side quest, so you can get one complicated quest and a new legendary Outfit under your belt before digging into the main story.
Related: Horizon Forbidden West: Burning Shores DLC – All Brimshine Locations
The Splinter Within side quest walkthrough
Below, we’ve outlined each step of The Splinter Within side quest and answered every question you might have while you’re playing through it.
How to start The Splinter Within side quest
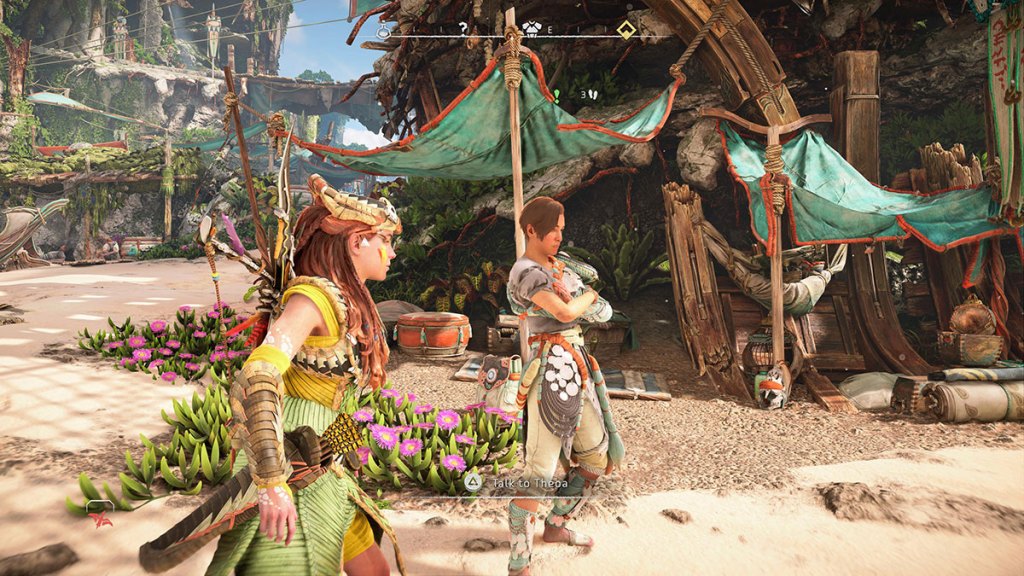
To start “The Splinter Within” side quest, you need to speak to Theoa. She’s one of the Quen in Fleet’s End, and Compliance officers are rifling through her belongings when you first meet her. Speak to her, and she’ll tell Aloy to meet her by a nearby campfire later. This starts the quest, and by speaking to her at that campfire, you’ll learn more about what you need to do and where to go.
Step 1: Sail to the east island and meet Rokomo
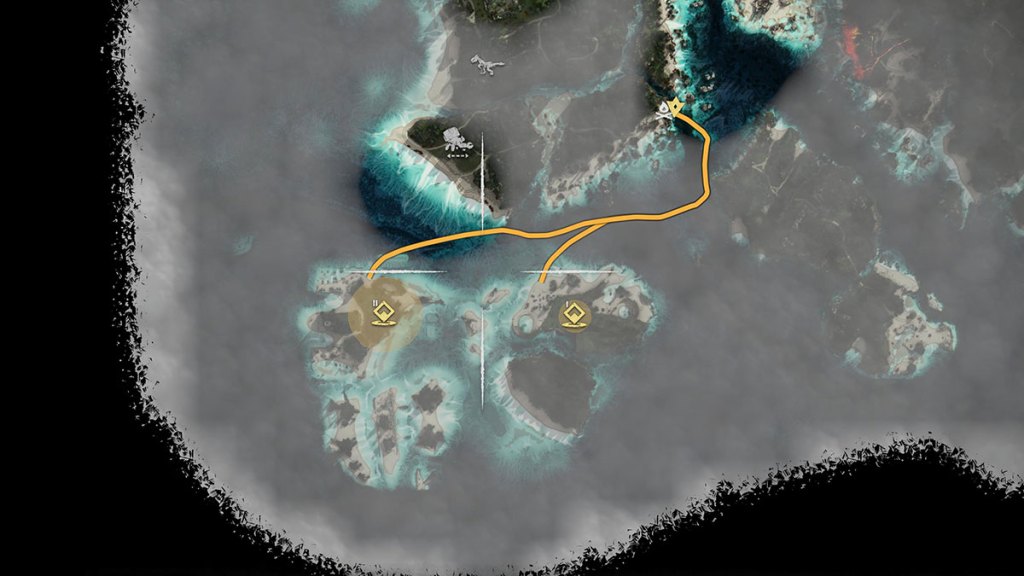
After speaking to Theoa, you’ll have two locations to visit. Head to the shore and jump into Seyka’s boat, which should be marked with an icon on-screen. Use this to sail to the east island, which is the closest of the two objective markers. When you arrive, you’ll see a few machines enraged by someone holding their position on a destroyed bridge.
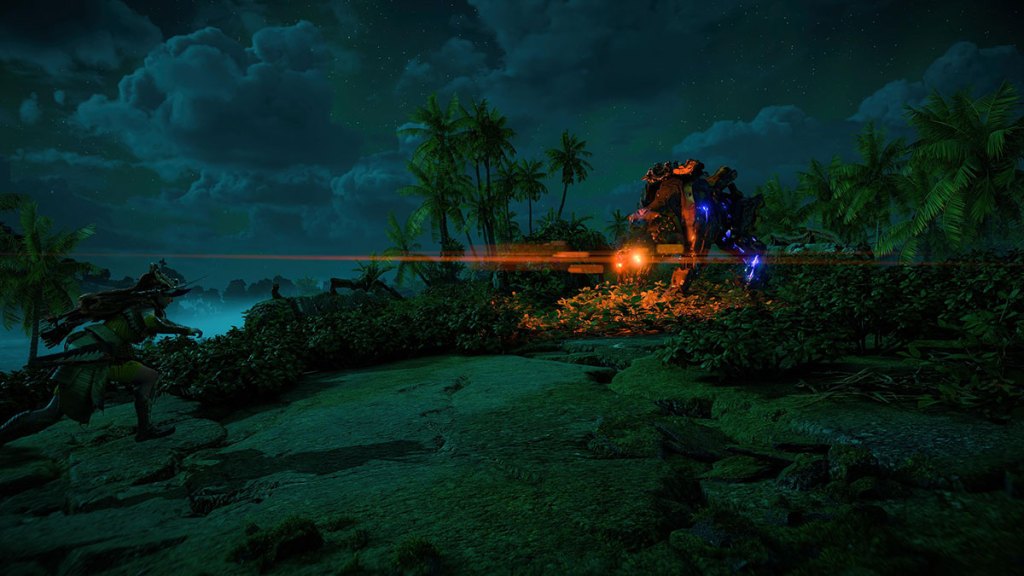
Use this distraction to deal heavy damage to as many of the machines as possible, then fight them until they’re dead. These machines are high-level and will push even experienced players to their limits. So take your time and use your best weapons to down them as fast as possible before they can gang up on you.
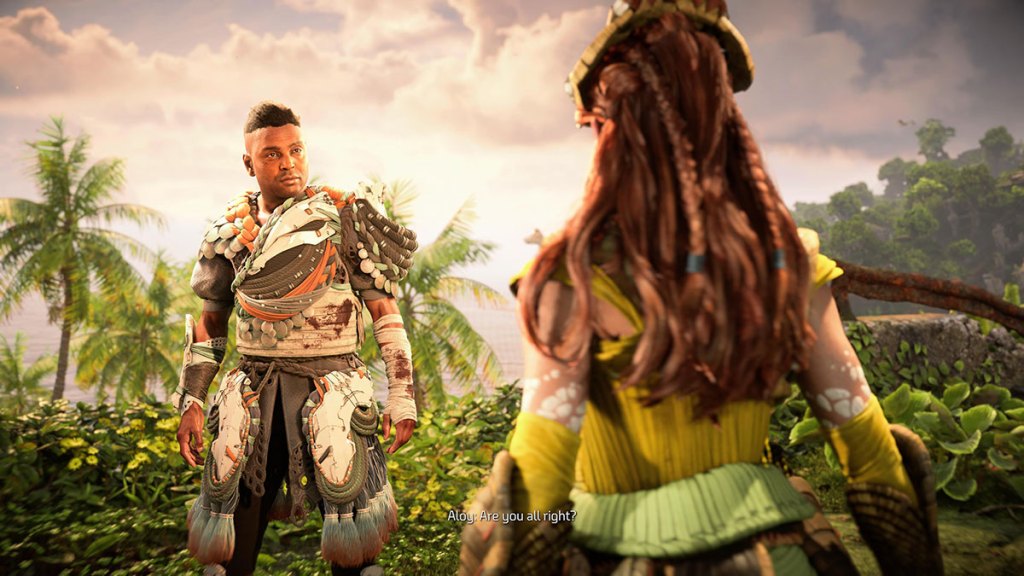
Once the machines are dead, Rokomo will throw down a ladder so you can meet him. He’ll explain his version of events and give you a new objective marker to follow for Enki’s Focus. From here, we suggest you go and get the Focus first since it’s the simplest of the two objectives.
Step 2: Find Enki’s Focus
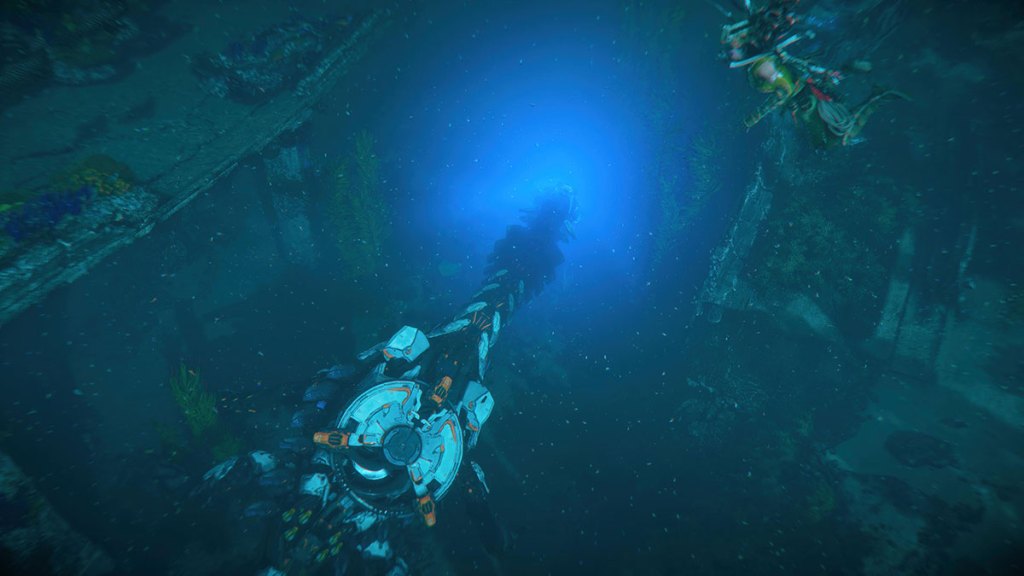
Rokomo says Enki’s Focus fell into the sea and gives you a rough location for its whereabouts. Sail there, and you’ll find a whirlpool in the middle of the sea. You need to park the boat nearby and dive into the water to investigate. When you do, you’ll see a Tideripper caught in a cycle of swimming in a circle. On its tail is a collection of rubbish picked up in a net caught there. Scan the net with your Focus, and you’ll see that Enki’s Focus is caught in there too.
How to get Enki’s Focus

To get Enki’s Focus, you must swim down to the section or road the Tideripper is swimming around. Then, wait for the machine to swim past your position before swimming out and aiming for the tail. You should get a prompt to grab onto it when you’re close enough. Press the button as soon as you see it appear, and Aloy should grab the net and take out Enki’s Focus. After that, you can head back to the boat.
Step 3: Search the island for survivors
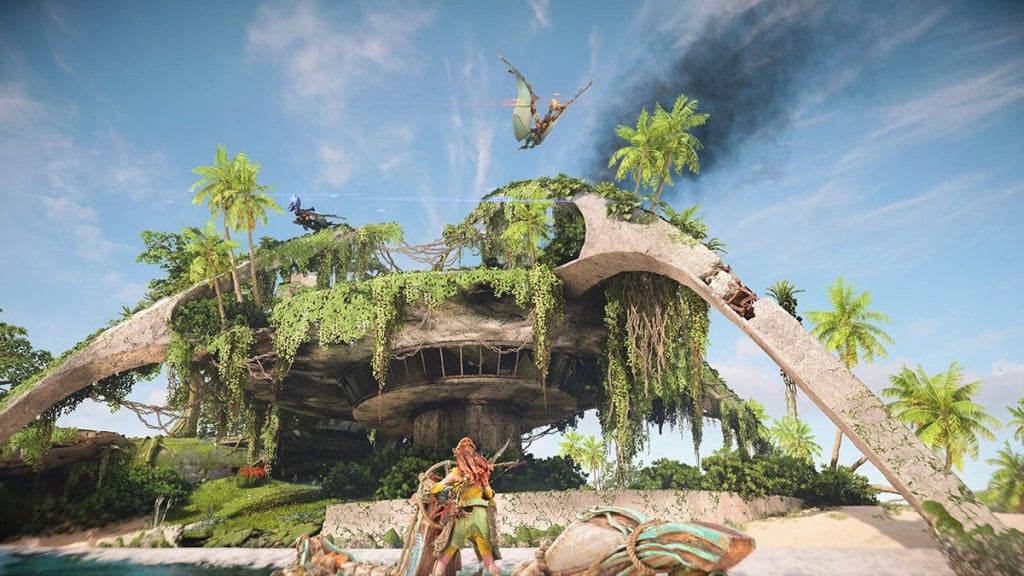
The last location to visit is the western island. Sail there, and you’ll find it’s completely devoid of people. The only things moving are three Waterwings, and to get to where the Quen were, you need to kill them all.
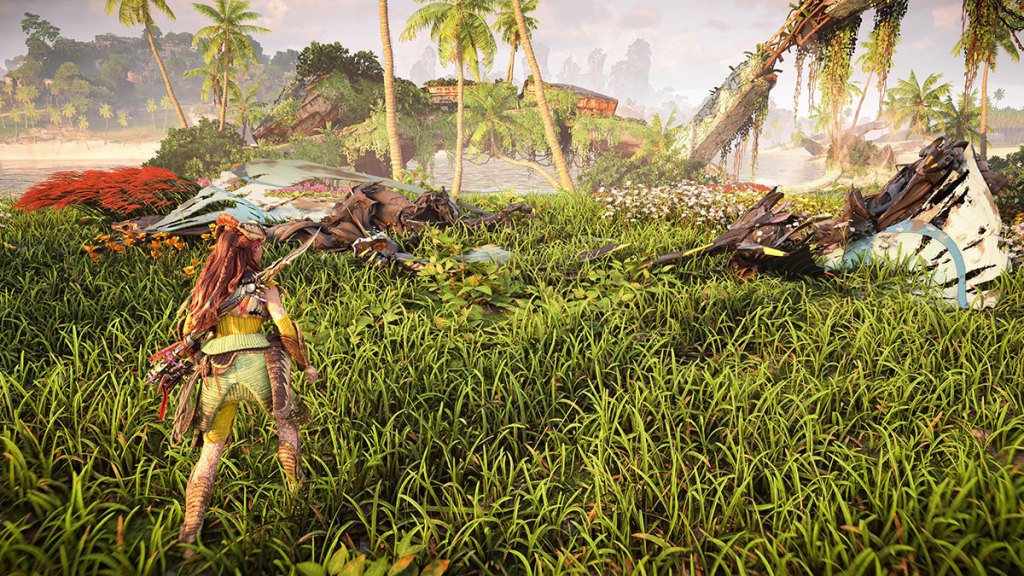
Waterwings are a new machine added with the Burning Shores DLC, and they are not easy to fight. They’re quick in the air and on the ground, with attacks that have two stages to them. This means you need to watch for how they move and dodge at the right moments if you want to avoid taking damage. As with most machines, the best way to kill them is to shoot off their parts and hit them with your most powerful weapons. We like to lean on Tear Arrows and anything that deals Tear or Shear damage so we can get as many parts as possible from every fight. Explosions are also great against Waterwings because damage knocks them out of their attack pattern.

Once the Waterwings are dead, Aloy must investigate the area they were nesting in. There are dead Quen everywhere, and by using your Focus to scan them, you’ll start to see the real picture of what happened here. The scans are easy to find. You first scan the dead body, then the bedrolls, then the nearby belongings.
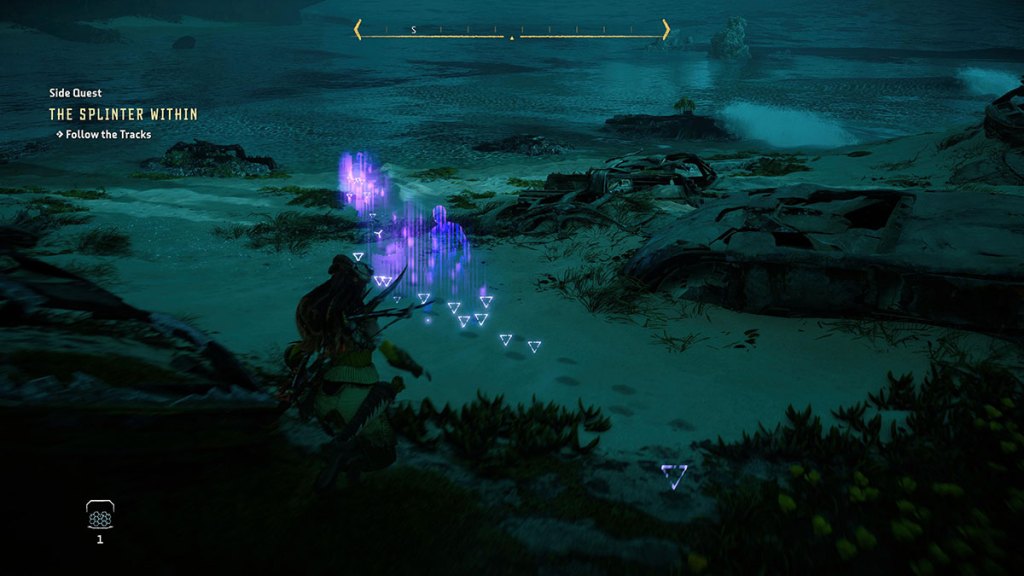
Finally, Aloy will need to follow a trail to another dead Quen. This one has big implications for the story because it shows that Rokomo was lying. Once you’ve uncovered all of this, the last thing to do is to get the map data from this island.
How to get the map data

The map data is inside the ruined building on this island. When you approach it, you’ll see that there’s a geyser spewing water out occasionally on one side. This is the side you need to climb it from. Unlike the climbing puzzles in the base game, here, you need to jump and open Aloy’s glider to boost her high enough to grab one of the above climbing points.
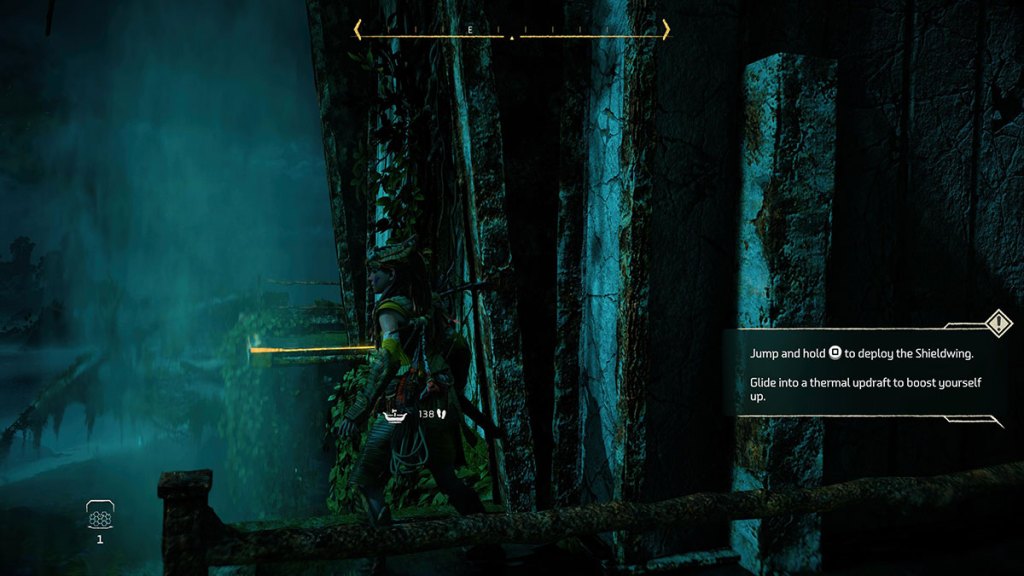
Follow the climbing points using Aloy’s Focus to highlight the path. When you come to a landing, you must use the grapple point above you to continue forward. There’s also a second, rather scary landing where you need to use the glider to get across another gap using a geyser.

At the top of the building, you’ll find a panel to interact with that will get Aloy the map data she needs to return to Theoa. With that done, you can sail back to Fleet’s End to complete the quest. When you arrive, Aloy will confront Rokomo before checking in on Theoa, who is about to be arrested by Compliance officers. Luckily, Rokomo steps in at the last second to save her by turning himself in. Aloy then gives Theoa Enki’s Focus with the map data she retrieved already installed.
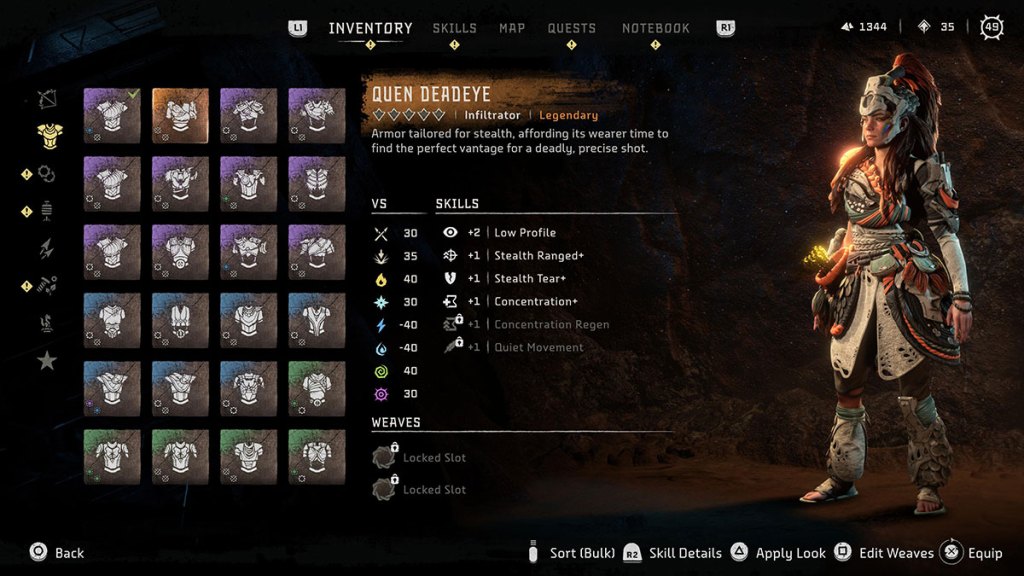
Your reward for completing this quest is the Imperial Gold Dye and the Quen Deadeye Outfit, one of the new Outfits added with the Burning Shores DLC. It’s an excellent Outfit for stealth and concentration-based builds that like to sneak around enemies and hit with precision. If you want to learn more about the new items in this DLC, including collectibles and other complicated quests, check out our hub guide for everything you need to know.




Published: Apr 19, 2023 09:50 am