It’s time to release Chums from his captivity. The only problem is you need to run through a long dungeon filled with different tasks to do it. All the while, getting attacked by Coiled enemies. This old god better give up some good loot for all you are going through to release him. The dungeon you are facing has plenty of puzzles and tasks to keep you entertained. Here is how you align the columns in Best Chums in Tiny Tina’s Wonderlands.

Best Chums is the quest you will get when you access the Coiled Captors DLC for the first time. This mission requires you to complete a gauntlet of tests to free an ancient being from captivity. Each room is the same when you start up this dungeon. The first room will have you spinning rotating discs to break a seal and get through to the last section of the room. The second room comes in with something similar to the first. This room is filled with ice and frozen sharks. Oh, and it has three columns that need to be aligned.
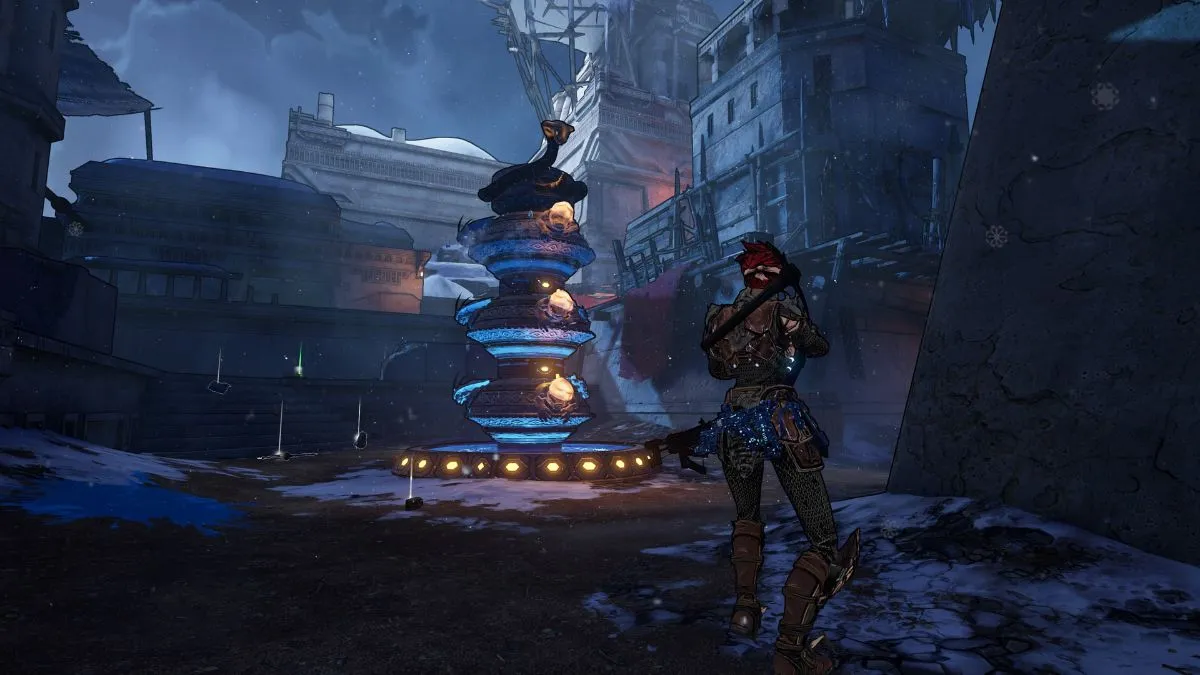
Aligning the columns is similar to breaking the seal in the first room. You will need to locate the three columns and shoot each of the three discs that make up each column. You can find the three columns in the following locations:
- Straight ahead of the entrance.
- On the other side of the temple path.
- Inside the temple path. This one is up above the other two and near where you will exit the room.
You will notice small lights in a line going up the columns. You will need to shoot each section of the columns until the seawarg symbol lines up with each light. The lights will go out when they are aligned and the column will disappear. Once all three of the columns are complete, the exit portal will appear. Be careful, each time you complete a column, two seawarg enemies will become unfrozen and attack you.


Published: Apr 21, 2022 12:40 pm