After unlocking Eden’s Promise and beating the first three fights, you’ll gain access to Eden’s Promise: Eternity. The final battle of the Eden series of raids pits players against a surprising boss. Mythology and literary enthusiasts may recognize the inspiration behind the boss’ name and design. Following the previous raids, this last boss is more of a spectacle than anything, with a few mechanics that will test your memory.
Eden’s Promise
Maleficum: Raid-wide damage. Shield up beforehand and heal.
Cast: The boss will tether to one of the five primal images across the way. Pay attention which primal is linked to the boss, as a mechanic inspired by this primal will soon play out. The order for this attack is random, so you’ll need to remember which primal uses which attack. You’ll need to be in your safe spot by the time the cast bar finishes. This leaves you with little room to adjust at the last second.
The Titan and Shiva images will become important later on in the fight. For now, focus on Leviathan, Garuda, Ramuh, and Ifrit.
(Leviathan): Two wide AoE attacks will form at either side of the platform. Stay near the center to avoid these.
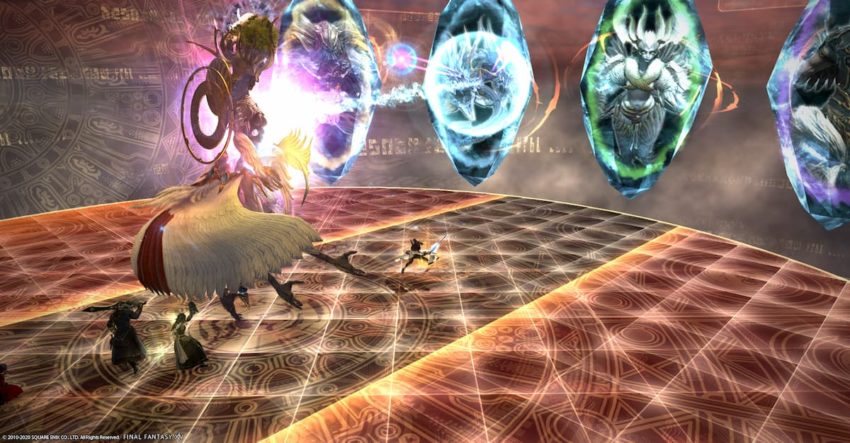
(Garuda): A number of conal attacks will shoot out from the cardinal north, west, south, and east sections of the boss. Stay along the intercardinal to dodge the attacks.
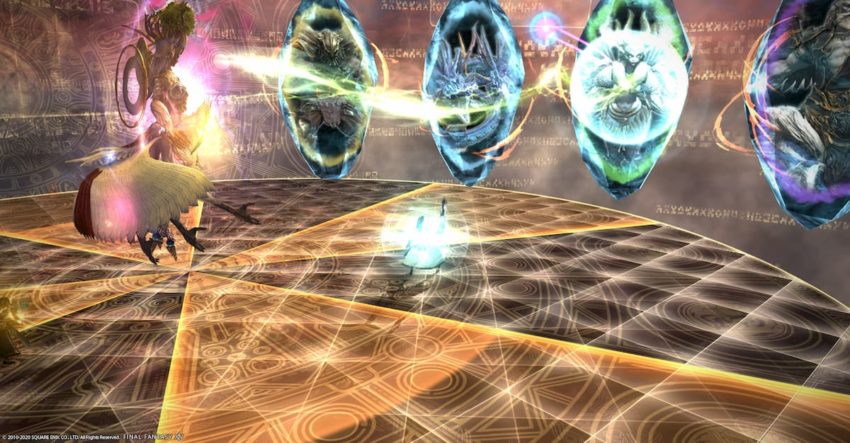
(Ramuh): A point-blank AoE will appear beneath the boss. Move out.
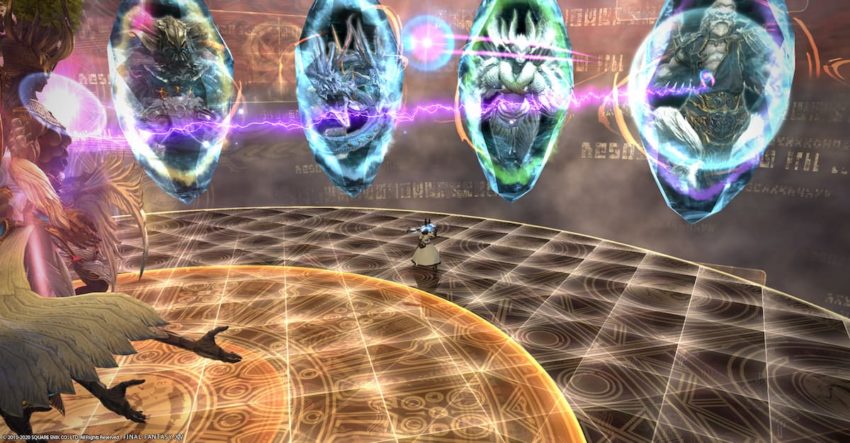
(Ifrit): Two wide cones will appear along the north and south. Stay within the thin safe spots at the east and west sides of the boss.
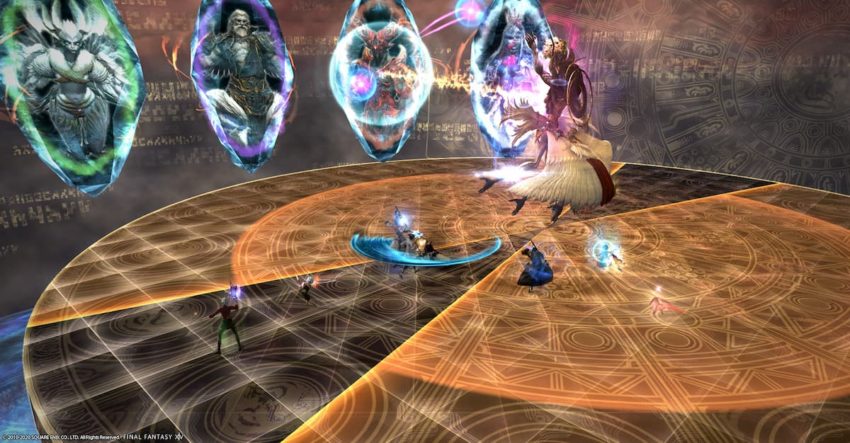
Formless Judgment: Heavy tank busters on both tanks. Use your defensive cooldowns.
After the next cutscene, walk into the white teleportation device. You and your party will float to the next platforms, resolving the conflicts on each platform. Once you finish resolving each conflict, take the teleportation device to the next platform.
To avoid spoilers, you’ll simply need to follow a few simple mechanics. Kill adds quickly and split up into two groups for the double stack markers that appear. Adjust yourself for knockback indicators, move out of the way if you get any white indicators over your head, and soak damage when the blue line stack marker appears.
When the boss returns, pre-shield for the incoming raid-wide attack, then heal up afterward. The fight will resume.
Like before, the boss will continue junctioning to the primal images. This time, the boss will junction to two primal images instead of one, combining their attacks together at random.
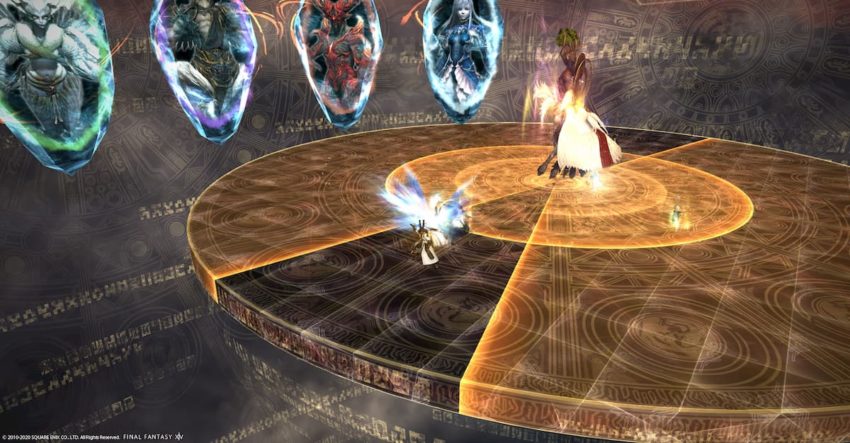
Stock: The boss will “charge” the junctioned primal abilities for a little later on. Remember which primals are stocked.
Release: The boss will unleash the stocked primal abilities. Get to your safe spots.
(Titan): Now, when the boss junctions to Titan, earth-themed mechanics will follow for a mini-phase. Earthen Fury is raid-wide damage. Several bombs will spawn around the field as well. Move away from the bigger bombs while watching the order the smaller bombs spawn in. Get to the second set of smaller bombs to drop, then move into the first set as they explode. You’ll be safe from the next explosion of the second bombs.
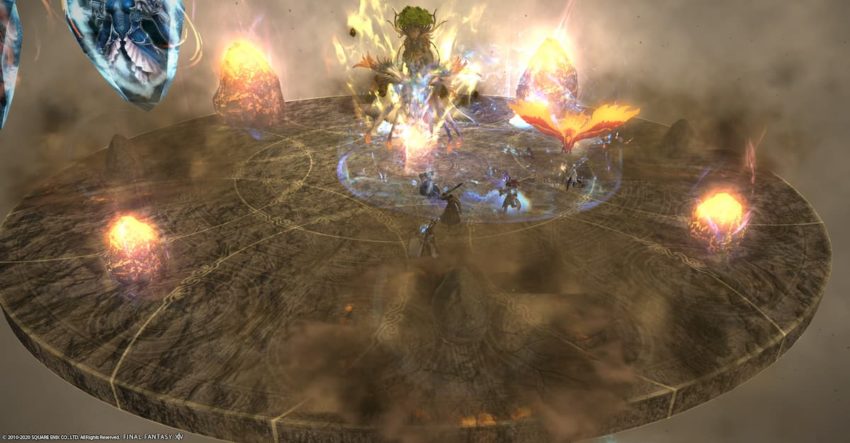
(Shiva): Like Titan, another mini-phase will follow, this time with Shiva’s ice-themed attacks. Diamond Dust will do damage to the raid while also covering the ground in slippery ice. Try not to move too much, as it’s possible to fall off the platform. At the same time, you’ll have to spread for red circles. Then a shared stack marker will appear around one player, so be sure to stack with them.
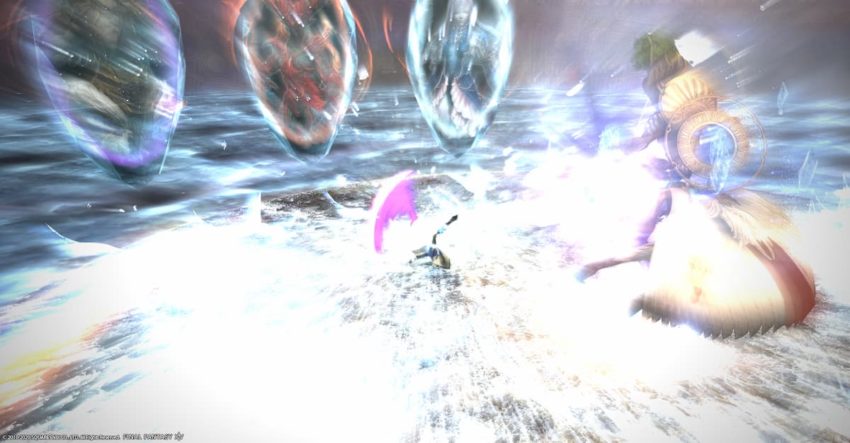
Rapturous Reach: The boss will cleave a large section of the platform for high damage. This happens during the Titan and Shiva mini-phases. You’ll need to spread out for those mini-phase mechanics while dodging this large cleave.
Keep watching for which primal abilities are stocked and about to go off. These mechanics will all repeat until you defeat the boss.


Published: Dec 15, 2020 07:41 pm