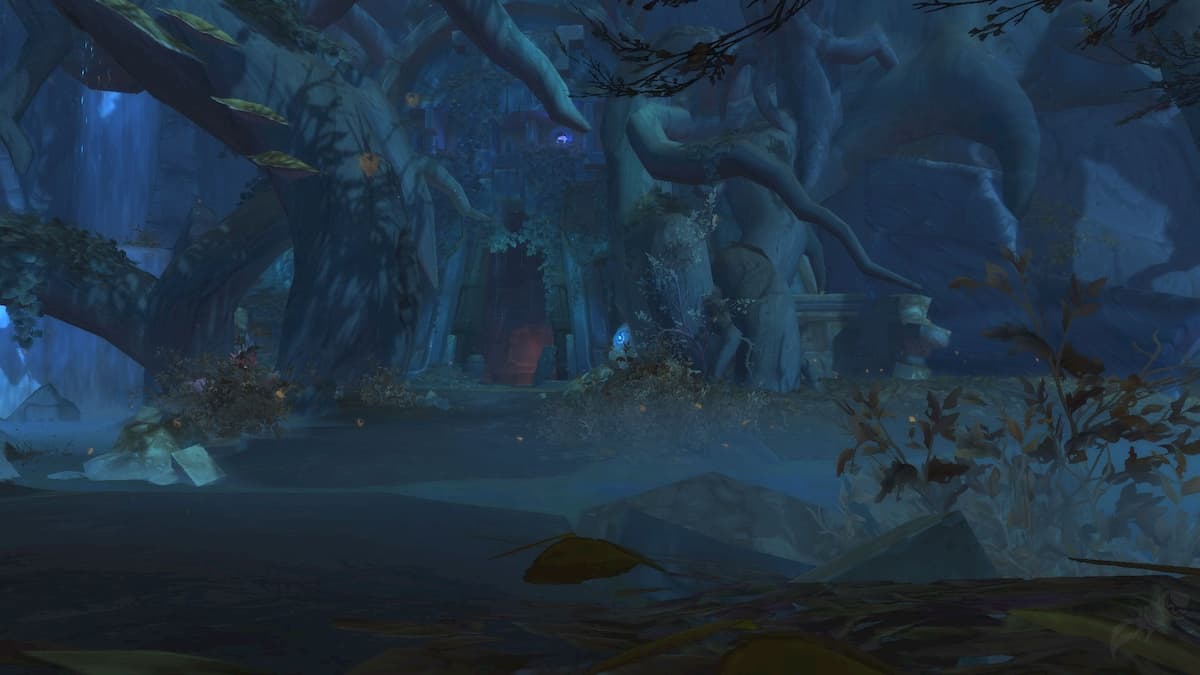
Four encounters await you once you enter De Other Side, one of the newest dungeons in World of Warcraft: Shadowlands. We’ve detailed each boss below, showing you how to stay alive and keep all your wits about you.
Hakkar
Think of Hakkar as one big question: how much damage can you possibly do during a fight? You’ll answer it here. Utilize Bloodlust and Heroism if anyone in your party has access to them.
Throughout the fight, Hakkar will bring in adds called the Sons of Hakkar. Focus on these when you can, as they will cast Blood Nova to deal AoE, and it can stack while they’re alive. Each Son of Hakkar that dies will leave Spilled Essence before they revive with a full health bar.
Hakkar can debuff anyone with Corrupted Blood, which will form a big red circle. Keep the heals on whoever gets targeted while ensuring they stay away from other party members.
When you get Hakkar down to 100 energy, he’ll put up a Blood Barrier. Hakkar will absorb the amount of damage this does to everyone, so try to reduce damage as much as possible when you know Hakkar’s energy level is low. The Blood Barrier will also suck health away from any Sons who are alive when it’s cast. After the barrier, you will also deal with Blood Barrage, which sends out red whirlwinds in your direction. These damages you and reduce your attack, so be sure to dodge.
The Manastorms
Millhouse and Millificent Manastorm will trade places on the ground during this fight. Millhouse always starts first, and he’ll use Power Overwhelming as his first trick. The crystal is supposed to target Millhouse, but one of your party members can block it. That party member will absorb the buffs meant for Millhouse but will also take increasing Arcane damage.
Meanwhile, Millificent will cast Echo Finger Laser X-treme, which is not nearly as cool for you as it sounds. Two players will get arrows over their heads, and seconds later, a line will appear between both arrows. This line deals damage, and even more damage occurs when the line explodes a couple seconds later. Fortunately, you can use this to coordinate an attack against Millhouse, so be sure he’s tucked between the two party members who were targeted with arrows.
Eventually, Millificent and Millhouse will trade places, and she will wind up on the battlefield. Her Buzz-Saw ability not only does a ton of damage, but it causes Bleeding, so get your tank ready. She can also call forth an Experimental Squirrel Bomb, which one of your party members must quickly click before it blows up in your faces.
The last ability to look out for is Shadowfury from Millhouse. You’ll see a blue circle underneath the target, and whoever becomes the target should run toward Millificent. The ensuing explosion will damage her in the process.
Dealer Xy’exa
Xy’exa doesn’t have a big ability list, but the ones she can use may pack a punch if you aren’t careful. Your main weapon is the Displacement Trap, a fitting name for what appears to be a portal on the ground. Although it’s called a trap, and you will take a bit of fall damage after stepping in them and launching yourself, you need these to dodge her other attacks.
Xy’exa will use the Localized Explosive Contrivance on a single party member. Whoever has a bomb icon on top of their head will need to run to a Displacement Trap and launch themselves just before the timer expires. This will cause them damage but minimize the damage for the rest of the party. There’s also a larger version of this attack called Explosive Contrivance, which will require strict cooperation from your party when you all need to jump into portals at once.
Mueh’zala
Mueh’zala contains a pair of phases, and your party will spend most of the fight against the mechanics of the battle rather than dealing direct damage. In the first phase, Master of Death will send out three slam attacks in any order. If Mueh’zala raises his left arm back, he will hit the left side of the arena, and the same for his right arm. He’ll hit the front if both arms rise and turn green.
He also uses Cosmic Artifice, which will target anyone who isn’t a tank. Get away from the center of the room when this debuff expires, as it will explode to do damage, and place an orb in the area that will also damage anyone who approaches.
Shatter Reality is the meat of this fight. This is a long spell, but if you don’t do what’s necessary, anyone at the end of this cast will instantly die. Mueh’zala will open a series of portals, and you need to split your party into them if you want to survive. Send two of your DPS units to the left and the rest of your party to the other side, or vice versa.
You will all wind up on another platform, facing an add called the Shattered Visage. Kill it, and click the totem. This will allow Bwonsamdi to hit Mueh’zala, knocking off 20% of Mueh’zala’s entire health.
You can repeat this process until all four totems have been hit, and you’ll only have 10% of Mueh’zala’s remaining health to bring down.


Published: Dec 17, 2020 01:30 pm