Before you deploy in the field in Rainbow Six Extraction, you’re introduced to various game mechanics via the game’s VR Training incursion. You can just rush through it and move straight onto “real” incursions, but there’s some relatively easy, low-risk XP to be earned by completing all of the VR Training Studies, and you should be able to get all of these in just one additional playthrough of about 5-10 minutes. The six Study objectives are as follows:
Make a first run of the VR Training
This simply requires that you extract successfully from VR Training. For this Study, you don’t even need to complete any other objectives – just survive.
Cover Archӕans with Smoke
Throw a Smoke Grenade at one or more Archӕans to get this Study. You might as well take them down while you’re at it.
Extract from the third Sub-Zone
If you extract from either the first or second Sub-Zones, then you won’t complete this Study. Extract from the third Sub-Zone, even if you didn’t complete the MIA Rescue successfully, and you’ll complete this Study.
Take down Nests
There are plenty of Nest in the VR Training Incursion and you can take them down whether or not they’re alerted. It’s easier when they’re dormant though, so stay sneaky.
Stealth Kill Enemies
Archӕans and Nests both count towards this Study and the easiest targets for stealth kills are unguarded, dormant Nests. The Archӕans in the VR Training incursion are fairly stupid and predictable though too. All you have to do is either crouch to sneak up behind them, or hit them with a Smoke Grenade and take them down while they can’t see you.
Complete all Objectives within VR Training
Biopsy
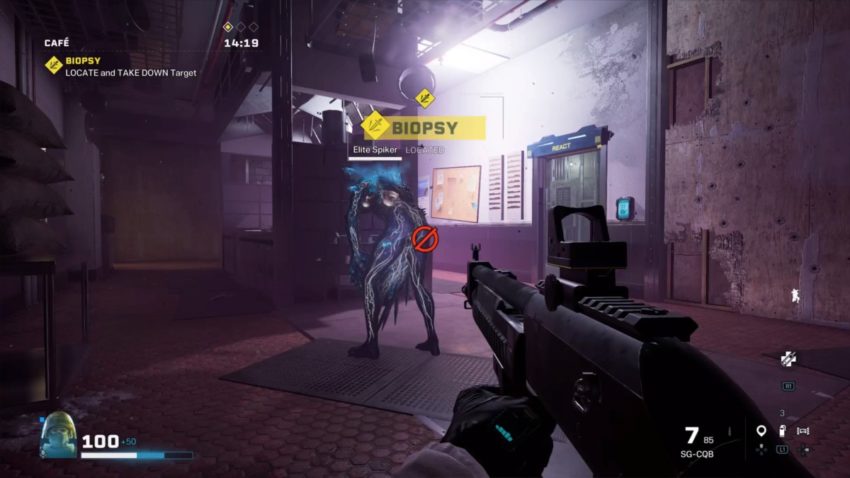
You can take Mira’s advice and locate the target Archӕan using your Drone, but it’s always inside the building to the right of the start of the mission. It’ll always be standing in or near the kitchen area and it never moves or turns around, so it’s really easy to stealth kill.
Nest Tracking
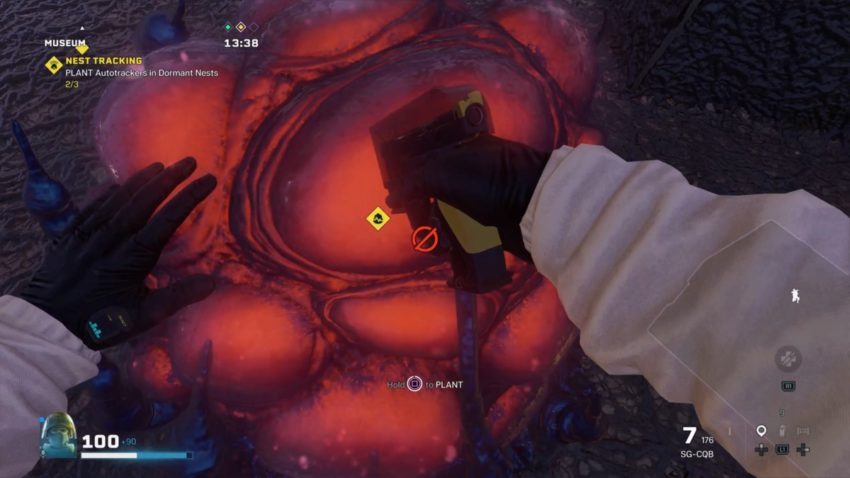
There are lots of Nests in the second Sub-Zone, but you need to approach at least three of them while they’re still dormant. This means either not alerting the Archӕans guarding them at all, or if you do alert them, killing them before they can howl and alert nearby Nests.
The locations of Nests and Archӕans vary a little in the Sub-Zone, but bearing left at the start always seems to work well. Go up the stairs, turn left and throw a Smoke Grenade, then take down any Archӕans in this area before they can howl. That should leave one or two dormant nests to plant Autotrackers in. Then go back to the top of the stairs and go in the other direction, following the wall towards the extraction point. There’ll be a few Nests along here. They’ll be guarded, but if you stay close to the wall, you’ll be able to stealth kill any pesky nearby Archӕans.
MIA Operator
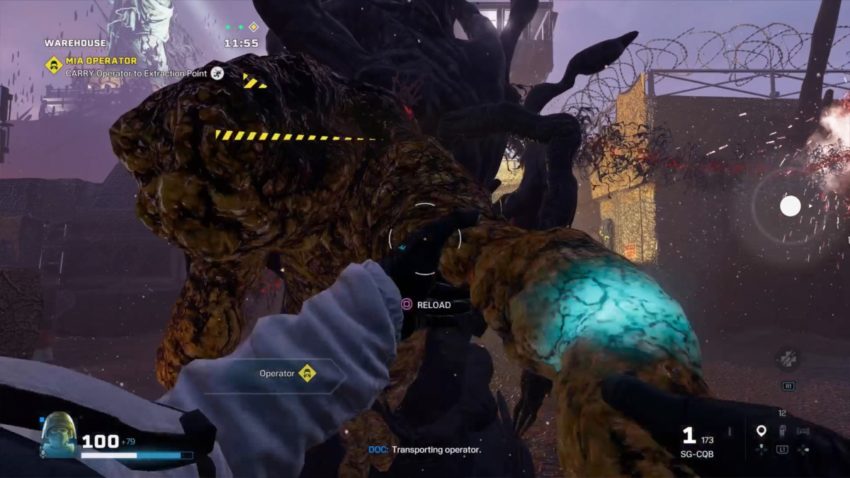
The MIA Operator is always located on the far side of the third Sub-Zone, so from the start point, turn left and go between the building, then go down the stairs. At the bottom, go left then right straight away, and you’ll see the Archӕan Tree at the far end of the road.
Pulling the Operator out of the Archӕan Tree is fairly easy when you know how, but the process can be complicated and confusing at first. Start by waiting for one of the Anchor Points to open and shooting it until it’s destroyed, then shoot the Archӕan Cells on each of the other two cords. Now, hold the button to pull on the operator. As you hold the button, you’ll see the Operator icon slowly moving to the right on the HUD, towards the REACT logo. Keep holding until you see red icons approaching from the left. These represent Archӕan Cells on the way, so let go of the Operator and shoot the Cells. Repeat this process until the Operator icon reaches the REACT logo and the Operator is free.
Now, you just have to carry that poor soul to the extraction point, put him down, and interact with the door control. Objective complete!






Published: Jan 19, 2022 07:00 am