Expeditions are where you can dig up buried treasure you’ve discovered in Destiny 2’s Season of Plunder. This will allow you to grab some of the best loot after defeating some Fallen pirate captains through the Ketchcrash activity. For Expeditions, you and your crew must act quickly to grab your plunder and get out before too much trouble shows up. This guide covers how to complete Expeditions in Destiny 2’s Season of Plunder.
How Expeditions work in Destiny 2
There are multiple stages to an Expedition. After you’ve done these the first time through the Sails of the Shipstealer quest, make sure you’ve completed Ketchcrash mission to earn Map Fragments, and you also have plenty of Treasure Coordinates on you. When ready, visit your Captain’s Atlas to start the Expedition.
Related: All seasonal challenges in Destiny 2 Season of Plunder
Collect Treasure
When you arrive at the Buried Treasure site in the Expedition, there will be a drill you need to activate. This will be hovering above the treasure, and you will need to wait until it’s dug down deep enough to reach it.
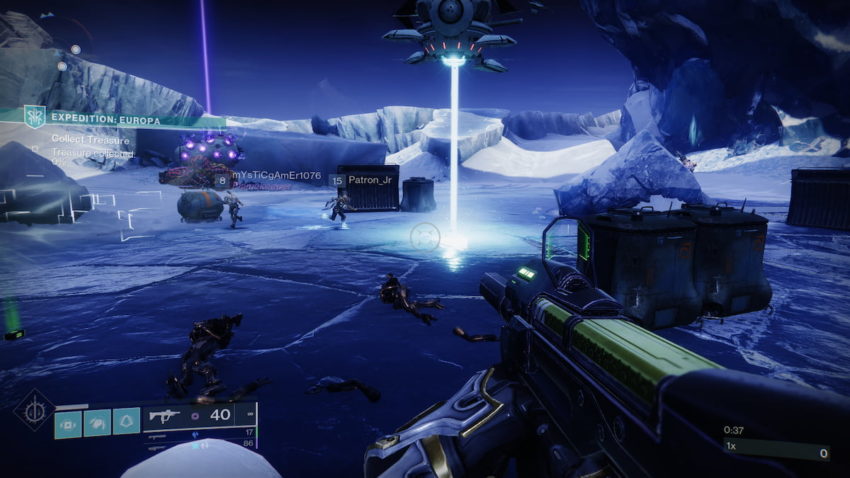
Multiple hostiles will arrive at your location attempting to stop you, and you must protect the drill until it’s finished digging. After it has, it’s time to loot your treasure.
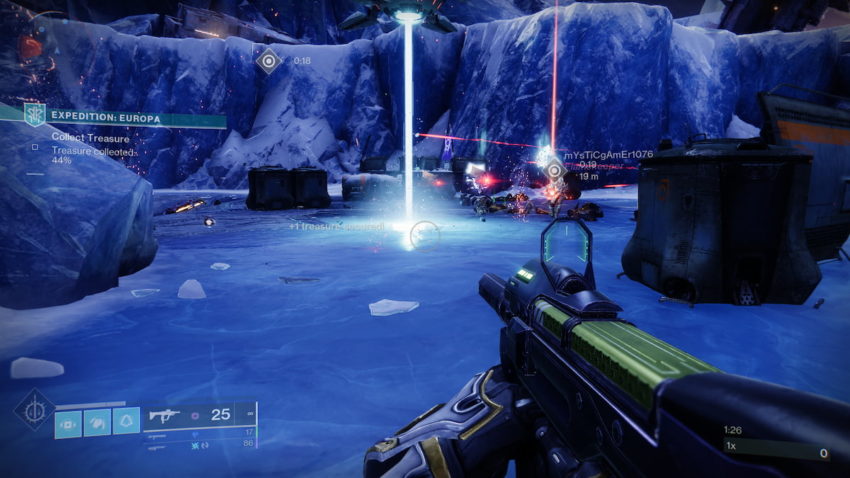
The treasure will shoot up from where the drill was digging down, and you will need to grab it. While holding the treasure, toss it into your crew’s Convoy, and collect as much as possible.
Escort treasure
You can move on when it reaches 100%, and you must escort the Convoy to the next location. You can expect multiple hostiles to arrive at you while you do this. Make sure to stay next to the Convoy to keep it going throughout this process until it reaches the next X on the map.

When you arrive at this location, you will repeat the process you’ve already done. You must activate the drill, protect it, and collect the treasure as it pops up from the ground. A jammer will stop the drill from working halfway through this point. A waypoint will appear, detailing where you need to go next, and you must destroy it. After it’s gone, return to the drill and finish what you started.
Defend the plunder
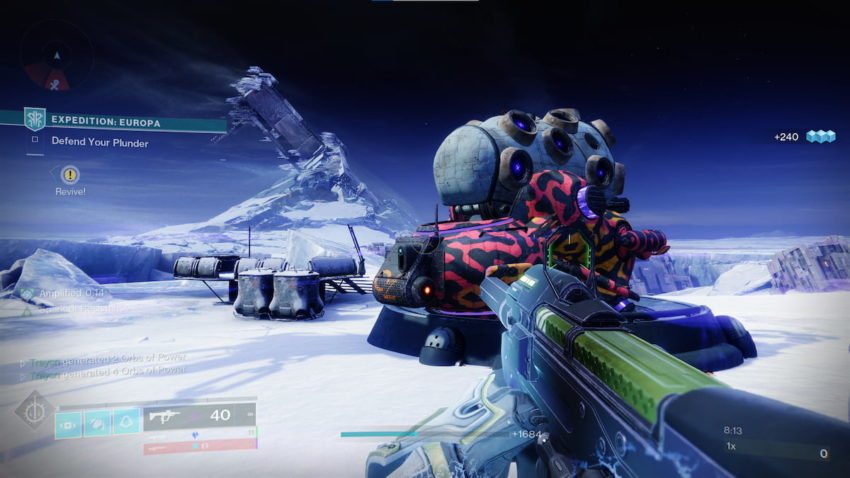
Now, with all the treasure under your protection, you have to guide the Convoy to a nearby landing area where you have to protect it from an onslaught of privateers, including a hard boss stopping you in your tracks. Once all of these enemies have been defeated, you can pick up the treasure and divide it among your crew, completing the Expedition activity.










Published: Aug 23, 2022 02:48 pm