There are several EMF experiments for you to work through in Marvel’s Spider-Man 2, each with a unique puzzle. One of these puzzles appears in Hell’s Kitchen, and it can be tricky to come up with a solution.
You’ll be trying to find a way to make the plants in that part of the city immune to the pathogens in the water. Thankfully, the fish in the area are immune to them, presenting a solution for you. Here’s what you need to know about how to complete the Hell’s Kitchen EMF Experiment in Marvel’s Spider-Man 2.
How to Destroy All Corrupted Atoms in EMF Experiment in Marvel’s Spider-Man 2
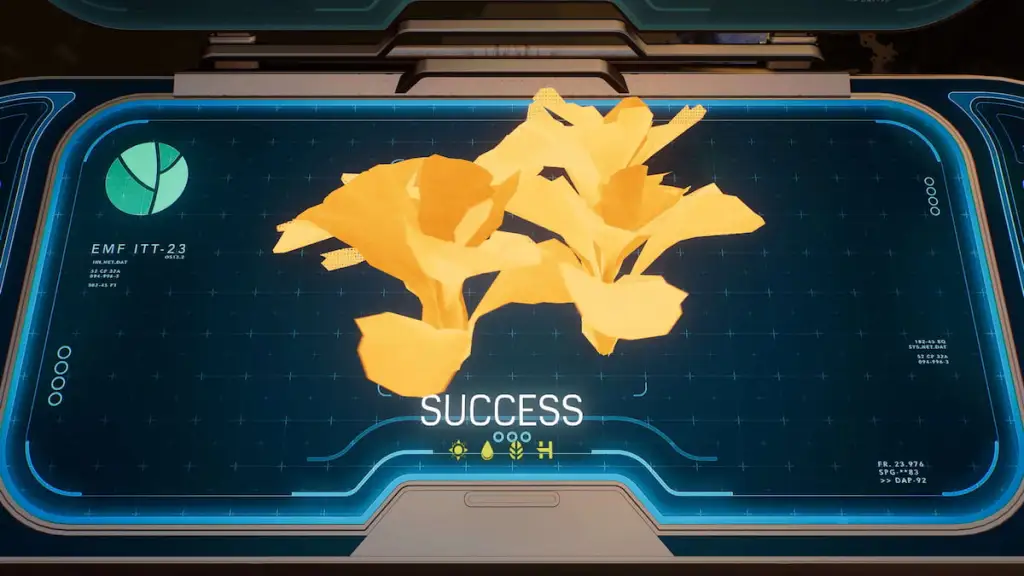
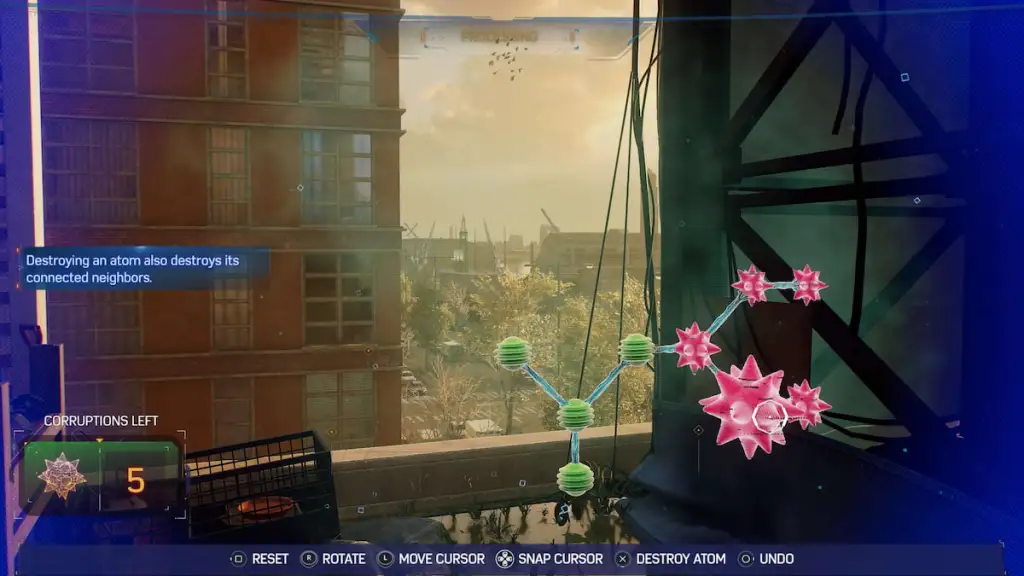
The first activity you’ll have to work through in the Hell’s Kitchen EMF Experiment is to figure out what’s causing the corruption of the plants on that rooftop. It turns out, that the water’s the primary issue, and for this activity, you’ll need to destroy the corrupted atoms to sort them out. In Marvel’s Spider-Man 2, you do this by targeting a specific atom node to destroy it, but it also destroys any of the neighbors connected to it. You want to make sure you only get the corrupted atoms and none of the essential ones.
All Corrupted Atoms in Hell’s Kitchen EMF Experiment, section 1
There are numerous corrupted atoms you need to destroy in each activity. Identifying the correct atom in Marvel’s Spider-Man 2 can be complicated. You need to destroy it to complete the set, purifying the essential atoms. In the first set, you’ll have a left and right series of atoms to destroy. For the left side, aim for the corrupted atom on the bottom, taking out those three.

You can choose between destroying the top or bottom set of corrupted atoms in the next set. However, to complete this activity in Marvel’s Spider-Man 2, make sure it’s the one in the middle. This will destroy the corrupted atom connected to the essential ones, destroying them all, and you can now move on to the next set of atoms.
All Corrupted Atoms in Hell’s Kitchen EMF Experiment, section 2
In the second set, things will get a bit more complicated. You now have a third atom to look out for, a neutral one. In Marvel’s Spider-Man 2, the neutral atom is how you can clear up this section much more quickly. On the first set, on the left side, select the neutral atom to destroy the two connecting corrupted atoms, clearing the way.
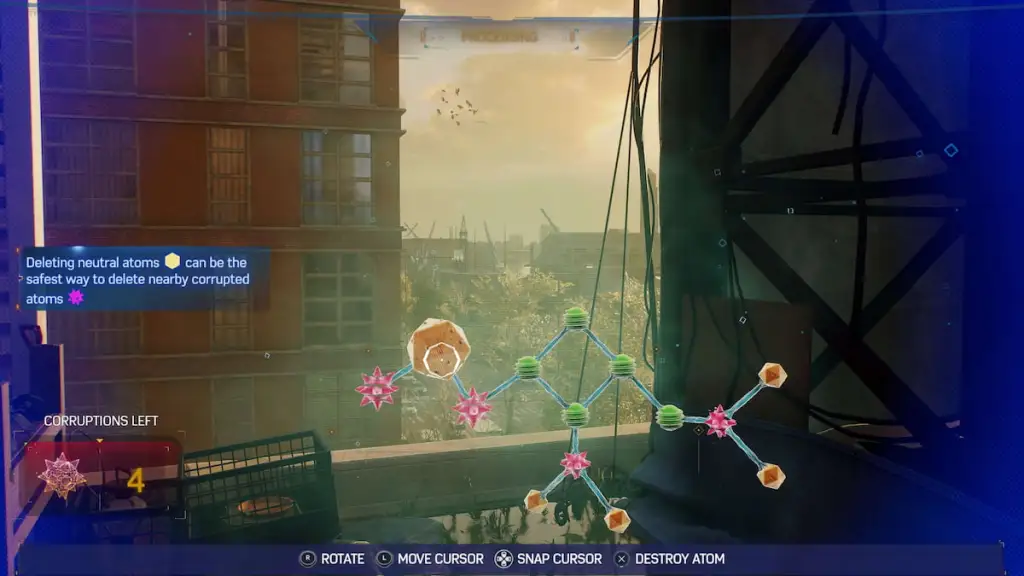
When you’re ready, move to the right side of the corruption and choose the top or bottom neutral atom. Taking out either of them in Marvel’s Spider-Man 2 will eliminate the single corrupted atom, purifying that section.
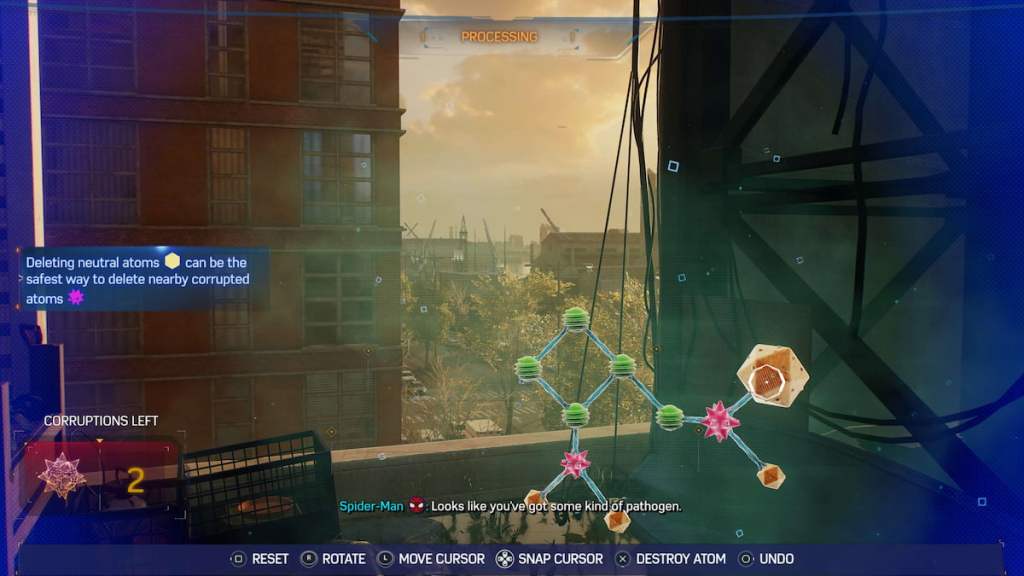
Similar to the right section, on the bottom, select the right or left neutral atom, and you’ll destroy the single corrupted atom. These are the starting puzzles to familiarize yourself with how these work before you make it to the final, most complicated section.
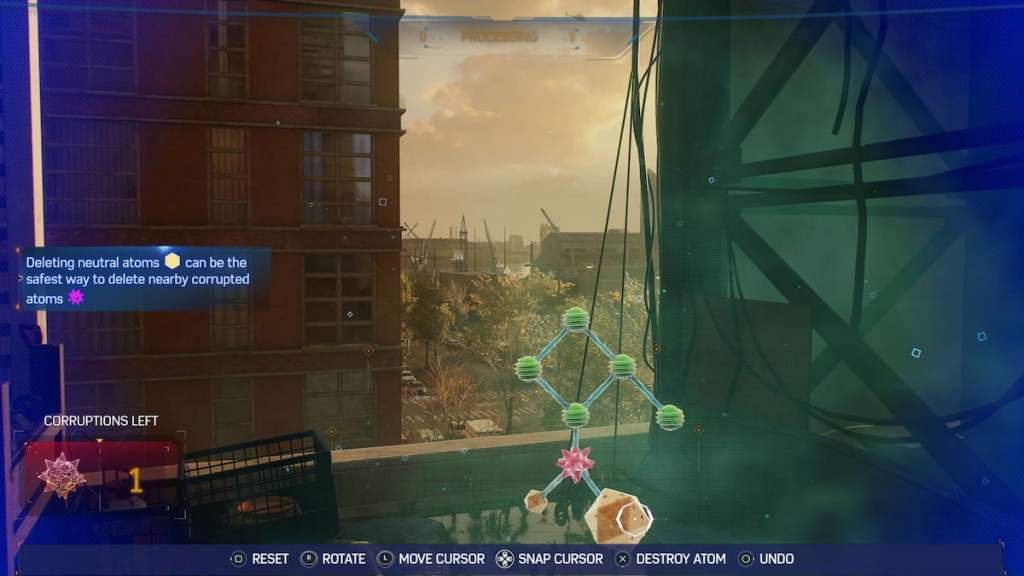
All Corrupted Atoms in Hell’s Kitchen EMF Experiment, section 3
The final section will be the most complicated full of corrupted and neutral atoms that you’ll have to destroy. It’s also a much larger section, and it can be a little tricky to twirl the atom structure around to identify the correct nodes you need to destroy in Marvel’s Spider-Man 2. Starting on the left side, you’ll see a pair of corrupted atoms attached to a neutral one. Eliminate the top or bottom corrupted atom to clear them both out.
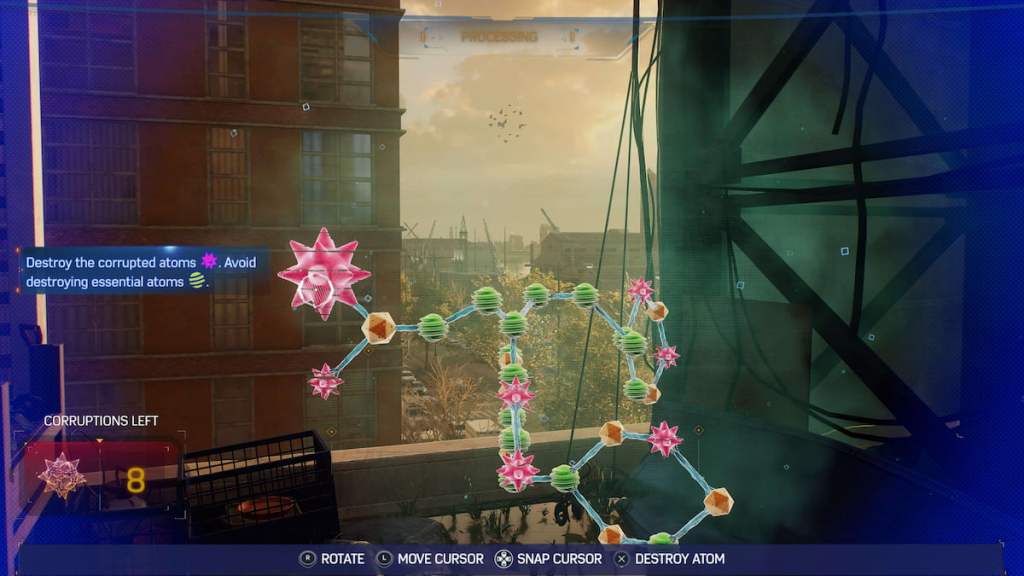
Next, swing the atom structure around to the bottom right side, and you’ll see a pair of corrupted atoms connected together. You can eliminate them both for this activity in Marvel’s Spider-Man 2 by taking out the one hanging off the side, taking them out.
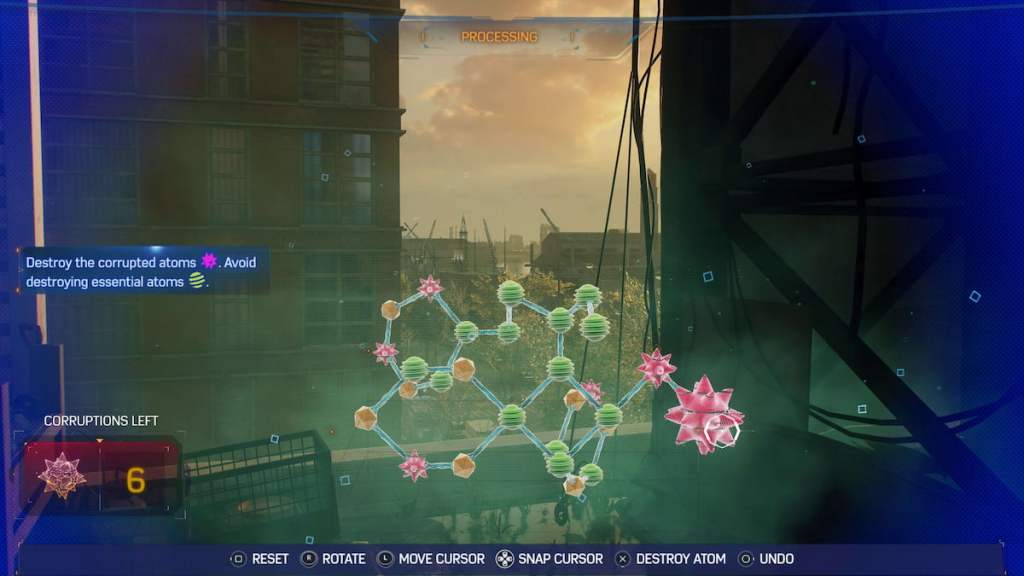
The next section you want to focus on is on the bottom left side. It’ll be a corrupted atom connected by two neutral ones. You want to select the corrupted one to eliminate it and make sure it only hits the neutral atoms rather than destroying the essential ones in Marvel’s Spider-Man 2.
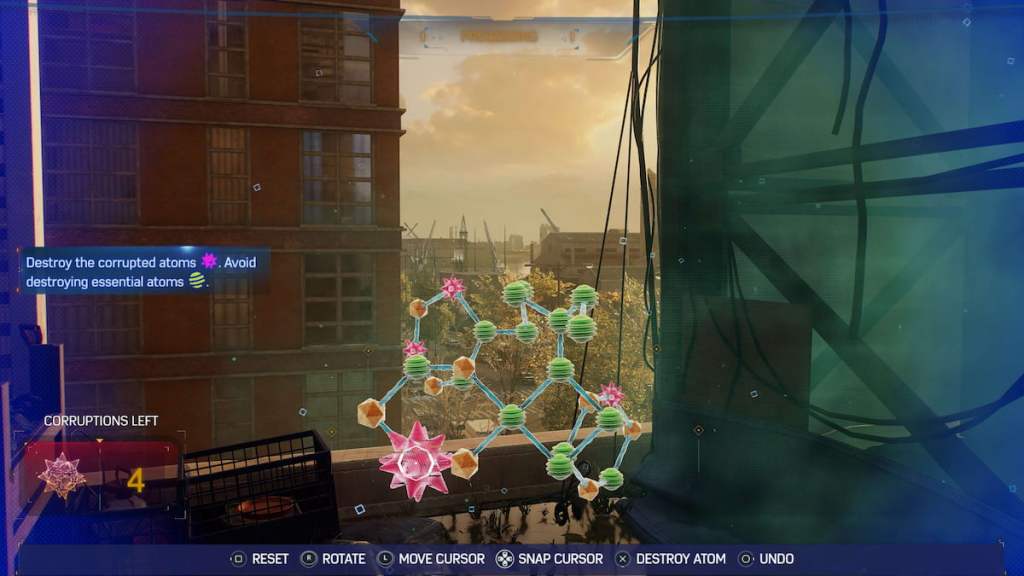
This next section is a little tricky. On the far left side is an area with two corrupted atoms and two neutral ones. You want to select the neutral atom between the corrupted atoms, destroying the ones connected to the essential section purifying this area.
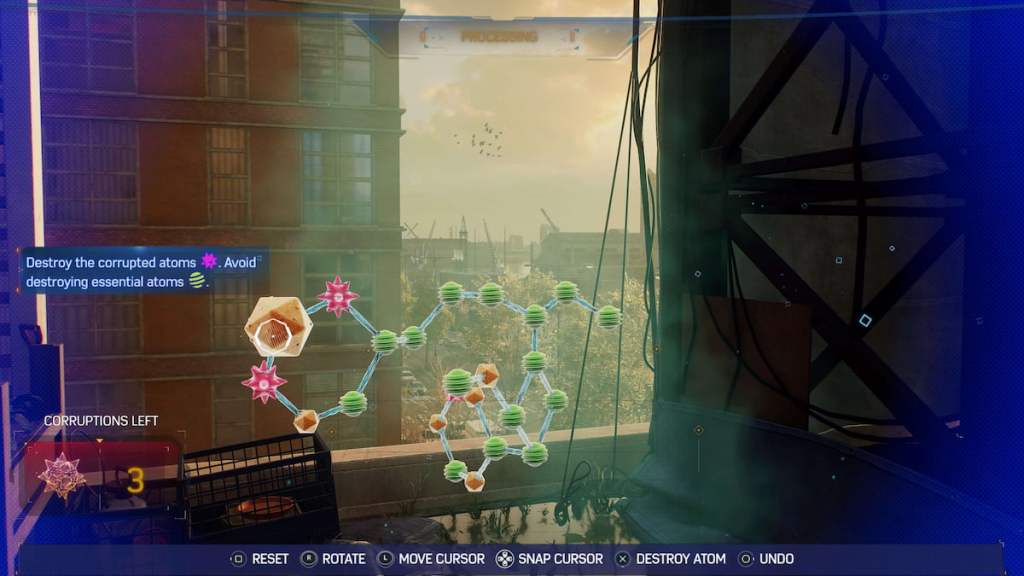
Finally, the last thing you need to do is go to the bottom right side to discover the previous corrupted atom. Rather than selecting the two neutral atoms, click on the corrupted one, and you’ll purify the last section of this activity in Marvel’s Spider-Man 2, paving the way to figure out the best way to help out these plants for the EMF Experiment in Hell’s Kitchen.
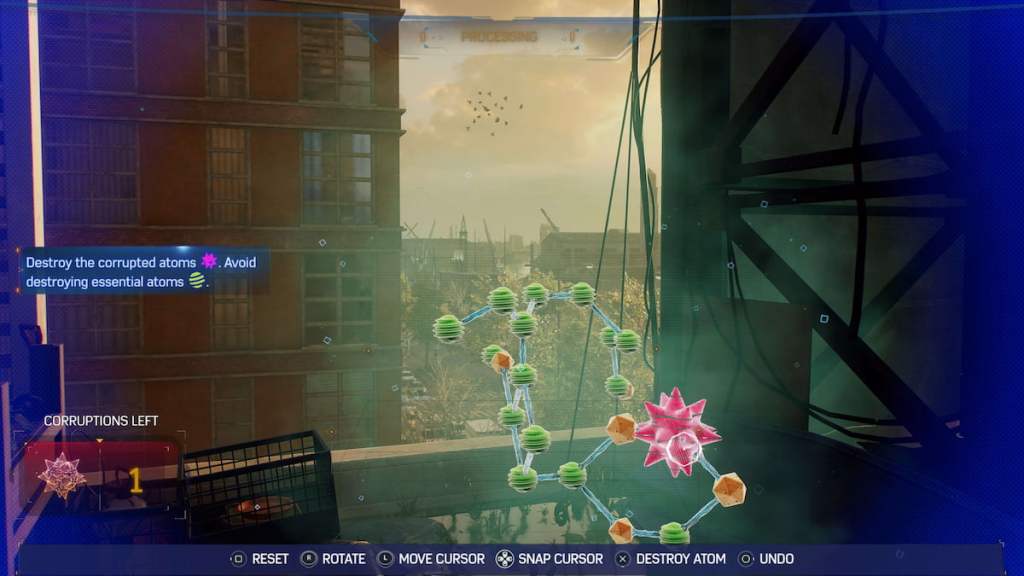
Once you’ve completed this, the next step is to track down a nearby fish, where you can acquire a small genetic sample from it to bring back to the plants. The next and final step for the Hell’s Kitchen EMF Experiment is to figure out how to splice the fish’s genes with those of the plants in Marvel’s Spider-Man 2.
How to Complete Plant Attribute Puzzle in Hell’s Kitchen EMF Experiment in Marvel’s Spider-Man 2
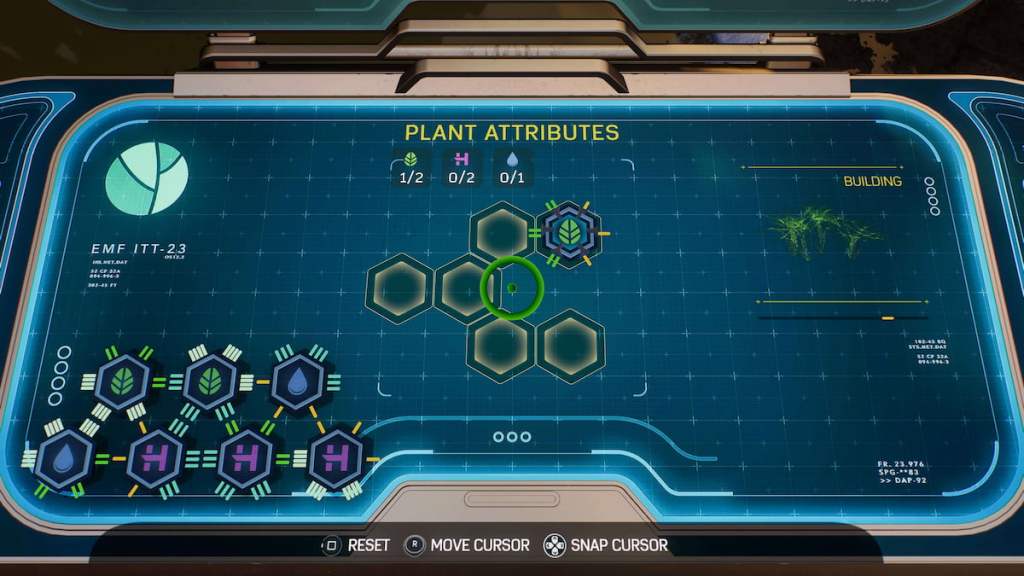
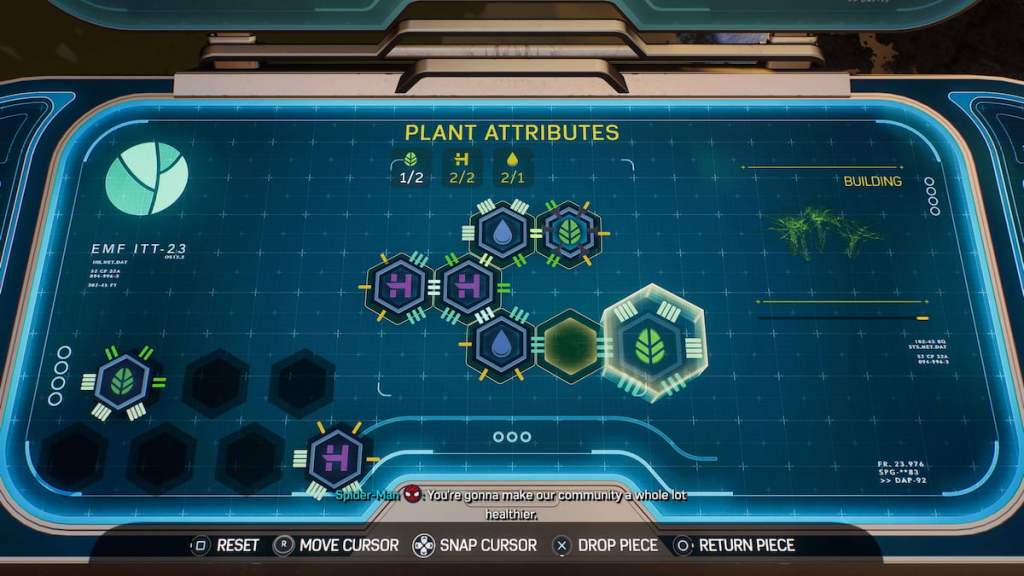
With the fish’s genes acquired, it’s time to combine them with the plant attributes, completing the final puzzle in Marvel’s Spider-Man 2’s Hell’s Kitchen EMF Experiment. For this solution, bring the water piece with the two connections to the top plant, then connect the two H pieces at the center. Now, bring the final water one to click to the H on the left side, and then bring the final plant icon with the three connections into the final slot, completing the puzzle and the Hell’s Kitchen EMF Experiment.





Published: Oct 20, 2023 7:18 PM UTC