The third mission in Teardown involves stealing three keycard readers. This mission is timed; once you steal a keycard reader, an alarm will sound, and you will have 60 seconds to steal the other two. This can be difficult if you don’t take the time to survey the area and prepare an escape route.
Despite taking place in the same area as the second mission, there have been some changes. Some will hinder you, but others can make this mission easier. If the time limit stumps you, here is a step-by-step method you can take to complete the mission even with the 60-second time limit.
Step 1: Get into the premises
Unlike the previous mission, you can’t just walk through the front gate. It is locked tight, and since it is made of metal, you can’t break it with the Sledgehammer (or the bricks around it). There are no weak spots in the brick-metal fencing, meaning you will have to find a spot to jump over the metal fence.
Fortunately, you can head right of your starting position to find some rocks that you can use to get yourself high enough that a running jump will get you on top of the fence. You might slip off a few times if you aren’t fast enough, but you can always jump again to get to the other side.
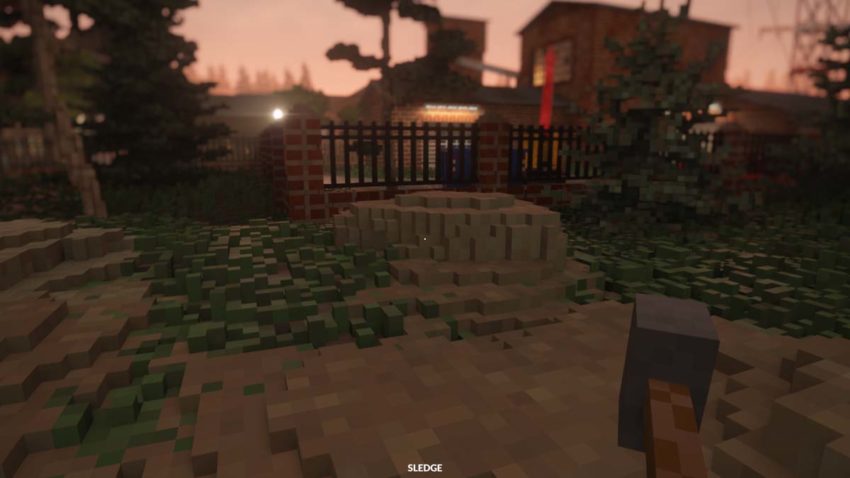
Step 2: Create an escape route
The biggest obstacle for the mission isn’t grabbing all the keycard readers in time; it’s getting out. Getting in was easy, but there are no solid exits that are within reach that will get you to the escape vehicle in time.
Thankfully, the third mission introduces a new tool you can use: vehicles. To the right of the spot where you landed, there will be a red truck that you can drive.
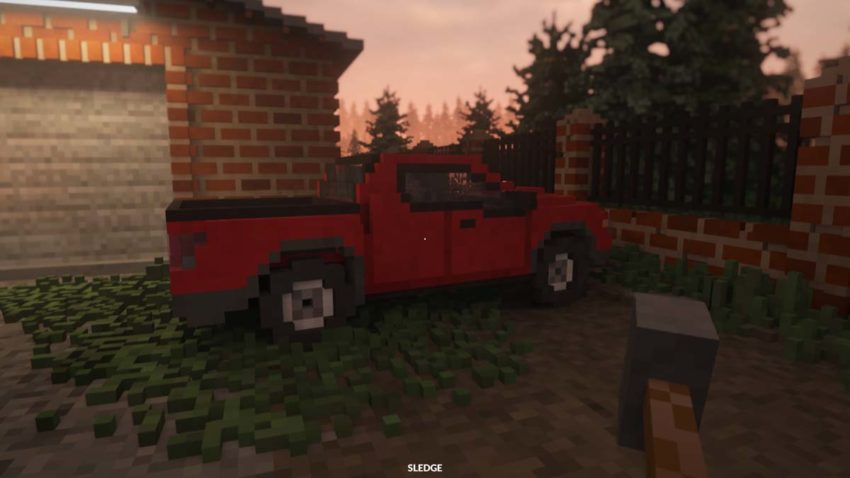
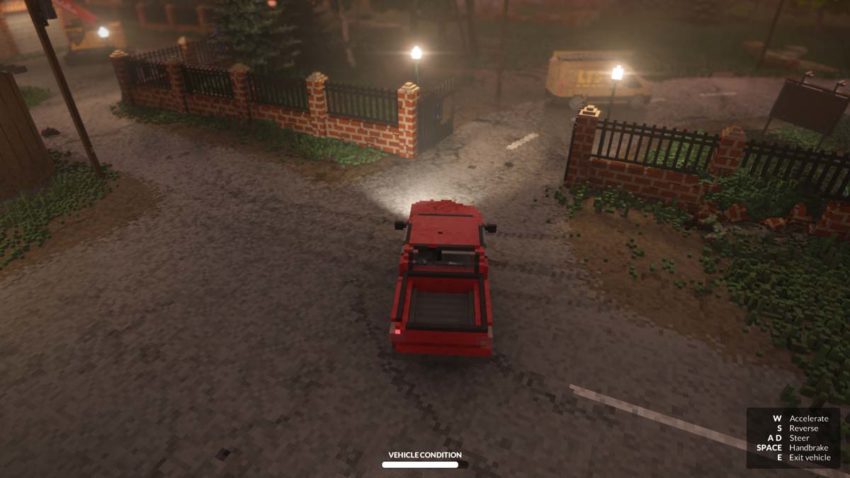
The red truck can break open the gate and other brick structures, which gives you one of the best escape routes. It does have limited durability, but it should be sturdy enough to create the shortcuts that you need.
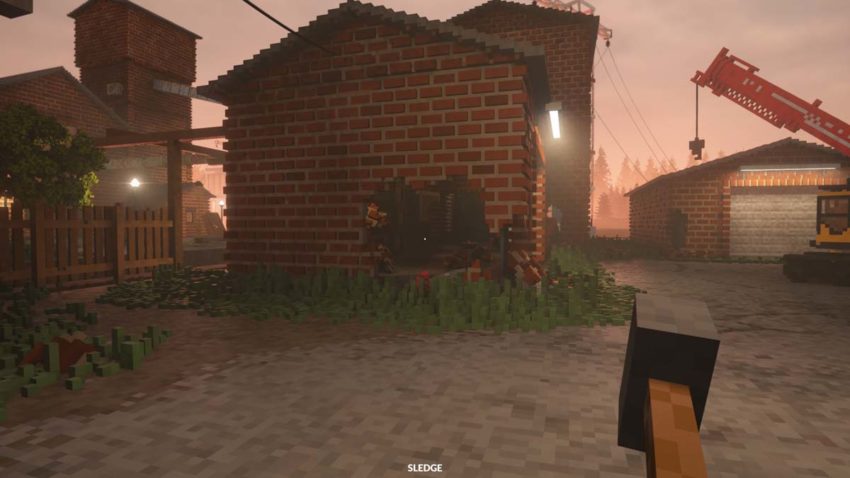
You can also use it to break some of the brick walls near the Factory West keycard reader to make it easier to reach. Every second counts, and it doesn’t hurt to plan ahead.
Step 3: Head to the Factory North keycard reader
Once you have made your escape route, it is time to head to Factory North to get started.
Factory North is straight ahead from the gate. Go straight, turn right until you see a large white truck, and then turn left, going straight until you can see a building with open shutters.
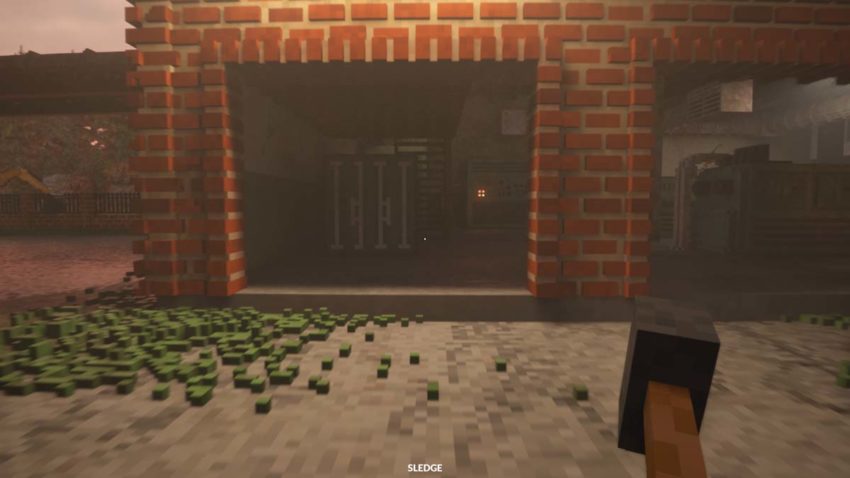
You can go through and take the left stairs up to reach a wooden walkway that connects to the Factory North building.
Head inside, turn left, and you should see stairs that lead to the Factory North keycard reader (turn around at the top of the stairs if you can’t see it). Before you do anything, break the window to the left of the keycard reader and then quick save your game. This will allow you to reload from that spot and avoid having to repeat Step 1 and Step 2 every time you fail.
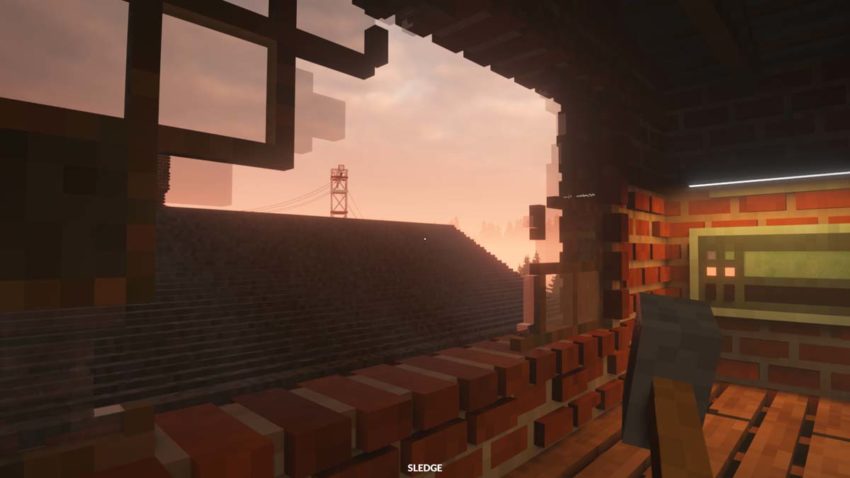
Step 4: Grab the keycard reader and run to Storage
It’s time to start the clock. Grab the Factory North keycard reader and jump out the left window. Don’t worry about the fall damage, it won’t be enough to hurt you.
Once you land, head right and go straight until you see the river. Turn left and keep going straight, past the white truck until you see a building on the left with an opening. Go through and head around the giant vehicle on the right side to get up the stairs.
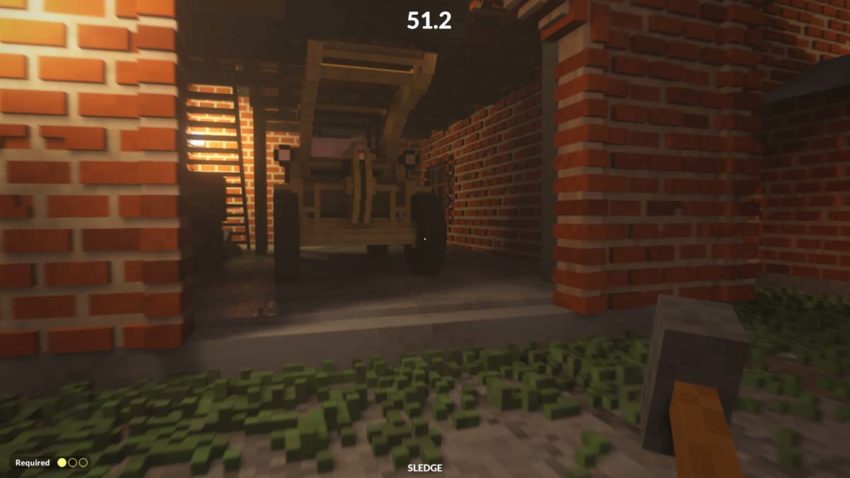
This leads to the Storage keycard reader, which you need to grab quickly if you want to make it on time.
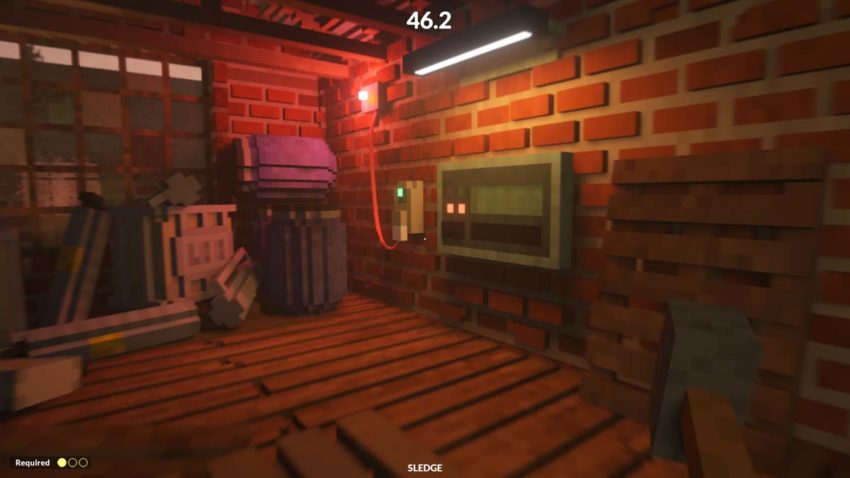
Step 5: Head to Factory West for the final keycard reader
Once you have the second keycard reader, head back down the building and head right. Turn left at the edge of the water and cross the wooden bridge to the other side, then turn left again to reach the large brick building.
If you made a hole in the brick wall earlier, head straight through the hole. Otherwise, head around the left side of the brick building, and you will find an entrance to your immediate right that you can use to enter. Race up the stairs, and you will find the final keycard reader.
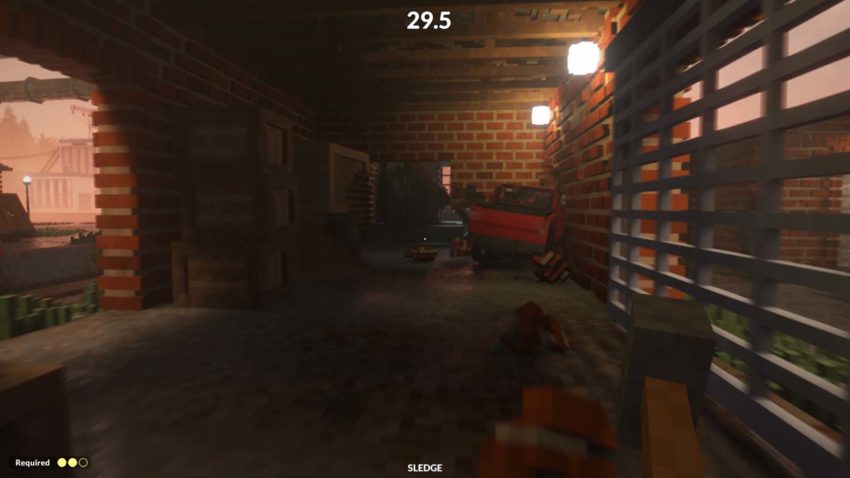
With all three keycard readers, move to the escape vehicle as fast as you can and get in. Once you reach the escape vehicle, the timer stops, and you have successfully completed the mission.
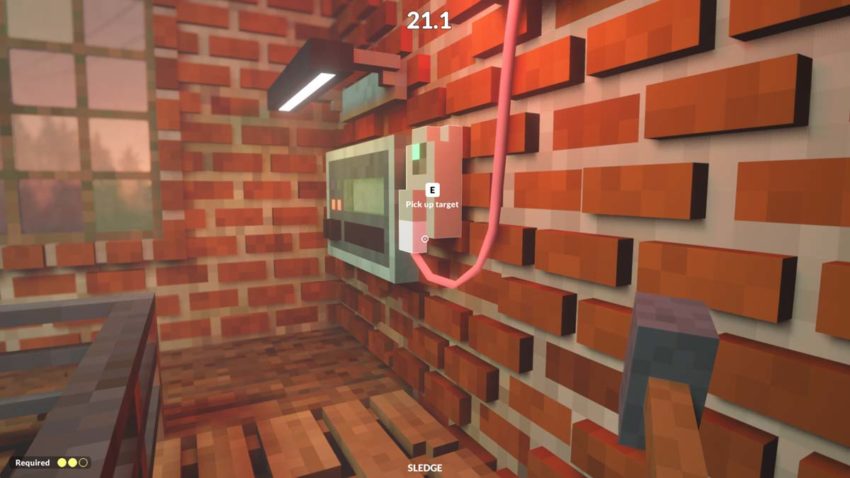
Now that you have a path to take, you can easily clear the third mission or come up with your own creative plans with the listed method as your inspiration.










Published: Apr 21, 2022 01:23 am