Destiny 2’s The Witch Queen invites Guardians to step beyond their standardized role of murdering through missions and do a bit of thinking to progress. This plays a role during the mission The Cunning, the tenth step of The Witch Queen campaign, where players will again need to clear puzzles to progress through the mission.
Note: For thoroughness, this guide has story spoilers.
Target practice
The first puzzle has an introductory to the mechanics, where players will use deepsight for five targets to appear in front of them: shooting the targets cause them to disappear, and the way forward becomes apparent. The takeaway here is that there are five targets to find and eliminate to move forward.
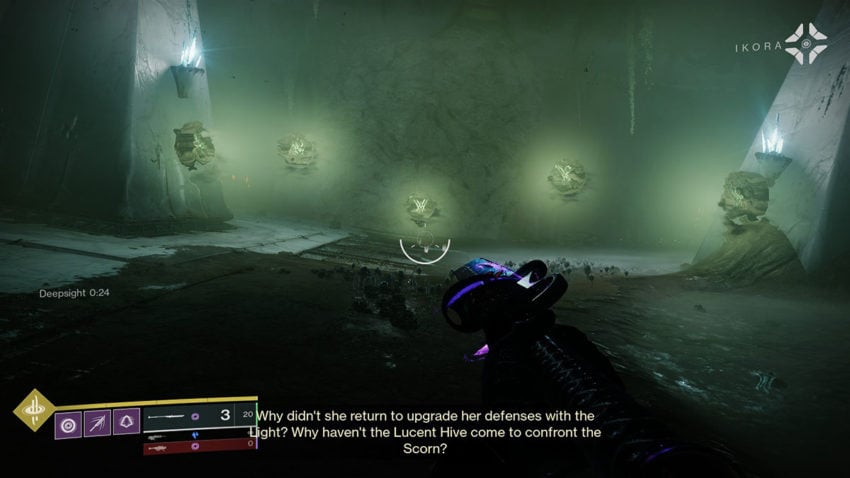
Then Guardians will move forwards in the quest and come to an island in the middle of a pit with a deepsight on it: five targets are hidden in this room, viewable for a thirty second increment once deepsight is activated. Here are the spawns for the five targets:
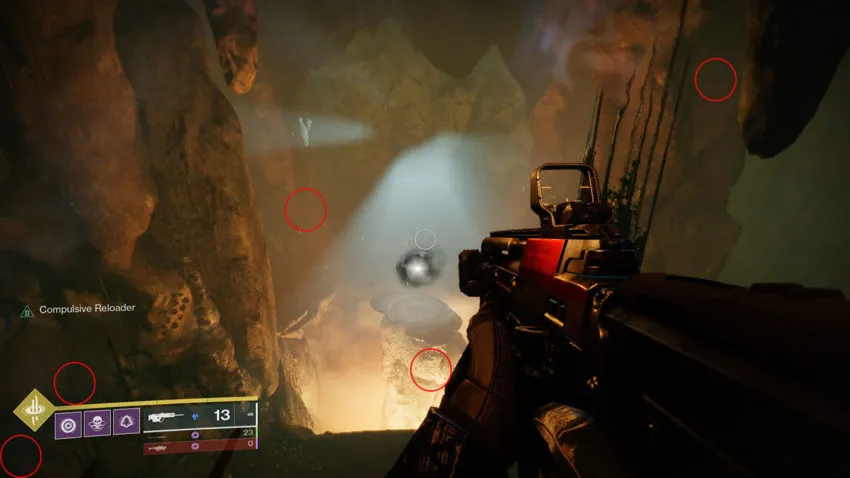
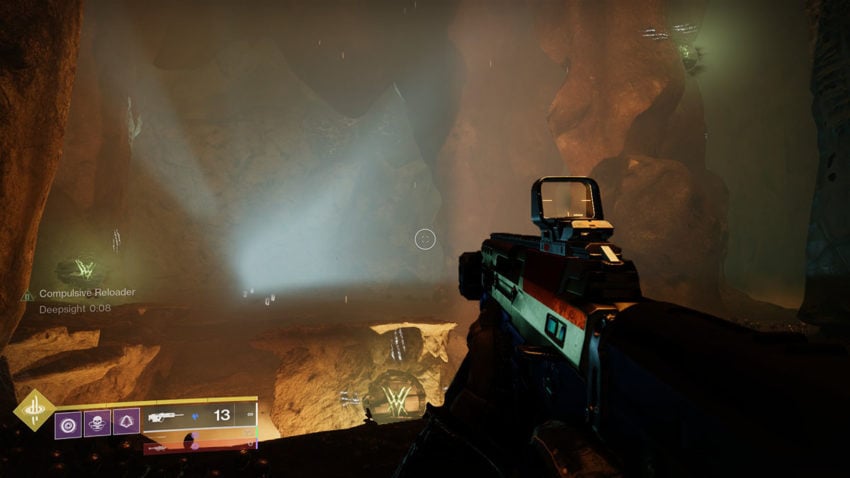
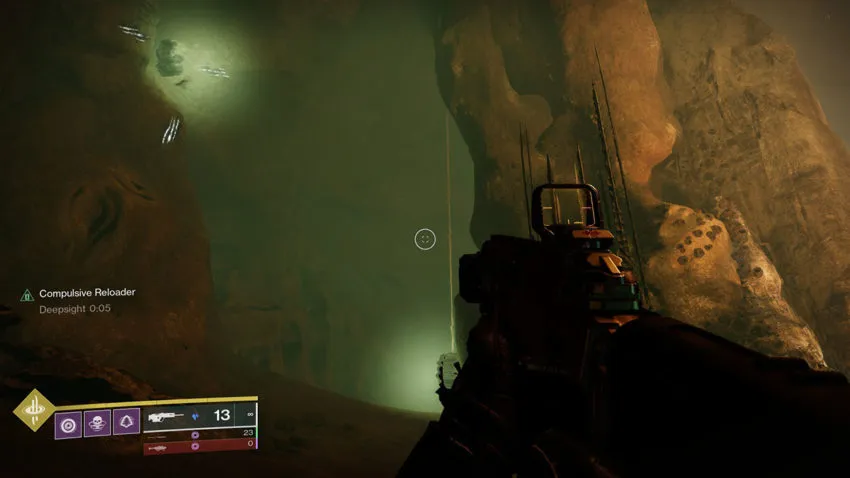
The Pit and the Pendulum
Guardians will continue to progress in the traditional style (murdering everything that doesn’t look like them) until a rather grand temple is presented, with two swinging pendulums at the farthest point. Progress past the pendulums until the dialogue states ‘there’s no way forward,’ and buttonhook to the left to find a deepsight point.
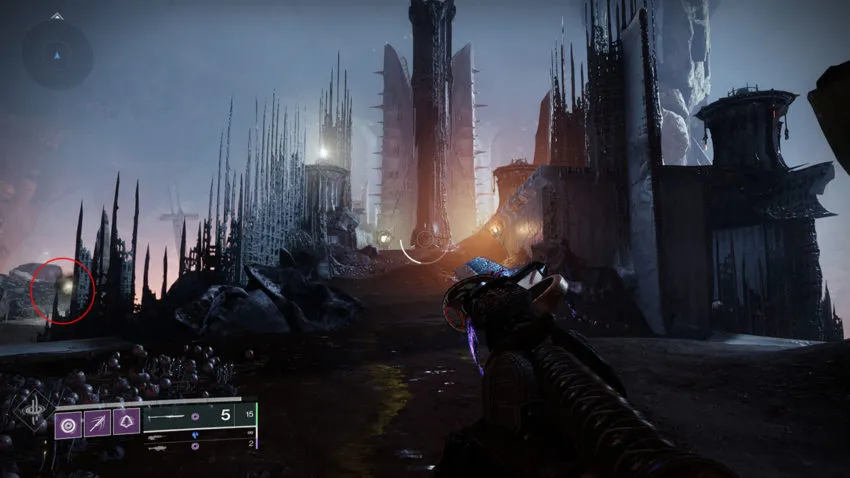
Once the deepsight point is activated, jump onto the newly materialized platform on the left to find all five targets. Progress as standard: you’ll need to find the deepsight points to progress, but all targets that spawn are in front of the Guardian, trivializing the hide-and-seek struggle that can present itself.
Guardians will end up at a statue holding a glowing bundle:
- Eliminate the Warrant.
- Grab the loot box.
- Look to the left of the statue after activating the deepsight to progress upwards.
Once you grab the bundle from the statue, the end is in sight.
Ahamkara illusion
Once the illusion spawns, players will quickly notice that it seems invulnerable, everywhere. After the illusion fires a massive spray, it is momentarily vulnerable. Send a rocket or two while its mouth is glowing red, but ensure it has a high projectile speed: Guardians only have a few seconds to engage at every vulnerable moment.
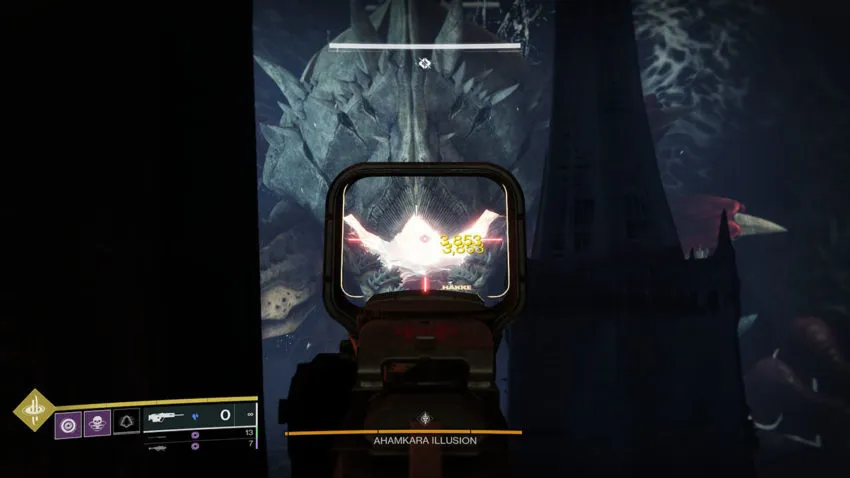
After every third of the illusion’s health is depleted, expect a large wave filled with Screebs, which threatens a wipe. Seek high ground either in the front, near the illusion, or to either side of the arenas. Once the illusion is dealt with, the illusion gives a debuff to all players called ‘Suffocating Haze,’ which will kill Guardians once the timer runs out.
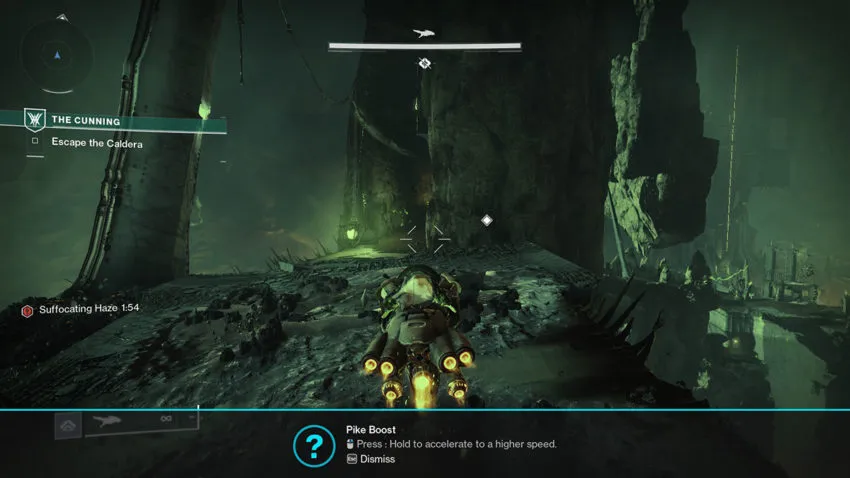
After escaping the arena on the left side of where the illusion spawned, grab a pike, and carefully traverse the bridges: it’s not recommended to boost, regardless of what the tips tell you, as it will send your Guardian careening off a cliff. Bypass all enemies possible: there isn’t enough time to engage every hostile and still escape, even if all engagements are flawless.




Published: Feb 23, 2022 11:36 am