The Triada Blessings quest is a Treasure Hunt in Far Cry 6 that will lead you to one of the best stealth armor, weapon, and Amigo combinations in the game, and also unlock the Undying Tradition achievement/trophy. This guide covers how to complete the quest so you can claim all this for yourself and start destroying Castillo’s forces without them ever seeing you.
Step 1: Find Oluwa Cave
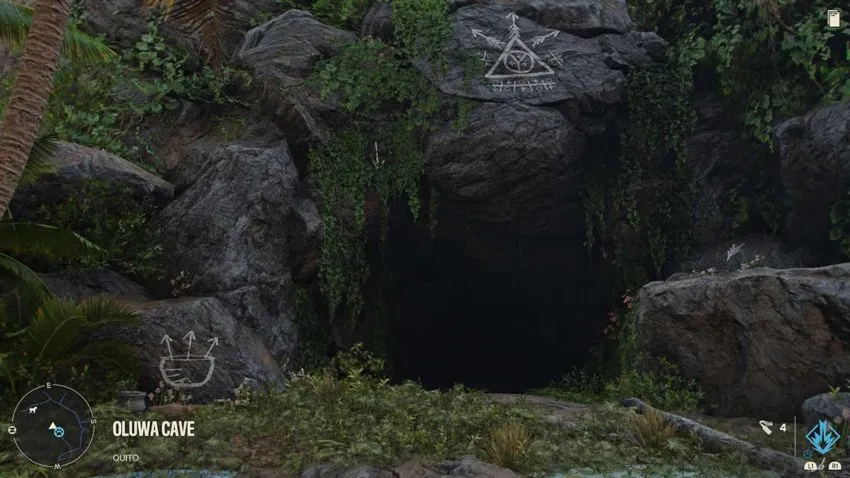
The first thing you need to do is find Oluwa Cave. This creepy cave is said to be haunted by ghosts on Isla Santuario, the starting island in Far Cry 6. We found out about it through a guerrilla at Carla’s camp, but there’s no guarantee of that happening for you. So instead, use the below map reference to track down the cave’s location.
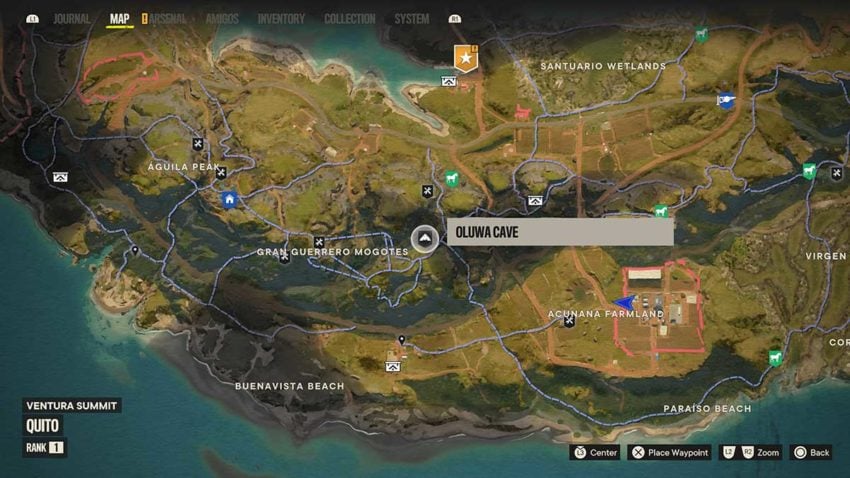
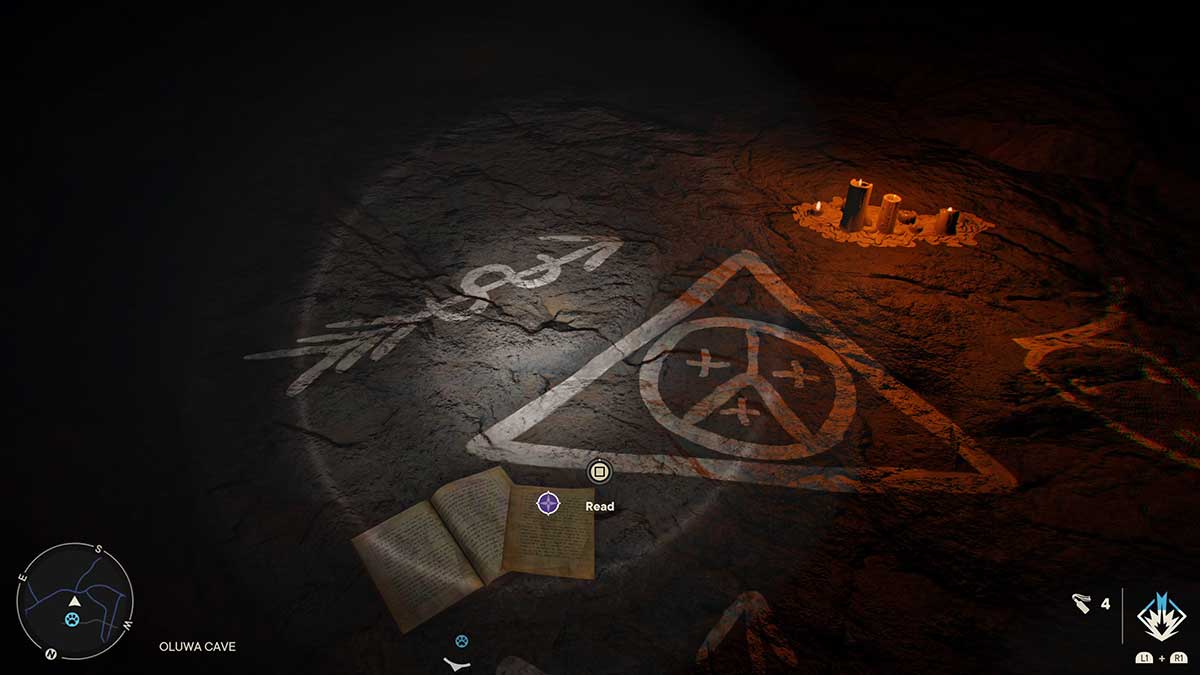
Once you’ve found the cave, go inside and read the paper to begin the quest. This will add three Treasure Hunt markers to your map. We started this quest before we’d unlocked the rest of Yara and completed it before any of the major missions on the mainland, meaning we had an overpowered loadout that made the rest of the game a breeze. Even if you’ve already been storming all over Yara, though, this equipment can still help.
Step 2: Ida’s Triada Relic
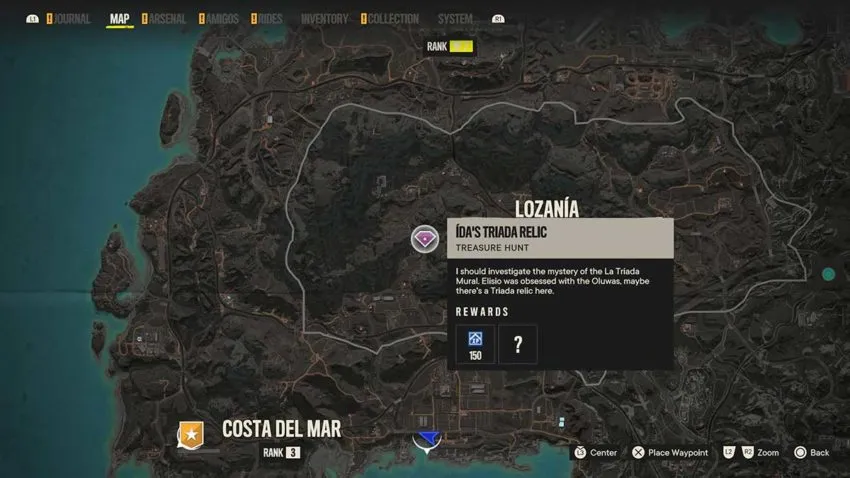
Now you need to collect three Triada Relics and return them to Oluwa Cave. The first we recommend getting is Ida’s Triada Relic because it’s the easiest to get to first if you’ve only just unlocked the rest of Yara.
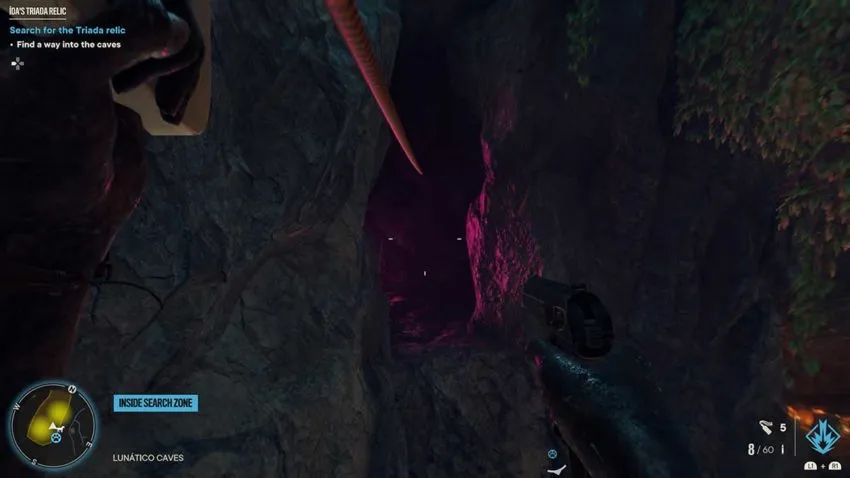
The location is straightforward and leads directly to a cave filled with ziplines. You’ll need to traverse the ziplines by riding one and dropping onto another a few times to reach firm ground around the cave. It’s not complicated, and you should complete it in no time. Once you’re flying into the area that’s bathed in purple light, you’ll have found the Relic. Pick it up and read the note to gather some more lore on what the ritual you’re following is.
Step 3: Oku’s Triada Relic
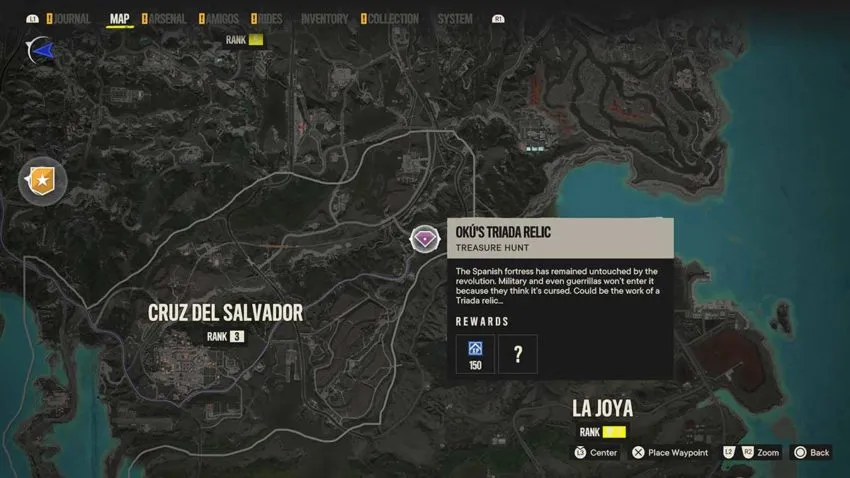
Oku’s Relic is the highlight of this Treasure Hunt and one of the most interesting things you can do in Far Cry 6. This Relic is located inside a haunted mansion that has been untouched for decades. You can’t enter unless it’s nighttime, so you’ll need to move onto the third Relic and come back if you get here in the day.
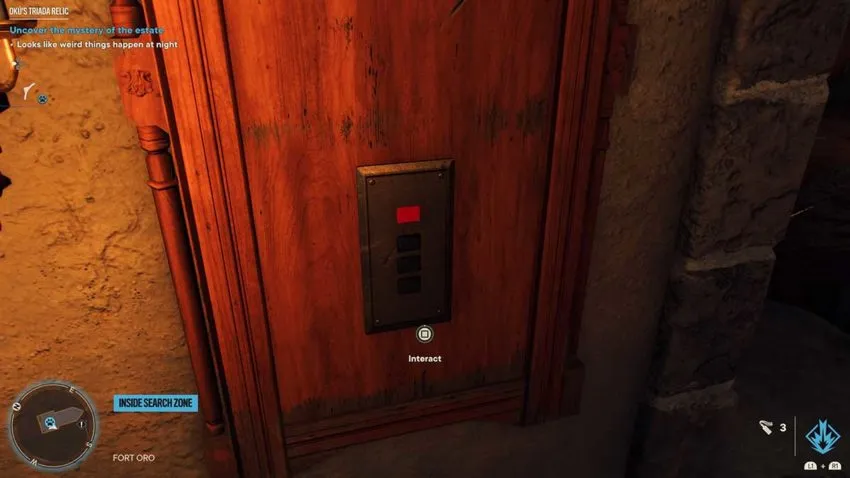
Inside the mansion, you’ll need to work your way through a series of interesting but fairly simple puzzles. The first is a room full of mirrors. As you walk into the room, the mirrors begin to shatter. Walk around the room until all but one mirror has shattered. Then, melee attack the mirror and press the button behind it to open the door to a new room.
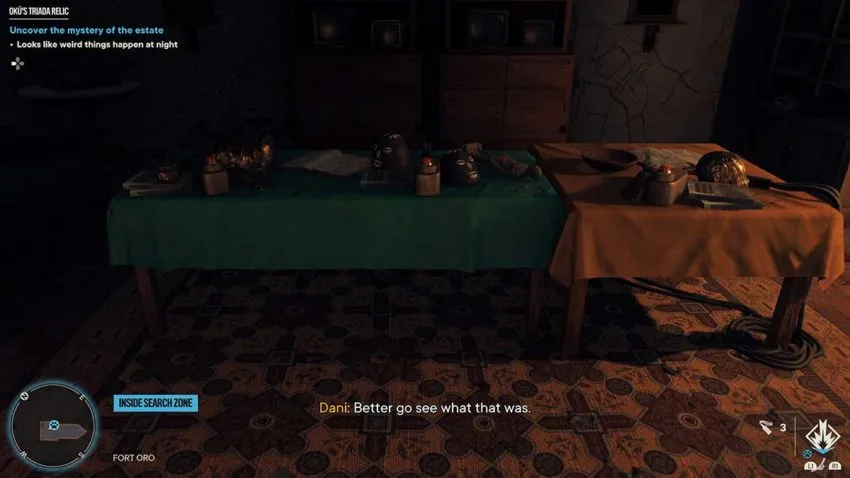
The new room has a series of screens in it and three buttons on a table. You need to press the buttons to turn off all the screens. For us, the sequence was middle, right, left, but it may be different for you. When you do turn off all the screens, another door will open to the first floor.
You’ll enter into a room with a piano. There’s nothing complicated to do here, just read the note on the piano, and Dani will play the notes. This opens a door behind the piano and reveals a key that opens up the locked door downstairs. Now it’s time to head into the basement.
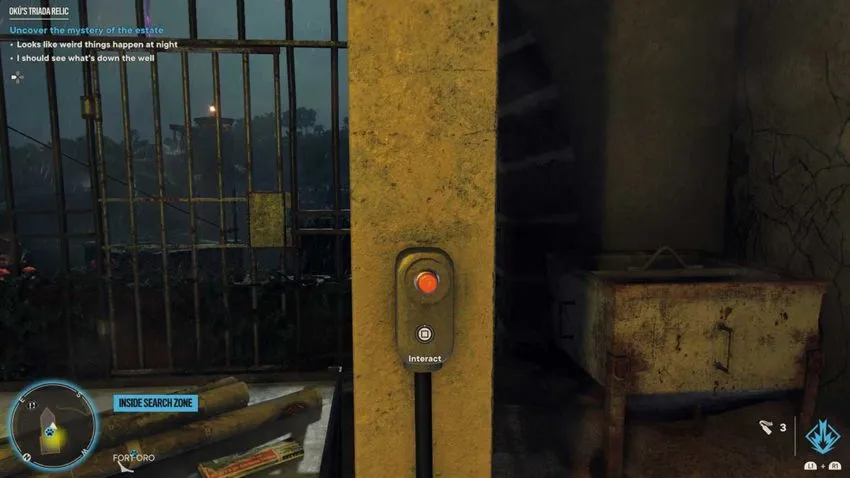
You’ll go through a series of rooms downstairs where you can see the exterior of the mansion. A well with a purple light coming out of it houses the Relic, but you can’t reach it yet. You need to smash your way into a corridor full of scarecrows with fake rifles that will follow you wherever you walk. At the end of the room, on the left, is a button. Press the button to blow up the entrance to the well.
From here, you’ll grapple up to the top of the building and use a zipline to get down to the well. Grapple down into the well, and you’ll find the second Relic for your collection. There’s only one left now.
Step 4: Mimo Abosi’s Triada Relic
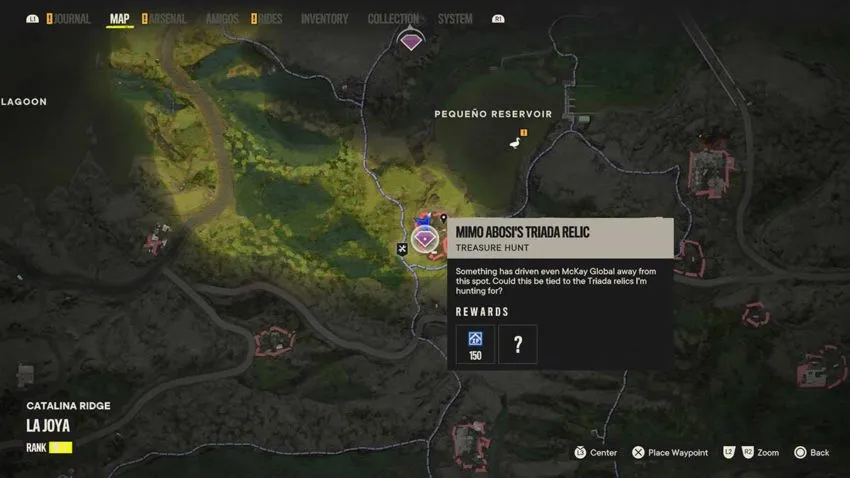
This Relic is perhaps the most confusing part of the Treasure Hunt. The location is a Castillo mine that’s surrounded by mostly dead bodies. There are a couple of soldiers around, but they’re easy to kill. If you walk down to the mine’s entrance, the game will tell you that it’s locked, and a note reveals that the key is in the office on the same site. No matter how hard we looked, we couldn’t find the key. In the end, we discovered that you can smash the lock with a melee attack to get inside.
Once you’re in the mine, it’s a straight path to the Relic. The mine will collapse when you pick it up, revealing a new exit for you to take that leads into the hillside.
Step 5: Return to Oluwa Cave
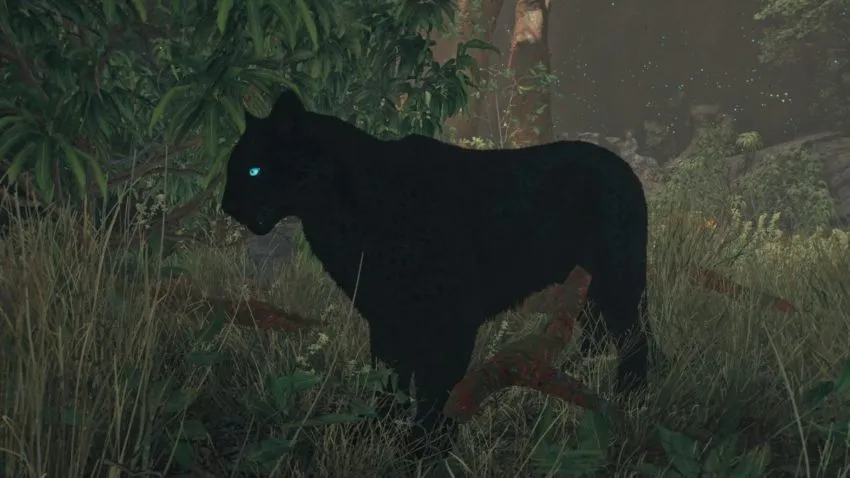
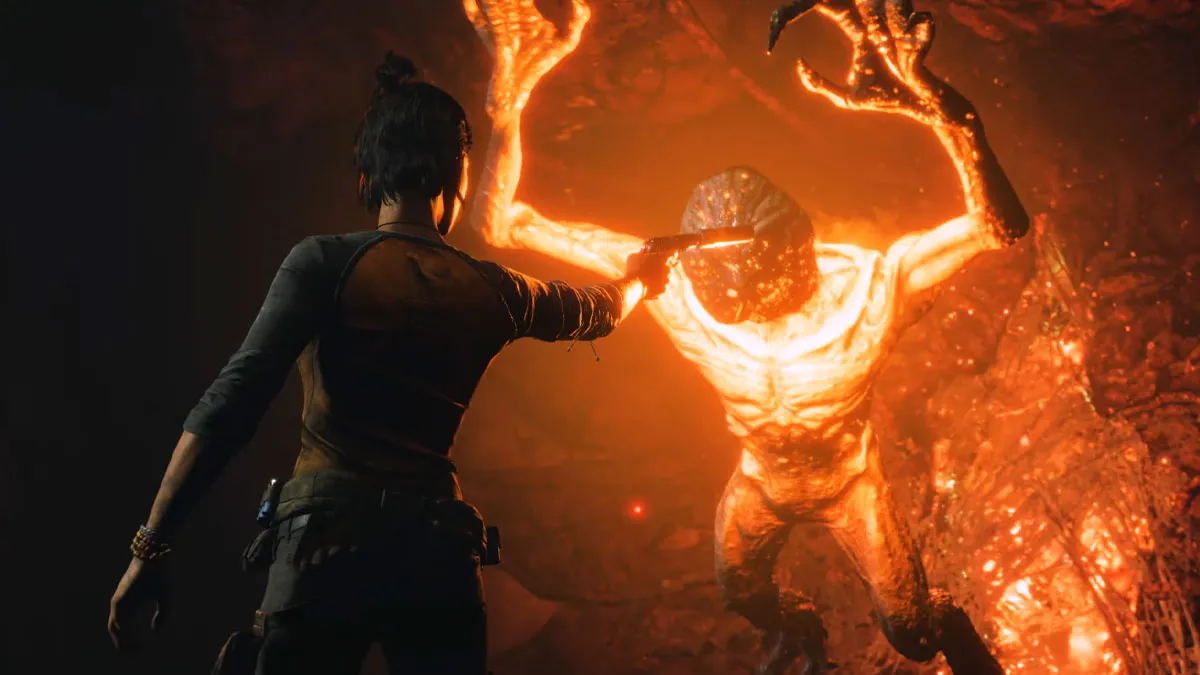
Now you need to fast travel back to Oluwa Cave, or as close to it as possible, and place the three Relics. This will cause a chest to spawn that contains the Triado Stealth Supremo and La Varita Resolver Weapon. Ghost panthers will then spawn in the room and try to kill you. Take them out and kill their leader. Then, you can revive the leader and claim Oluso as a new Amigo. Combined with the armor you’ll have picked up from each step in this quest, you’ll now have the best stealth loadout in Far Cry 6. Completing this quest also unlocks the Undying Tradition achievement/trophy for your collection, which will only trigger upon the completion of this quest.




Published: Oct 13, 2021 03:53 am