It’s been a gaming law almost as long as gaming has been around: screenshots or it didn’t happen. With Twitch, however, some nifty built-in functionality called Clips means viewers can capture some of the most brilliant moments on the platform for sharing across Social Media and Discord communities or even for offline saving for editing work in the future. It’s straightforward and quick, so you don’t have to worry about missing the next clutch. Here’s how to make Clips on Twitch.
Related: How to fix Twitch emotes not showing
How to make a clip on Twitch
Making a clip on Twitch has three distinct parts — this might sound like a lot, but it’s all streamlined. Note that while some buttons may change position between desktop and mobile viewers, all functionality is mirrored.
1. Entering clip mode
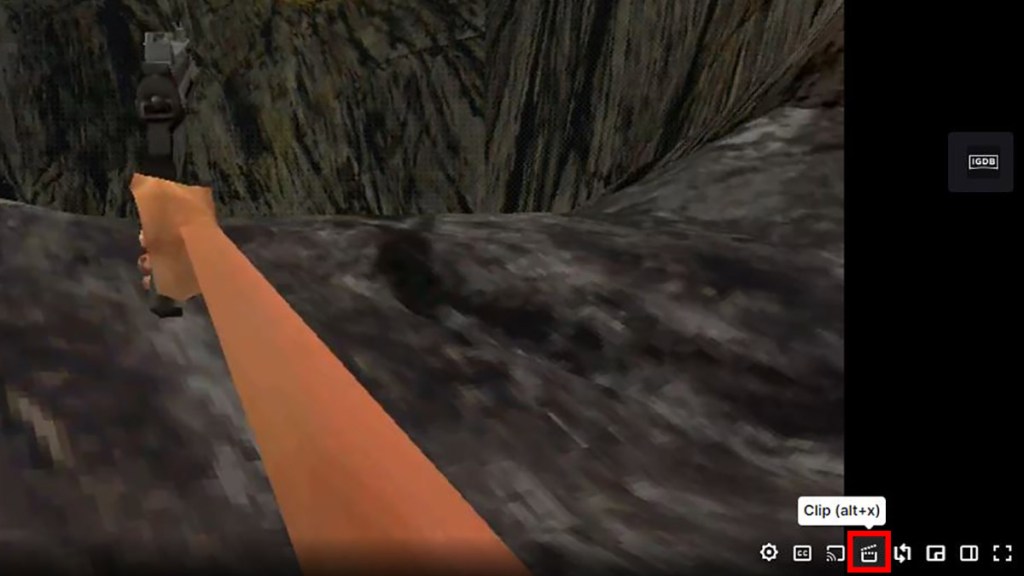
First, hover your mouse over the video player of the channel you wish to clip. You’ll find the Clip button in the bottom right, which appears as a Clap Board icon. Alternatively, while the Twitch window is active, press Alt + X to open Clip Mode on Twitch. This will open a new window in your browser. On Mobile, the Clip Mode icon is similar, but viewers will find it on the top right of the media player. Note that you cannot make clips while there are advertisements displaying on Twitch.
2. Editing the Clip

Users will now be in the Clip Mode screen. The yellow bar beneath the screen is the tracker for the clip. Grab the blue sliders found on the yellow bar to determine where your clip will start and end. The video player will begin playing where the first blue bar is located: try to ensure you offer just enough context for the upcoming event without boring the viewer for the best traction. Once you’ve determined the best length of time, title the clip at the bottom in order to publish. Once you hit ‘Publish,’ Twitch will do the necessary work to make the clip publishable — simply wait.
Publish and Share

Once Twitch is done processing your clip, you’ll see a new screen with the title of your clip, the username of the one that clipped it, and the means to share it. Your clip will not be pushed into chat without you copying and pasting it, so don’t fret if this is a personal clip to download later. Many streamers let viewers show created clips in their chat if it’s relevant to the streamer or to the streamer themselves. You can simply copy the URL found at the bottom of the Publish window and paste it into chat — Twitch will take care of the formatting.




Published: Jan 24, 2023 05:50 pm