As players work through the wonderous world found in Travellers Rest, they will inevitably find the need to expand their tavern. Thankfully, this is a relatively straight-forward process once the necessary set-up has been completed, which should begin well before the level requirement is reached to begin building. Here’s everything you will need to complete in order to upgrade your tavern as painlessly as possible in Travellers Rest.
Preparations for tavern upgrades in Travellers Rest
Preparation is a key attribute of success, and this makes itself known in Travellers Rest. Tavern expansion becomes available at reputation level 10, but there are a few things that players will want to have ready once it becomes available to streamline the expansion process. Players will want to have the following resources ready for tavern upgrades:
- Wooden Planks
- Iron nails
- Mortar
- Mortar is crafted using smooth stones and rough rocks in the mixing pit.
- Bricks
- A lot of gold.
It’s recommended to have a wood farm ready for the mountain of planks necessary. Mortar is used for expansion upstairs, and can be avoided during the first few weeks as the Inn is as heavy time and resource sink with mediocre rewards.
Related: The best Early Access games of 2022
How to expand the tavern in Travellers Rest
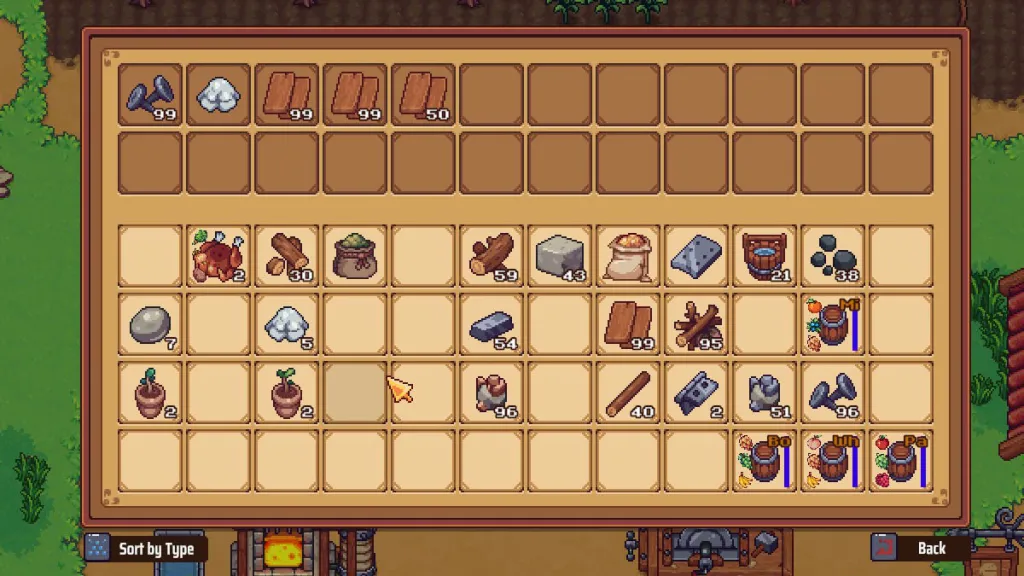
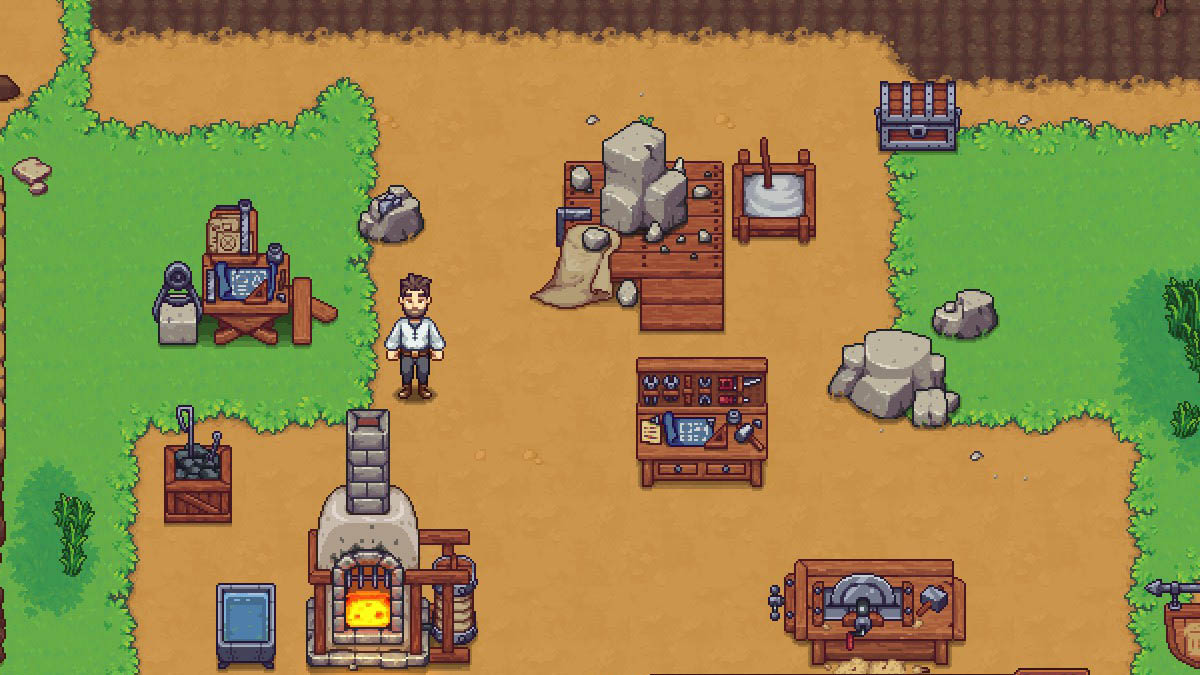
Once you reach reputation level 10, and you have all the necessary resources, a brief introduction to tavern expansion begins. This unlocks the Construction Table, which has a similar sprite to the Work Bench. Placing items inside of the Construction Bench using ‘E’ allows the materials to be used for expansion — you cannot expand your tavern with items inside of your inventory, although the currencies will automatically be paid from the players’ wallet. Once the materials have been transferred into the Construction Bench, press ‘Q’ to enter build mode.
Note that using build mode when a second player is in the game will result in their screen being temporarily removed from play, and they will be teleported to the Construction Bench once crafting is finished.
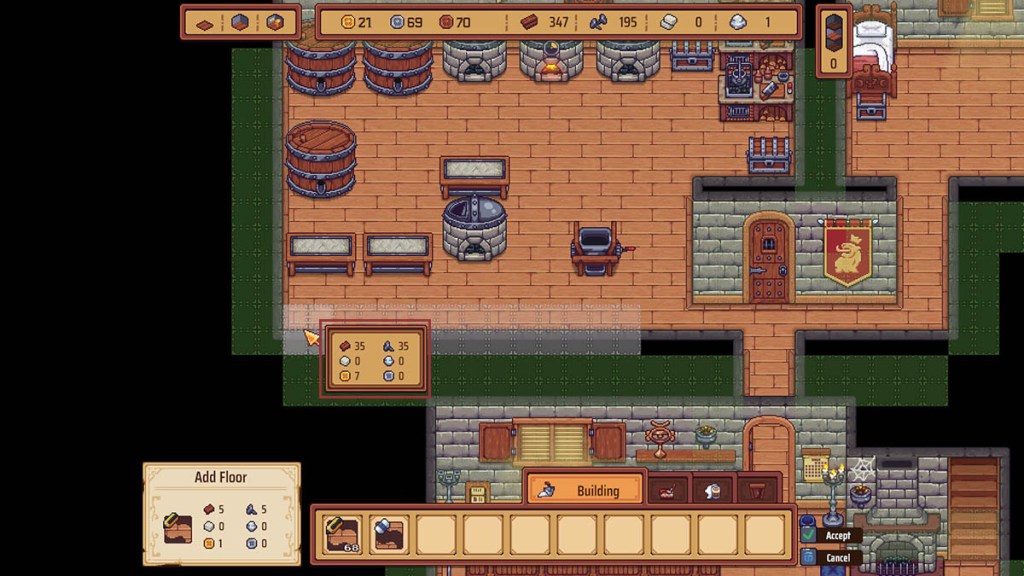
Once you’ve entered the Construction Bench screen, you’ll see your tavern. The bar at the top shows the four resources that are found in the Construction Bench inventory, along with your current currencies. As you drag and drop within the green section to expand the playable area, you’ll see a window that shows how much the current expansion will cost in terms of price and resources: this window changes depending on how large the building area is.
Once you’ve added on a few new rows of flooring, ensure you set the zoning up so patrons can use that area of the bar, or you can place the necessary crafting machines to put that yeast to work. As players increase in tavern reputation, the number of available zone slots for patrons and crafting will gradually increase — ensure you’re maximizing profits by keeping your zones as large as possible to serve more patrons.








Published: Jan 19, 2023 12:11 pm