The lens aligner puzzle in Call of the Sea is a tricky customer. You might think you can complete it easily when you come across it in chapter two, but you need more clues than those present to solve it.
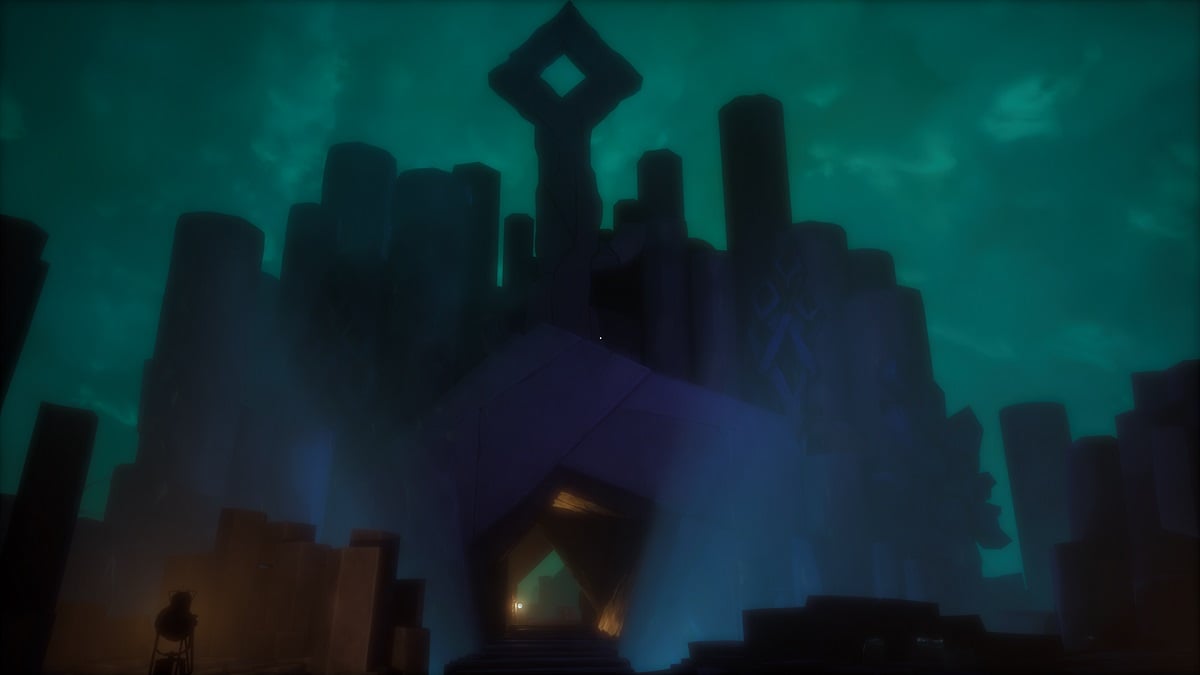
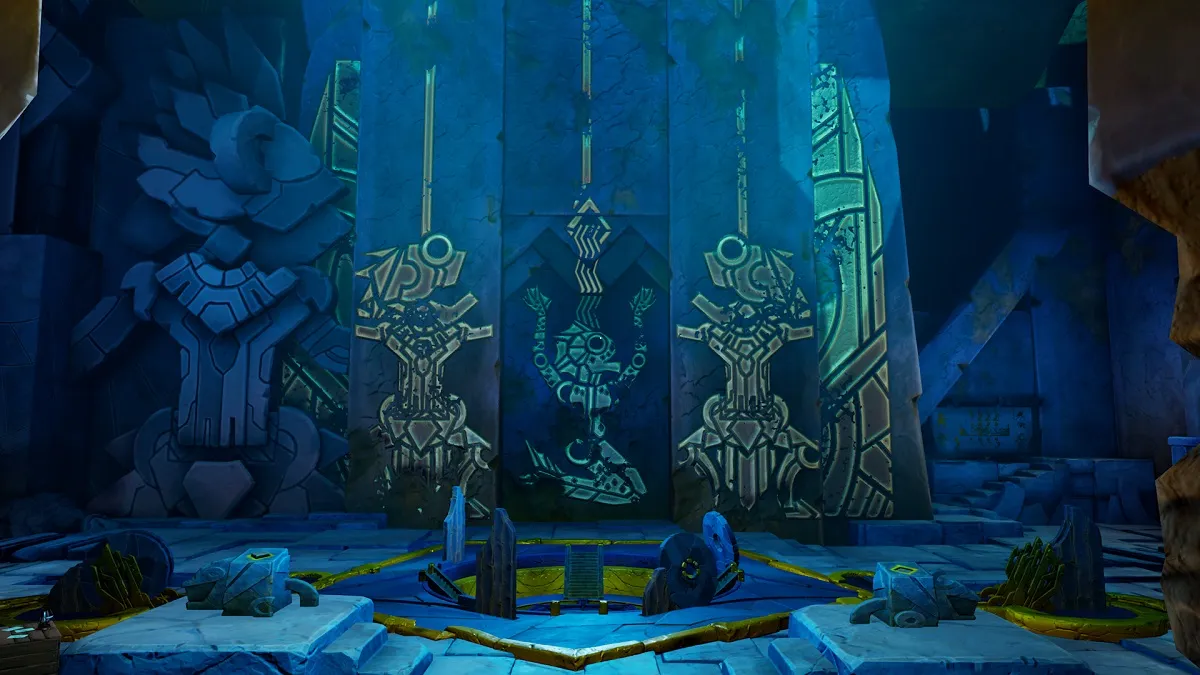
The first thing you need to do is ignore it. Solve the tiki statue puzzle first, granting you access to the stone that powers an elevator in the main hut area. This takes you up to the area houses the pit, where one of the expedition crew died. Head into the pit using the ladder on the far side.

There are eye symbols on the pit’s walls, and three of them have the strange black substance oozing out of them. Interact with them. Nora will draw three symbols in her journal. Head out of the pit and go back to the lens aligner.
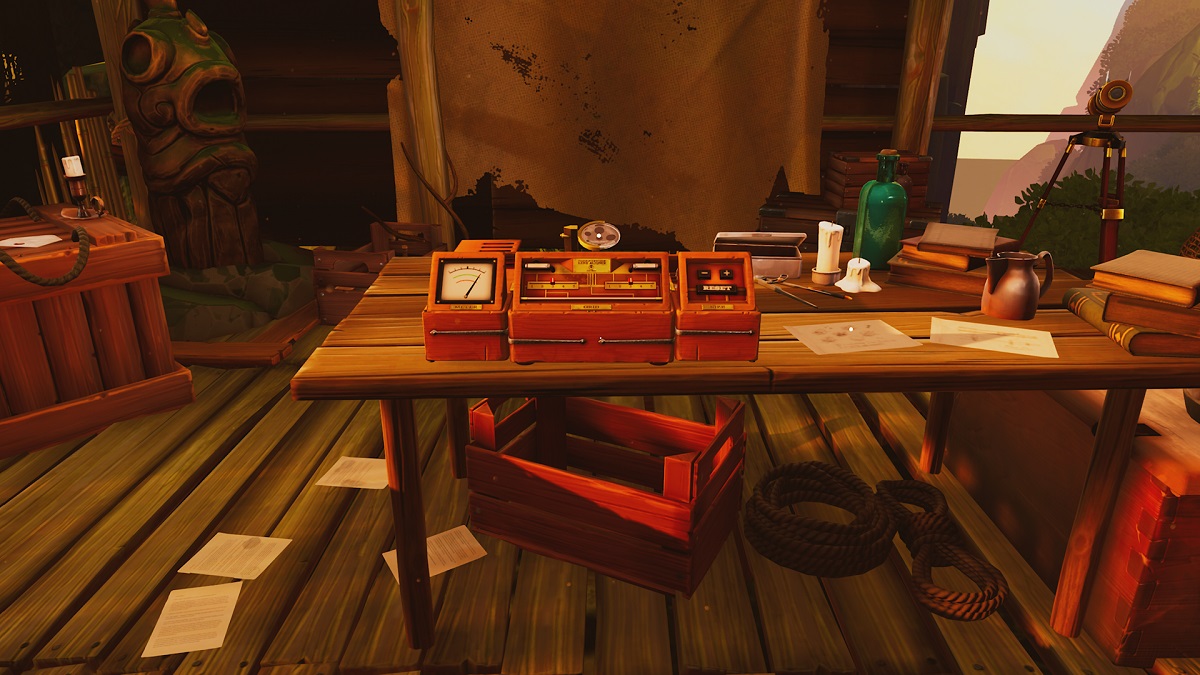
Using the machine and the images in your journal, you need to create different sized black circles on the canvas that the aligner is pointed at. You do this by moving the laser, projected onto the cloth, with the two sliders along, their one to five positions. The left slider corresponds to the vertical axis, and the right slider to the horizontal axis. You can move along these sliders using the left thumbstick.

The right thumbstick allows you to alternate between the two sliders, and the plus, minus, and reset buttons on the right side of the machine. The plus and minus buttons enlarge or reduce the size of the black circle you create. The symbols that Nora has drawn show you how big or small these circles need to be. Push the plus button once to create a small circle, twice for a medium one, and three times for a large one.
To save you time, you can find the coordinates for each circle, and their size, below. The first number is the position to select on the left slider, and the second for the right:
- Small circle one – one and four
- Small circle two – three and five
- Medium circle one – two and two
- Medium circle two – three and three
- Large circle one – three and one
- Large circle two – five and three
Grab the lens and place it on the top of the telescope to your right. A constellation image will appear when you look through the telescope. Note it down in your journal.

Head back to the pit. Using the drawing, interact with the ground-based buttons to create a black ooze path in the form of the constellation. You can only press eight buttons, so ensure you hit the correct ones. Start at the gold star to make things easier. The image below gives you a bird’s eye view of what it should look like.

A button on a platform will rise in the center if that is done correctly. Press it to instigate a cutscene and completer chapter two.

Published: Dec 11, 2020 08:45 am