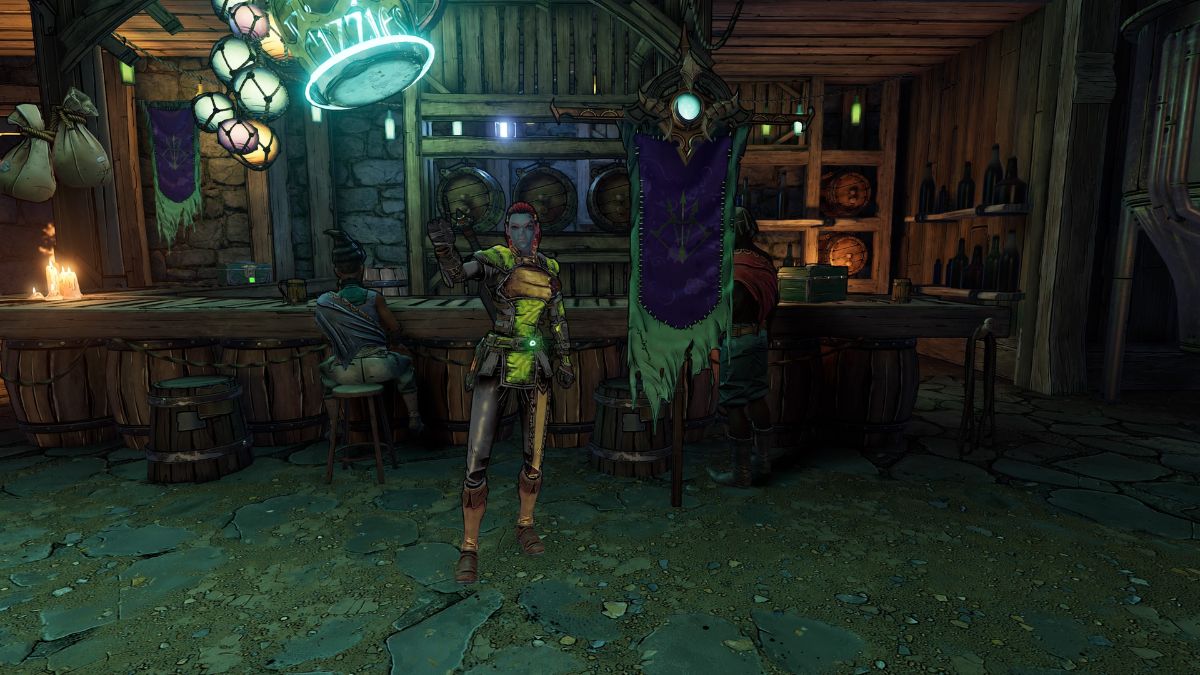
Photo Mode is a staple in any modern video game. Obviously, it will appear in the fantasy setting of Tiny Tina’s Wonderlands. From the beginning of the game, you can start taking wonderful mayhem-filled pictures of your exploits in the Wonderlands. The Photo Mode offers many choices to make your photos look awesome. Here is how you use the Photo Mode in Tiny Tina’s Wonderlands.
How to access Photo Mode

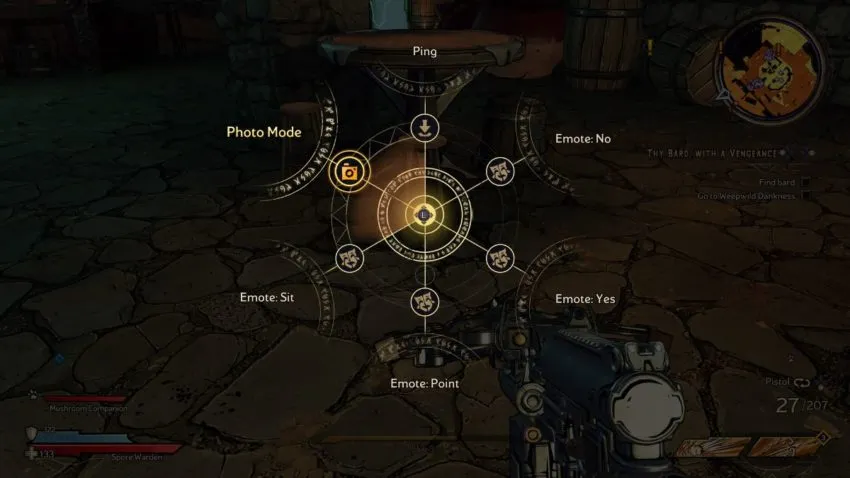
Photo Mode can be accessed in two ways. For starters, you can go into the main menu and select Photo Mode. This is done by selecting the options button on Playstation, the start button on Xbox, and the ECS key on PC. From there, select Photo Mode. You can also activate Photo Mode by bringing up the emote menu. From there, you can select Photo Mode from the wheel. Entering Photo Mode will automatically pause the game for you even if you don’t go through the start menu.
Photo Mode features
The Photo Mode in Tiny Tina’s Wonderlands has a good amount of features for you to peruse. Let’s go over some of the main ones that you will be using.
- Camera Tab: This tab allows you to enhance the field of view and roll the camera to get those important Dutch angles.
- Lens Tab: This tab allows you to change the focus of the image by adjusting the distance, region, and intesity.
- Contrast Tab: This tab allows you to adjust the contrast, saturation, brightness, and gain of the image.
- View Tab: This tab allows you to hide or show both the player character and the damage numbers.
- Filter Tab: This tab allows you to adjust the film grain of the shot and apply filters to the image along with adjust the intesity of the filter.
- Border Tab: This tab allows you to adjust the intenisty of the vignette around the edge of the photo and adjust the feathering percentage of the vignette.
With all these features, you are bound to get a great shot every time you take a photo. Go as crazy as you want.


Published: Mar 25, 2022 03:21 pm