One of the major changes Gran Turismo 7 has undergone for the series is the new and improved Livery Editor. It’s here where players can design and alter just about every inch of their cars and upload their creations to the Showcase for others to use. However, some players may be wondering how to access the feature at the start of the game. Here’s how to use it and maximize the tools on offer.
Unlock the Livery Editor
The Livery Editor is a menu tied to the new GT Auto tab found on the World Map, but it cannot be opened directly after beginning the game. Like most features included on the map, it will have to be unlocked through completing Menu Books in the Café. In short, participate and rank third or higher in the races it asks you to finish until the Menu Books reward you with GT Auto and its many customization features.
The editor’s customization options and how to use them
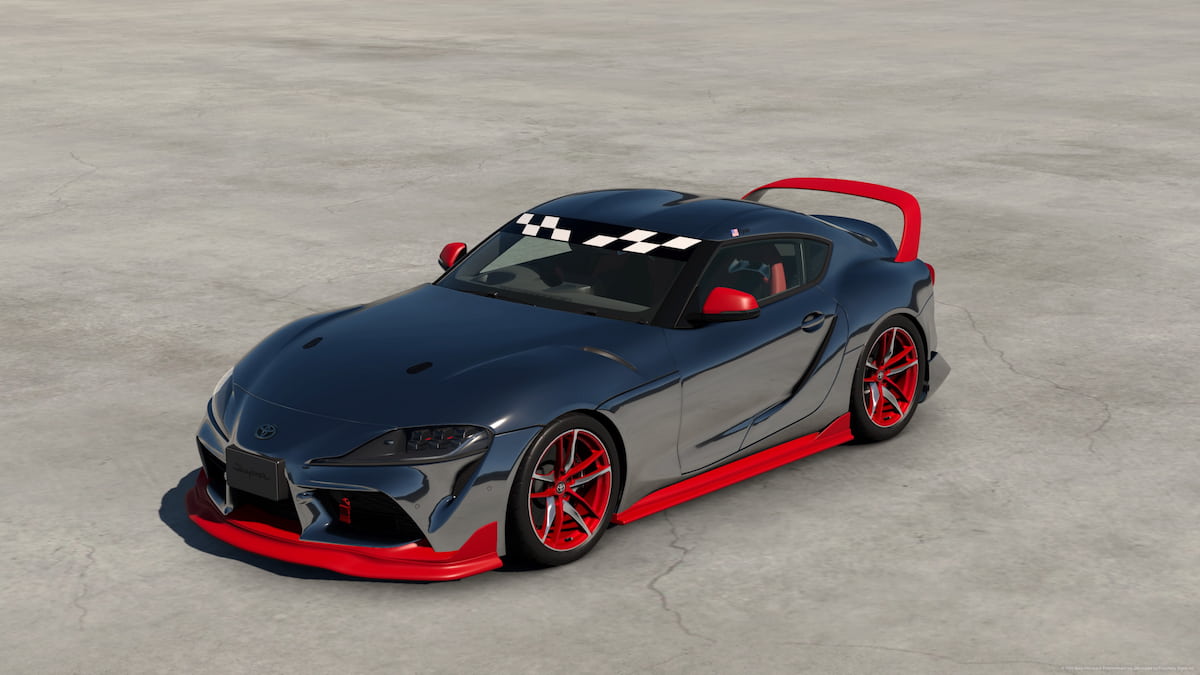
Similar to Gran Turismo Sport, you can continue to add a laundry list of different paints and decals through the Livery Editor — but with one new, exciting option. If you have external car parts applied, such as a spoiler or skirts, you’ll find in the Decals menu that you can change the color of these or even apply logos, patterns, or custom messages. Each of these options can be found through adding layers to each area (as shown above). This feature also spans to back windows, side mirrors, and windshield banners, leaving you with endless possibilities for your final product.
Related: How to download and use liveries created by other players in Gran Turismo 7



Published: Mar 5, 2022 02:41 am