In Metal Gear Survive Ending Walkthrough, you will deal with Lord of Dust (End Boss), the creature which caused chaos in Dite.
In the previous two chapters Chapter 21 and Chapter 22 after getting the Memory Board, AI Virgil tells you to deploy the Wormhole Digger on singularity. At the end, the AI will inform you that Lord of the Dust is heading towards the base. And it will also tell you how to attack the creature. There will be a long three wave of battle at the start where you will have to defend a trap and later you will be fighting with Lord of Dust.
Defeat Lord Of Dust | Ending Walkthrough
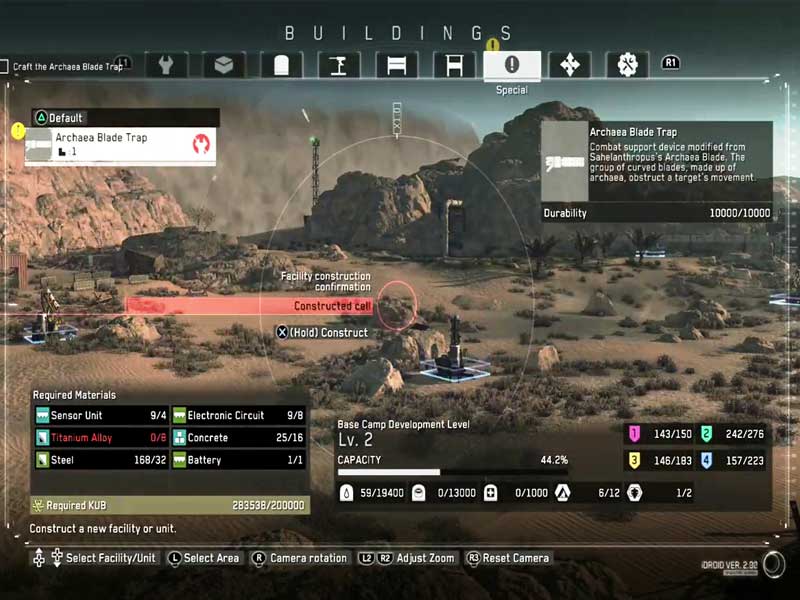
Before you start, you will have to craft the Archaea Blade Trap. Go to the main base first, and then select Construction Terminal. Under the section Special, you will find Archaea Blade Trap. Below are the things required to construct it.
- 4x Sensor Unit
- 8x Electronic Circuit
- 8x Titanium Alloy
- 16x Concrete
- 32x Steel
- 1x Battery
There will be four of them planted near the base. Once done you will have to start the wormhole digger to lure the Lord of Dust.
Start the wormhole Digger:
Before you begin you must prepare base well, add proper defensive units because with the creature there will be other enemies also. You have to assign things to the right place to start the final fight. So take your time and add defenses well all around the base. Cover it with multiple layers of fences from all around. Next, you can plant necessary facilities. A few things you have to craft are Molotov Cocktail, Med spray, Decoy, and other things you find is important. Increase your Hunger and Thirst meter to max. Once you are done, start the Digger.
Defend Archaea Blade Trap:
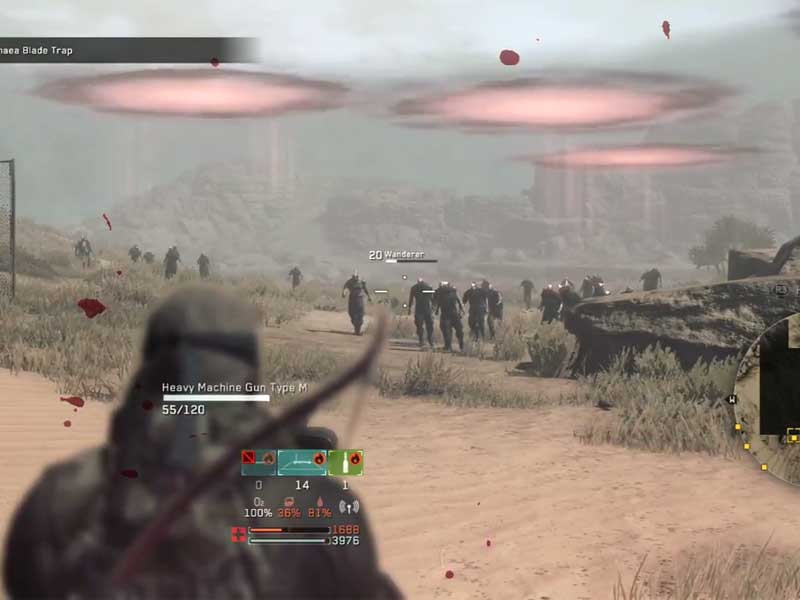
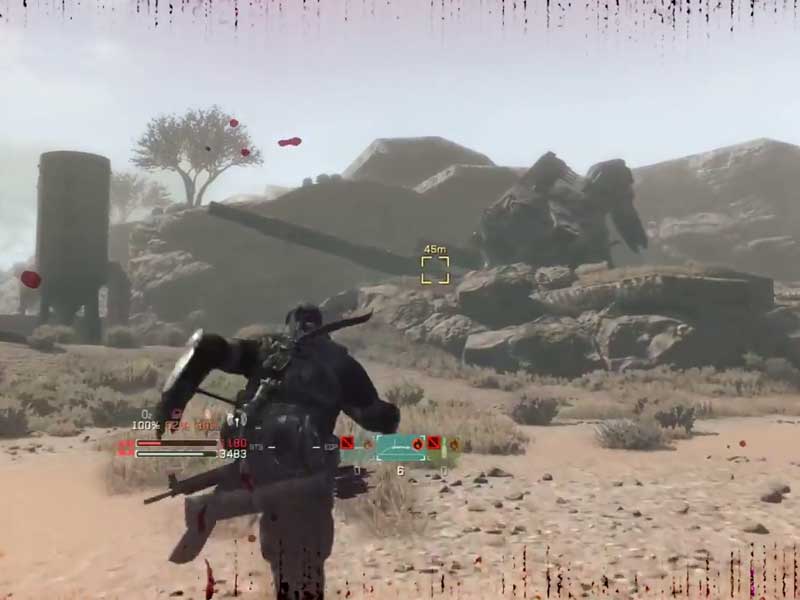
After a cutscene, get down and head towards the Archaea Blade Trap. There is a time of 4.59 minutes before the blades reactivate. You have to climb down fast. Run towards the yellow marker, and you will have to defend the trap from Wanderers. Look at the Mini Map and follow the red circles. Once the Wanderer’s are near let them, group. And then use the Molotov Cocktail to kill multiple enemies. Bombers are painful they will easily destroy the fences around. Through fire, you can cause constant damage. There will be machine gun that will help you a lot. Use it to shoot down the bombers at distant.
Next is Mortar you can use on a horde of enemies, but you have to be very quick. Slowly the enemy will keep coming near the trap, so try taking out benefit by attacking the bombers. This will be the first wave. There will be a break of 1.29 until the next wave. You can visit the base and prep for the next attack. All facilities at the base are active, you can use it for food, weapons, gears, etc. Once you are done get back near the spawn point, there are stairs from where the enemies will come down, add a fence and kill multiple enemies easily. You will face stronger enemies now. Try getting a cover and use mortar against them. There will be a last and final wave and you will have some time in between to get prepared. There will be a higher number of enemies this time.
Activate Railgun:
Once you are able to survive all the three waves, you will have to activate the rail gun. It is located on the other side of the trap. Get to the weapon and there will be a short cutscene.
Use the railgun to destroy the Lord of Dust
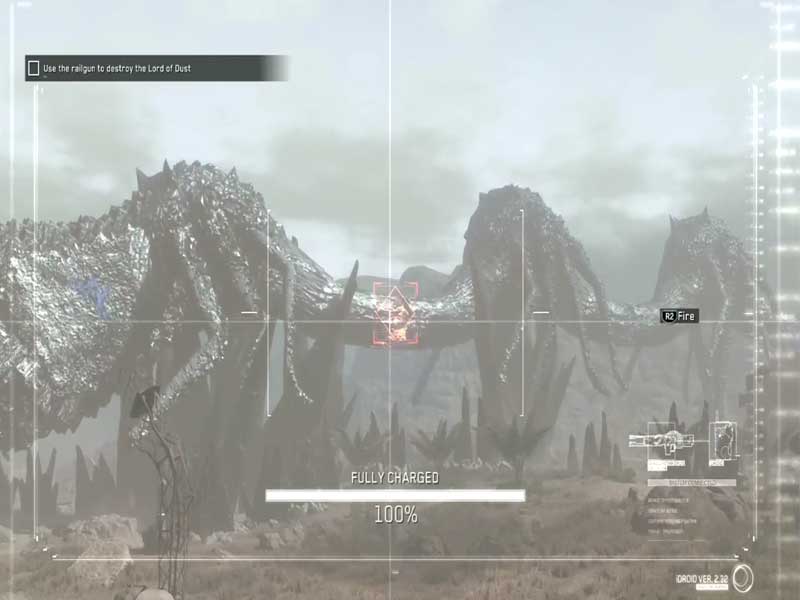
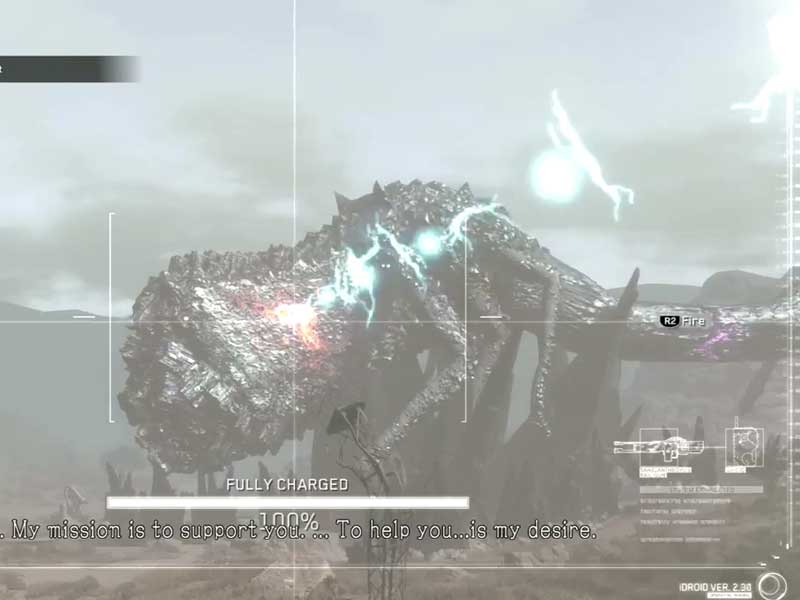
Next, you will be able to use the rail gun, you have to properly target the enemy part to attack. The gun will take some time to attack, don’t shoot wait for the gun to acquire the target, you can see a moving corsair, once it comes in the center and the box turns red shoot. Attack the red area, and it will break the creature into two pieces. But it won’t end here.
After the last conversation AI Virgil will suggest a final plan to kill Lord of Dust. You will be using the railgun once again. Run towards the weapon and activate it. Shoot on the creature on the head. This completes Metal Gear Survive. For more tips and updates on the game, you can read our Metal Gear Survive Wiki guide.




Published: Feb 27, 2018 12:02 pm