In Play It Safe, you will be working with Takemura to try and convince Hanako that it was her brother’s hands that killed her father. This mission is potentially quite impactful to the overall story, and how the game will end. In this guide, we will run through everything you need to know.
There is also a boss fight that may cause a few problems, as it is against a very strong enemy that is built to nullify many of your abilities.
Starting the Mission
To begin the mission, head to the waypoint in the market where you originally met with Takemura to discuss your plan for the mission. You’ll need to take the elevator up from the street. You’ll need to take out three Snipers, and this is simple enough thanks to the waypoints. You do have some route options to get to the most of them.

For the first guy, cross the footbridge then head up the stairs. Keep following the waypoint until you find a ladder you climb up. Keep a close eye out for laser mines as you take this route. When you get to the top, crouch, carefully climb up to the sniper, and snap his neck.
The Second Sniper
From the first sniper’s location, head to the elevator nearby and take it all the way up to Floor 21. Follow the balcony and then climb up the ladder at the end to get to a catwalk. Be careful, as this is a poorly maintained area and parts of it will fall. Jump across the gaps to get to the other side. Use the grate on the other side to drop down and then make your way all the way down to the bottom by jumping from balcony to balcony. Be careful about the drones. You can hack them with a System Shock to get rid of them. At the very bottom is a singular soldier, so take him out, then head through the door.

Be careful in this room, as there will be a mine on the wall activate by a laser. You can jump over it easily if you have the double jump, or you can hack it. Keep moving forward to find the second sniper, then give him the old neck snap.
From this point on you need to be careful, as both drones and guards will be pretty common.
The Third Sniper
You can mostly follow the waypoints, but you want to be extremely careful about guards here. One of the guards has a habit of glitching on the stairs, so be very careful he doesn’t see you. You can ping them with your hacker skills to get the locations of nearby guards and drones, so do this often. You will eventually come to a large open balcony with one guard leaning against a fence. Take him out, then listen to Takemura as he gives you some info. You have two routes from here. You can cut straight across the parade route but will need to pass between the floats, or you can go the left and climb up to an elevator. This is the route we took.

If you had for the elevator, a large melee-based enemy will be getting out of it when you arrive. Take him out, then take the elevator up. There are lots of drones, and two awkwardly placed guards here. Stay upstairs and work your way around to the right, then head through the door, being very careful the drones don’t see you. It is time for a sneaky glitch, however. The last sniper is in the walkway below you, but you can walk along the roof to the end, then shoot him through the window above.
The window doesn’t break, and we are pretty sure this isn’t meant to work, it is just that glass doesn’t really exist in the game, and is visual only.
The Netrunner

Now that this is over, it is time to deal with a Netrunner that Takemura needs you to take out. They are in a building across from the street where you took out the second sniper. You can get there easily by heading back along the walkway, then using the elevator in the lobby area below you.
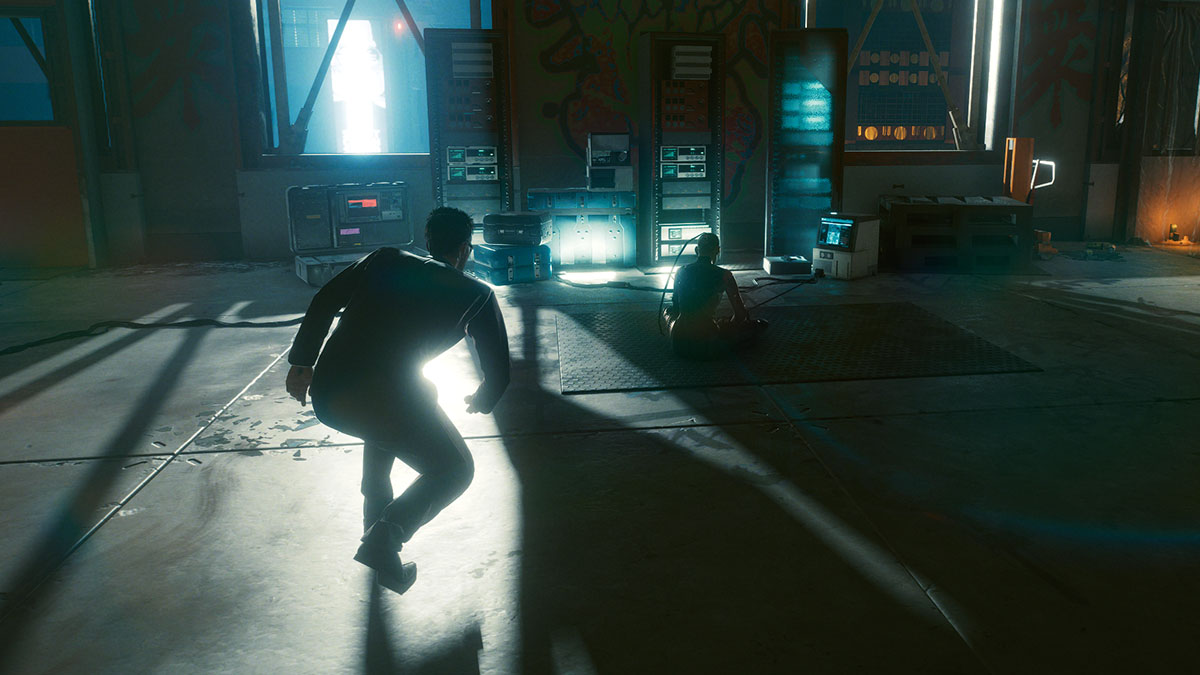
When you get to the room with the Netrunner, don’t interact with her straight away. Doing so will cause Oda to appear, and he is intent on kicking your ass. Check your loadout and think about how you wish to proceed.
The Oda Boss Fight

Smart weapons won’t help against Oda, as his cyberwear will interfere with them. Be warned though, he has his own smart weapon, and staying in the open is certain death. Oda is weak to electrical damage and resistant to thermal. If you have the Cyberware Malfunction quickhack, you can use this to destroy his mask, stop it from interfering with the smart weapons you might have, then deal with him that way.
The two main things to watch out for with Oda are his active camo, which he will use to break off and try to heal when injured enough, and his Mantis Blades, which will absolutely crush you if he gets too close.
You can easily keep track of him by hacking the security system in the room and using weapons that do damage-over-time. For some instant damage, you can use Destroy Grenades quickhacks on him to pop his own grenades, doing plenty of damage.
Our preferred method is to reboot his optics, then set about him with our own Mantis Blades which he is stumbling around, which feels poetic. Do some damage, then get out, because the second his vision comes back he can easily kill you in one or two hits.
Oda is insanely fast, so do your best to keep your distance until he is blinded, then close in to do plenty of damage to him. Remember, don’t let him get too far from you when his camo is active, because he will try to heal. Once the fight is over, Takemura will call asking you if Oda is alive. He will be, and you can choose to either leave him that way or kill him.
Letting him live will cause him to appear in your game ending in a positive way, so this is the currently suggest course of action. After that, plug into the Netrunners systems, deactivate the security system for Takemura, and then watch the cutscene play out. When it’s over, it will be time for a new mission called Search and Destroy.


Published: Dec 30, 2020 11:26 am