There are twelve mission types in Rainbow Six Extraction, and the specifics of how to complete their objectives are quite different. However, regardless of what type of mission you’re on, the same broad strategy always works best. While the game will always encourage you to find and complete your objective as quickly as possible, the best approach is actually to do the exact opposite. Follow the step-by-step approach outlined below to increase your chances of success dramatically.
Step 1 – Conduct a systematic sweep of the Sub-Zone
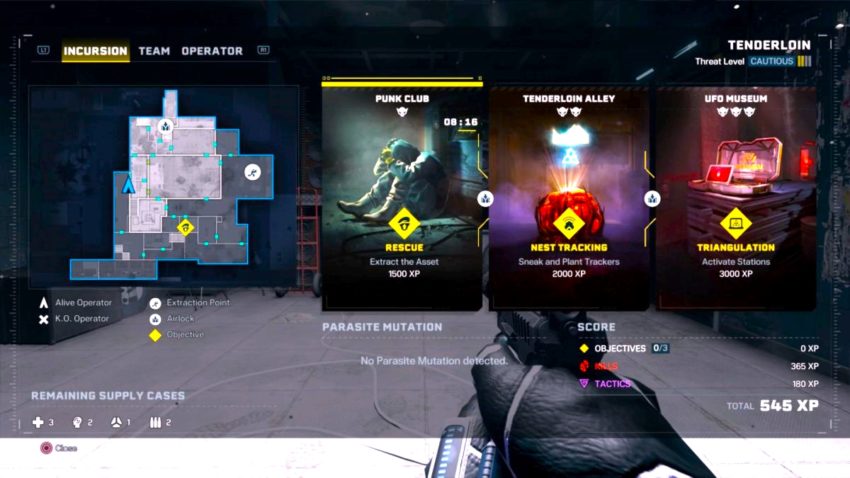
Whatever your objective is, it’s going to be easier to complete if you secure most, if not all, of the map before you even attempt it. Sweeping slowly and systematically through the map means you can get rid of Nests and wandering enemies without raising the alarm, and can keep track of which parts of the Sub-Zone are relatively safe and which are “hot.” The only exception to this rule is the Shutdown mission type. On Shutdown missions, you should proceed directly to the objective marker, but you should still do so in a slow, systematic way.
Our preferred approach on non-Shutdown missions is to go around the outside perimeter of the map. This way you avoid getting disoriented or surrounded. It doesn’t work that well in some Sub-Zones, so an alternative method is to sweep back and forth in straight lines. Imagine you’re a lawnmower and the map is a lawn you want to mow in perfect, neat stripes. Whichever approach you take, check your map often to make sure you know where you are and where you’re going. There’s only one good reason for straying off your route, and that brings us to Step 2.
Step 2 – Destroy alerted Nests
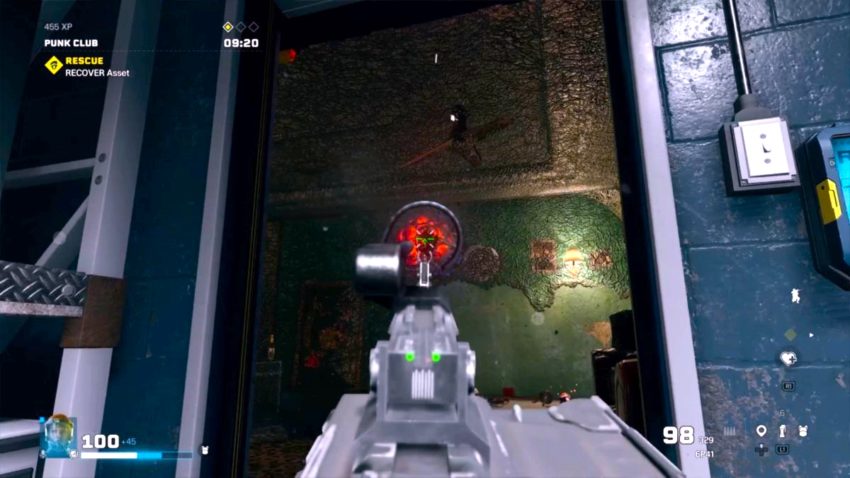
You should try to maintain stealth at all times when you’re sweeping by staying low and using either Takedowns or single shots to weak points to deal with enemies and Nests. But nobody’s perfect. Sometimes an Archie will notice you, and you won’t manage to kill it before it howls, alerting all nearby Nests. When this happens, it is so important to find all the alerted Nests and destroy them, even if this means straying a long way from your sweeping route. Always take a mental note of exactly where the Archie was when it howled, and do a wide search of that area, looking and listening for alerted Nests. You’ll know there’s an alerted Nest nearby because the Sprawl will be spreading over a wide area. There might be as many as three or four alerted Nests to deal with, so be thorough. If you miss any, the enemies they keep spawning will cause you problems. This is how situations escalate and how missions are failed.
Step 3 – Locate and secure ALL objectives
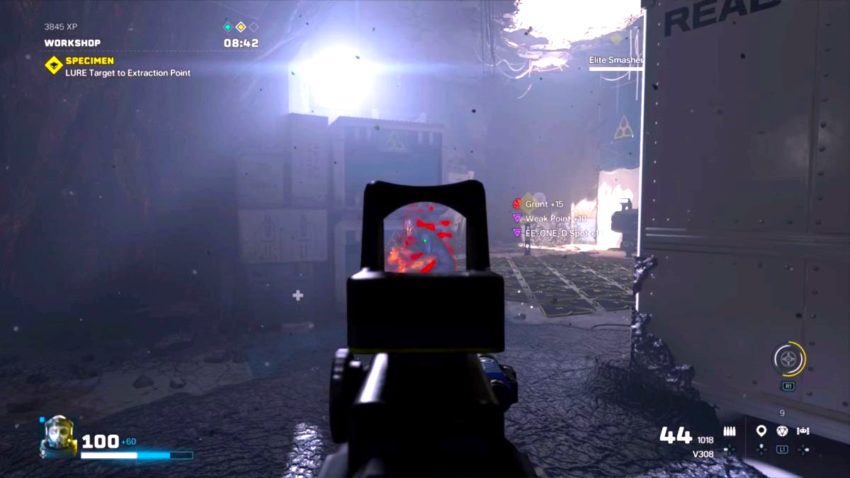
While you’re in no hurry to find your objective, you’re bound to find it sooner or later when sweeping. The game will encourage you to attempt to complete your objective immediately. Do not do this. Always carefully and systematically secure the areas around and between all objectives. That means killing wandering enemies, destroying Nests, Blinding Spores, and Mines and, if necessary, clearing paths through the Sprawl.
Related: Beginner’s guide for Rainbow Six Extraction
For example, on a Triangulation mission, find all three Seismic Stations, clear the areas around them, clear routes between A and B, and B and C. Same goes for Serial Scan missions, where you should clear the areas around the holograms. On mission types that require you to take something to the Extraction Point, make sure you clear a route between the objective and the Extraction Point. And on missions on which alerting Archies is inevitable, clear areas around both the Airlock and the Extraction Point so that you have escape routes if you need them.
Step 4 – Complete your objective
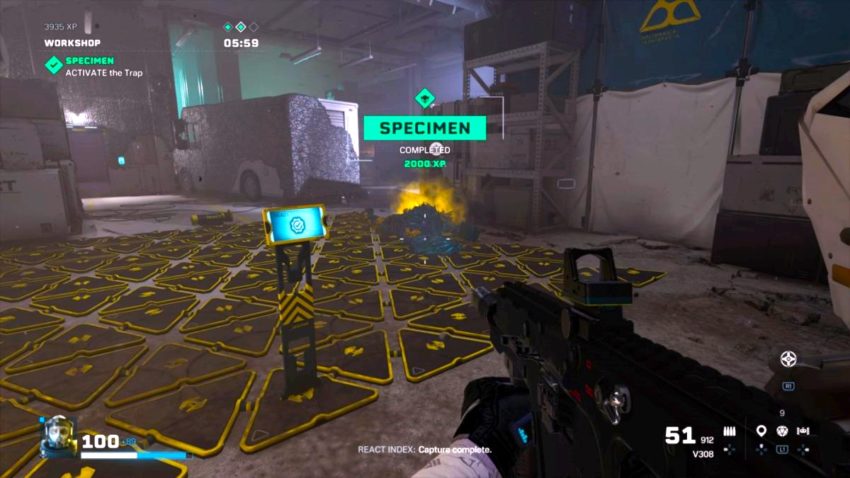
If you’ve followed Steps 1-3 properly, this last step should be the easy part. Some objectives – Sabotage and Hunt, for example – inevitably incur danger, but even these are a lot easier when you’ve secured the area in advance and don’t have to deal with the additional threat of alerted Nests. There’s no way to guarantee victory, of course, but we can assure you that our success rate dramatically improved when we stopped taking the direct, hurried approach and learned how to secure every Sub-Zone thoroughly.





Published: Jan 22, 2022 05:31 am