Sea of Stars has a few side quests that players can complete during their playthrough, getting them new items, collectibles, and in some cases, progress towards the game’s true ending. Freeing Duke Aventry is one of those quests, but players may be unsure how to start this quest or what to do since its puzzle can be a bit confusing.
To ensure you can complete this quest, we’ve put together this guide with details on how to complete the free Duke Aventry quest, including its location, puzzle solution, and how to beat the boss.
Related: Sea of Stars Walkthrough Guide – Dungeons, Collectibles, Wheels, Side Quests, & Tips
Skipping Some Steps

There is a longer way of getting this quest going that involves talking to multiple characters and traveling around a bit more. These include talking with Hortence and Yolande on the Vespertine, flying to Songshroom Marsh to see Yomara, and traveling to find answers to a puzzle.
However, from my own experience in my playthrough, you do not need to do these steps, and you can in fact get this quest done a bit quicker if you skip them with no impact on the questline.
So, for this guide, I will detail how I completed this quest without doing the steps mentioned. Don’t worry about missing any story or anything since you won’t be missing anything important; this is just a quicker way to finish this quest so you can get on with the game.
Where to Find Romaya’s Secret Passage in Sea of Stars

Romaya’s Secret Passage is found to the northeast of Wraith Island, on a small island in the top right corner of the area. You can see its location in the image above.
You will only be able to reach this area towards the very end of the game when you learn to fly, which you get after beating the Dweller of Dread. Once you have this ability, you can get to Romaya’s Secret Passage.
How to Solve Romaya’s Secret Passage Puzzle
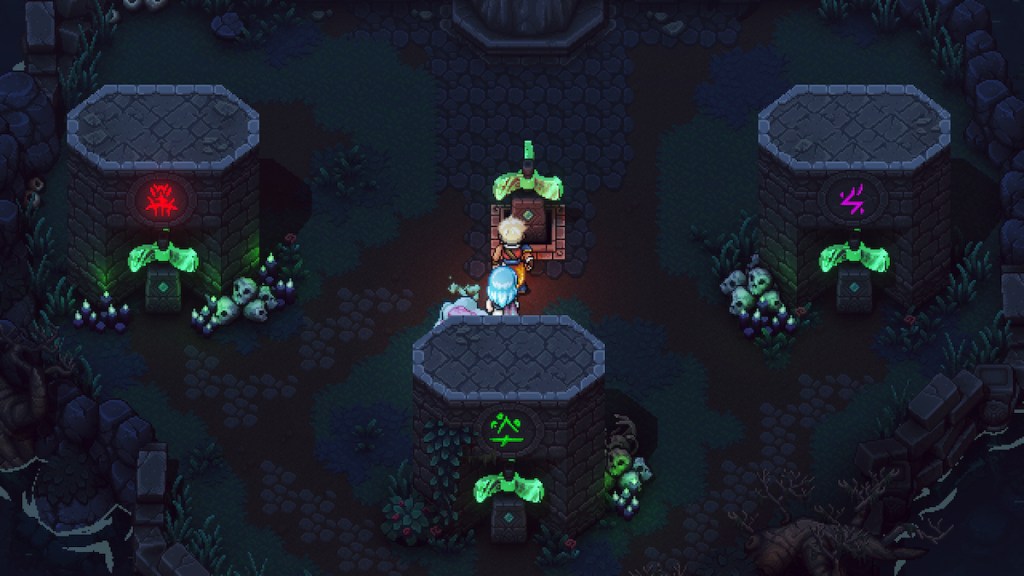
When you get to Romaya’s Secret Passage, you will find a series of colored runes with fans, with a large door at the top of the area. If you interact with the door, you won’t be able to open it yet. You need to set up the runes in the correct configuration to open the door, but you won’t have all the information you need on hand.
To find what you need, you’ll want to head to the Flooded Graveyard on Wraith Island, and in the top left of this area, just to the side of the Necromancer’s Lair dungeon, you will find a small cave that has a chest trapped behind some bars. Along the top of the wall, you will see the symbols you need to unlock the secret passage.
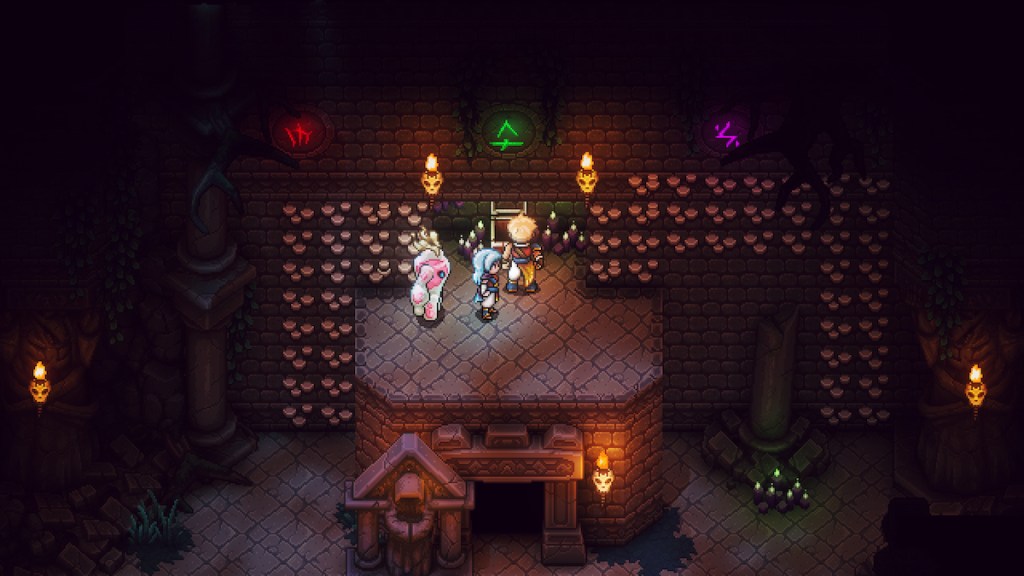
Thankfully, these symbols are the same for every playthrough, so you can skip this step and use the image above to open the passage.
After returning to Romaya’s Secret Passage and solving the puzzle, head inside and follow the path that will take you back to the room in the Flooded Graveyard with the chest and runes, only now the chest will be unlocked. Inside, you will find the Romaya’s Journal key item, which you need to give to Duke Aventry. You can find them just outside this room.
After reading, he will get a faint idea of who he was and begin to remember his past. He will then give you the Yellow Flame, which you give to the Ferryman, the same one who brings you to the Flooded Graveyard, and they will take you to a new location, The Half-Sunken Tower.
Navigating the Half-Sunken Tower
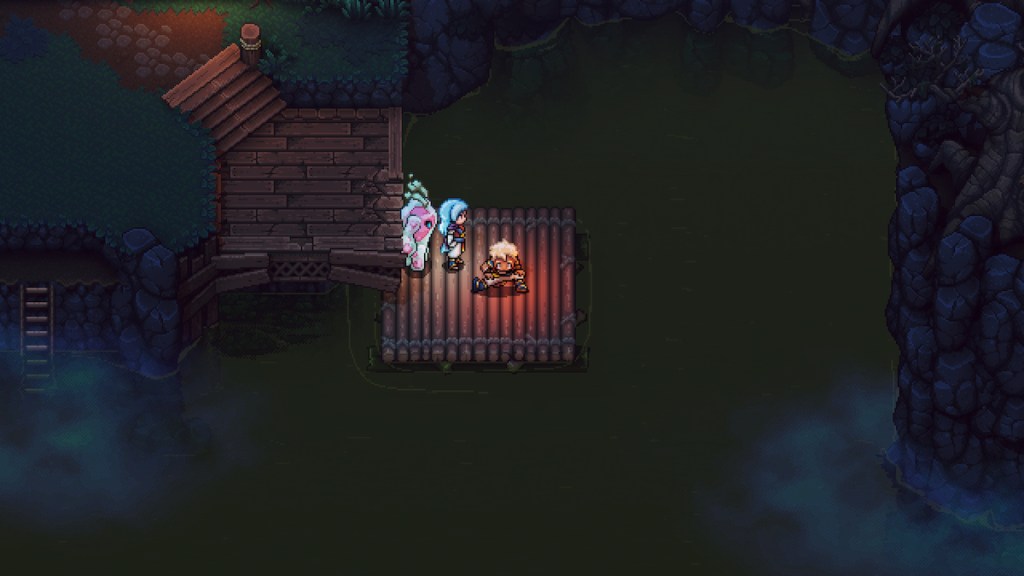
This area is pretty straightforward to get through and rather linear, so it’s unlikely you will get lost along the way. Just head across the wooden beams in front of you, and you will come to a wooden raft, which you can use alongside your gust ability to move around in the water.
First off, head to the southern dock, and in the southeastern corner, you can jump into the water and follow the path to a Rainbow Conch. Then, head up, and you should see a dock you can board on your right, with a Graplou point nearby. Jump up to this area, use the Graplou to reach the climbable wall, and pull the lever up in this area. This will drop a large block you need to climb into the tower.

Next, jump back on the raft, go down and to the right, and you will see another dock. Jump up, and you can platform to the block you just dropped and enter the Half-Sunken Tower.
This area is very simple: head up the tower, pull the lever up there, and you will make a ledge appear. Jump on down and smash through the cracked floor into another room. Then, jump into the water and into the whirlpool, swim through, and come out the side, and you will find yourself in a new room with a familiar face.
Romaya Boss Batte
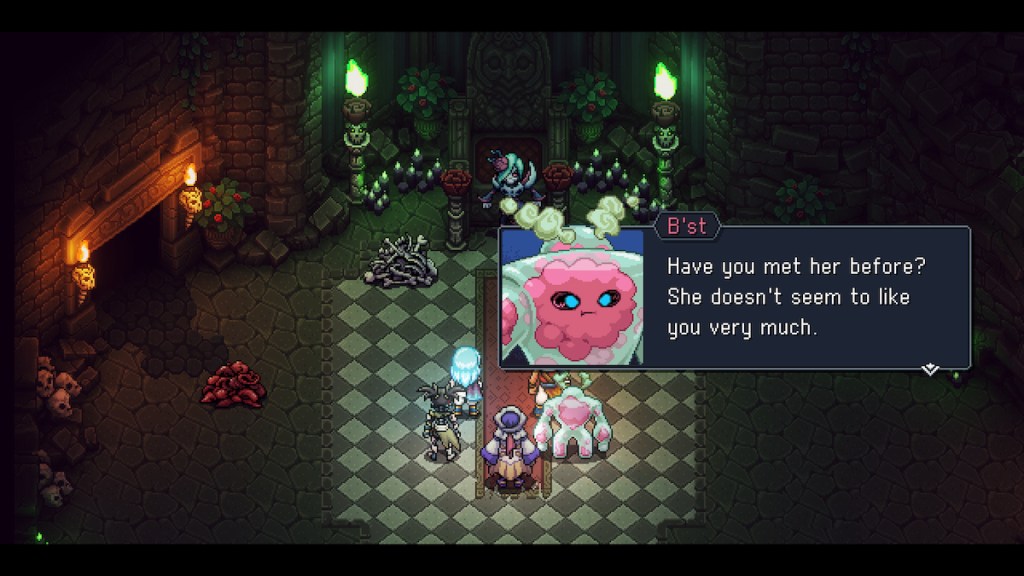
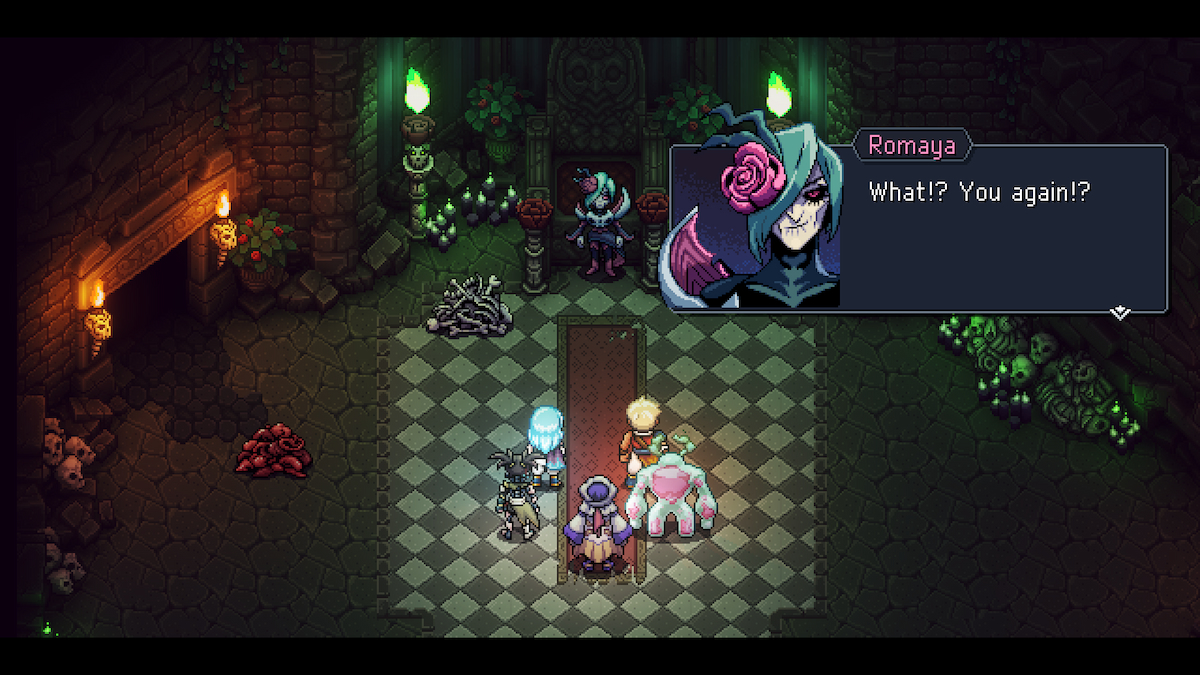
In this room, you will find Romaya, a boss you battled early in the game during the Necromancer’s Lair dungeon, only this time she has a few new tricks. You’ll need to beat her to progress the quest.
Romaya’s moves are as follows:
- Eyeball Shot: Romaya’s normal attack, where she’ll conjure up an eyeball and shoot it at a party member, dealing moderate damage.
- Summon Undead: Romaya summons a minion from one of the two piles next to them. The Bone Pile will spawn a Revenant, and the Flesh Pile will spawn a Lonzon. The pile being summoned from will take 500 damage.
- Necromancy: Romaya will take a part from each of the piles and conjure up a Gulgul, with both piles taking 500 damage during this move.
- Bone Pillar: Romaya will summon a stack of bones that she will stand upon, and cannot be targeted until all the layers are destroyed. Each layer is weak and usually will be destroyed with a single hit.
- Bone Cage: A two-lock move where Romaya will place a bone cage around a party member, preventing them from acting. Players can destroy the cage and allow that character to act again. The cage has 195 HP.
- Felfire Rain: A 10-Lock move where Romaya will summon poison rain that will hit all of your party for pretty high damage. Usually, it is cast when atop the Bone Pillar.

For this fight, it’s a similar strategy as before, with the piles being the first thing to deal with. This prevents her from summoning minions and makes the rest of the fight much easier to deal with. The bone pile is weak to Lunar damage, while the flesh pile is weak to Solar damage. It’s worth using splash damage or multi-target attacks like Sunball and Moonrang to damage the piles while also doing extra hits to other enemies. These also help to break down the pillar quicker.
Beyond that, using Lunar Shield for some extra defense and slowing down lock moves using Combo Moves like Arcane Barrage and Resh’an’s Ultimate is your best bet. From there, just keep at it, heal where needed, and focus on those piles, and you will be finished nice and quickly.
Freeing Duke Aventry and Getting the Aventry Crest

Once you beat Romaya, you’ll get the Aventry Locket, the item you need to free the Duke. Head out the left passage, and then you will come out by the Half-Sunken Tower. Head back to the Ferryman and go to the Flooded Graveyard. Here, you will want to head toward the bottom left of the area, near the ruined building, and you will find Duke Aventry outside. Give them the Locket, and they will remember who they are and be able to move on, free of Romaya’s grasp.
That’s not all though. They will also give you the Duke Aventry’s Key, which you can use to open their coffin found in the bottom left of the Flooded Graveyard, inside a small room. Open the coffin, and you will get Eclipse Armor and the Aventry Crest item, which you can give to Teak’s for a new story about the Duke.






Published: Sep 28, 2023 9:52 PM UTC