Lightsaber combat is a core part of Star Wars Jedi: Survivor and is easily my favorite part of the game. You’ll be fighting against a range of enemies as you progress through the main campaign, and there are several difficult enemies for you to discover. Understanding how the different lightsaber stances work is an essential component of all of it.
There are five unique stances that you can learn in Jedi: Survivor. Several of them are available at the start of the game, but others will appear as you go through the story. Here’s what you need to know about all Lightsaber stances and how they work in Star Wars Jedi: Survivor.
Every Lightsaber Stance in Jedi: Survivor
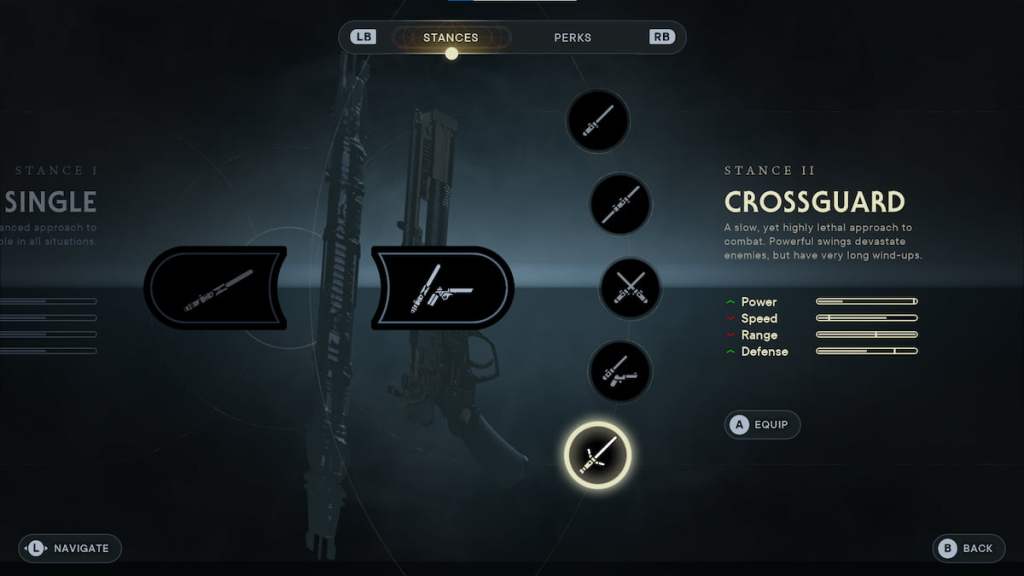
When you start Jedi: Survivor, there are three lightsaber stances that you can switch between. You have the Single, the Double-Bladed, and the Dual Wield. The Single and the Double-Bladed appeared in Star Wars Jedi: Fallen Order and the Dual Wield appeared at the end of the first game but was not an isolated stance.
For Star Wars Jedi: Survivor, two new stances are available: Blaster and Crossguard. These are unlocked as you progress through the main story. It can be difficult to select what lightsaber stances you should be using, especially because you can choose only to use two at any given time. Here’s a hefty breakdown of each lightsaber stance in Star Wars Jedi: Survivor and how you can switch between them.
How to switch Lightsaber Stances in Jedi: Survivor

You can customize lightsaber stances during combat. If you’re playing on a controller, you can switch between your assigned lightsaber stances by clicking the directional pads. You should have one lightsaber stance assigned to each side. You can do this out of combat and while in combat throughout your Jedi: Survivor playthrough.
If you want to customize lightsaber stances for these assigned slots, go to a Meditation Point. There will be a Stance option you can select, and you can pick from the unlocked stances that you can use. At the beginning of the game, you can choose between Single, Double-Bladed, and Dual Wield.
What New Lightsaber Stances Are In Jedi: Survivor?
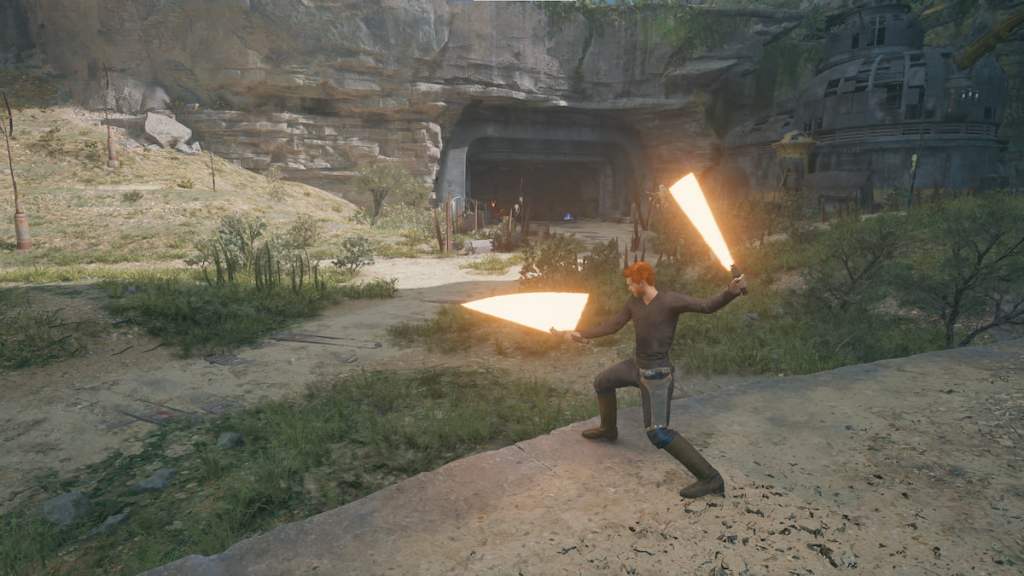
Players will have the ability to unlock two new lightsaber stances in Jedi: Survivor. The Blaster stance is a ranged saber that allows players to attacking using rechargeable shots, while the Crossgaurd stance offers the wielder enormous power. Both are exccelent choices for combat in the game.
How to Get the Blaster lightsaber stance in Jedi: Survivor
The Blaster saber stance is a lightsaber form you unlock as you progress through the main story of Jedi: Survivor. This is not a form that you can miss, so if you have yet to unlock it, continue playing through the story until it becomes available. It should appear after your first time playing through Jedha.
Of all the lightsaber forms in Jedi: Survivor, the Blaster stance has the best Range. However, this is only available to you in this stance because of the blaster, which does have a series of shots that go down as you use them. You can recharge the shots by attacking enemies with your lightsaber. This stance gives the second highest Speed in the game, but you have the lowest amount of Power.
How to Get the Crossguard lightsaber stance in Jedi: Survivor
The Crossguard saber is the next saber stance you can unlock in Jedi: Survivor. You can acquire this shortly after you unlock the Blaster form on Jedha. It’s a similar style to the one used by Kylo Ren in the Sequel trilogy and is a more frequent lightsaber form in the High Republic era.
You’ll have the highest amount of Power of any lightsaber stance while using the Crossguard saber. However, while you have a massive amount of Power and Defense, you have a severe lack of Speed. It’s the slowest lightsaber form in Jedi: Survivor, but if you can time your hits correctly against foes, this is considered one of the best stances to use in the game. This is one I used throughout my playthrough.
How the Single lightsaber stance works in Jedi: Survivor
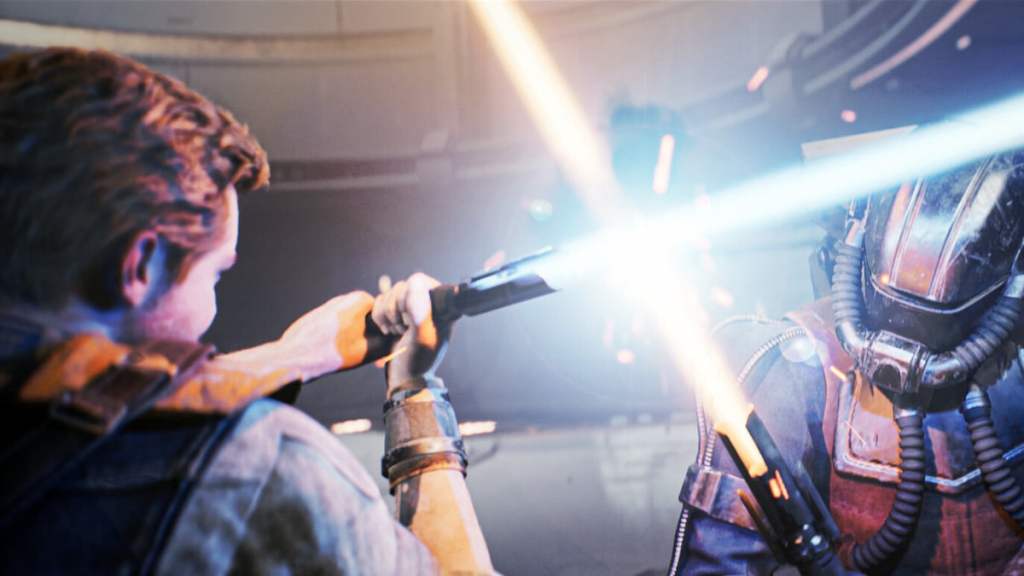
The Single saber stance is the basic lightsaber stance in Jedi: Survivor. This is where you’ll only use the single lightsaber blade in combat, and it won’t have any flash techniques and add-ons outside of what you purchase from the Skill Tree.
This is considered the most balanced form of all the stances. It has the same amount of Power, Speed, Range, and Defense stats across the board. I primarily used this throughout playing Jedi: Survivor and found it the most useful in any combat situation.
How the Double-Bladed lightsaber stance works in Jedi: Survivor
The Double-Bladed stance is another starting saber style that you can use at the beginning of Jedi: Survivor. It unlocks as you progress through Coruscant and relies on far more Speed and Defense than pure Power. Of all the stances, it’s the best lightsaber stance to handle multiple enemies simultaneously and is the best at deflecting blaster bolts back at foes.
It has some of the best stats for keeping the same Speed and Defense, but it loses a good amount of Power and doesn’t have a lot of Range. As a result, it’s a great stance to take out much weaker enemies, but not against bosses or ones with higher difficulties.
How the Dual Wield lightsaber stance works in Jedi: Survivor
The Dual Wield stance is another starting lightsaber stance you unlock at the beginning of Jedi: Survivor. It becomes available shortly before you conclude the Coruscant mission. This stance briefly appeared at the end of Star Wars Jedi: Fallen Order but was not given an individual stance, like the Single or the Double-Bladed.
Although the Dual Wield stance lacks in Range and Defense, it makes up for it with more Power and Speed. The Dual Wield is the fastest lightsaber form you can use in Jedi: Survivor and is perfect for anyone who prefers to be more aggressive towards their enemies. However, make sure to use speed to your advantage, and dodge out of the way of incoming attacks because you can’t take a hit.
What is the Best Lightsaber Stance in Jedi: Survivor?
When trying to consider what is the best Lightsaber Stance, there’s a good amount of arguments for all five of the stances in Jedi: Survivor. The standard single-blade has the most balance, which makes it perfect for any player. The double-bladed saber is ideal for those who want to close the distance and do some decent damage, but the animations and movement make it easier for an enemy to counter. This is similar to the Dual Wield saber stance, which has a bit more agility to it.
For the Crossguard, it’s easily the slowest stance, but if you can time the attacks correctly, these blows can do a large amount of damage, quickly dealing with foes. Finally, for the Blaster Lightsaber stance, many fans have enjoyed the fencer-like movements of this form and how you can interweave the blaster attacks, but the overall damage feels like it’s missing something.
Between the five stances, our best experiences have been with the Crossguard saber and the Double-bladed stances. The Double-bladed can be extremely effective against multiple targets or against one big one that you want to land multiple hits against. The Crossguard is equally effective against a single target, but it lacks the proper mobility to handle multiple foes. Pairing these two stances has been our favorite combination, and we find that they complement each other extremely well.
And that’s it! Check out our other Star Wars Jedi: Survivor guides below so you don’t miss any hidden secrets on your journey.
Jedi: Survivor Walkthrough | All Koboh Collectibles & Where to Find Them | All Abilities & How to Unlock Them | All Lightsaber Stances & How They Work | How Players Can Customize Lightsabers | How to Find T-18N | How to Help the Pit Droid with its Stuck Ship | All Chests & Rewards Players Can Find with T-18N






Published: Jun 9, 2023 01:50 pm