Early during your travels through the Lands Between, you may come across a door that opens up into a dungeon. These catacombs are beginner-friendly but still difficult for those looking to plumb its depths and loot the treasure within. Here is our full walkthrough for the Stormfoot Catacombs in Elden Ring if you’re looking for some guidance.

Getting Started
First, navigating to the Catacombs itself is fairly easy — head northwest from the Church of Elleh. There will be a ramp leading down that ends at a door. This door is the entrance to the Stormfoot Catacombs. There will be a Site of Grace directly in front of you, and it’s recommended that you activate it and prepare for the dungeon. The Stormfoot Catacombs are filled with Gargoyle enemies, which can perch on walls and inflict Bleed — if the Bleed gauge fills up, you will lose a lot of HP or straight up die if your health is low enough.
Further in, you will spy a ghost sitting in a chair. This ghost doesn’t do anything but offer some lore for the catacombs. The path will split here — directly ahead is a room with two Gargoyle enemies, one directly ahead and one immediately to the left. Deal with the left one first by stepping slightly into the room and aggroing it back into the hallway before dispatching the remaining one.

After looting the room, head down the other path and down the stairs; you will see a Summoning Pool tool as well as a door. The door is your final objective, but it’s currently shut, and we need to get it open. Head down the stairs to your left instead. Inside this giant three-story room is two immediate Gargoyle threats. One will leap down and chase you down, but the other will throw daggers at you. Lure the one that jumps down into the corridor behind you to dispatch it. Then, sprint to the alcove under the ranged Gargoyle — it will drop down next to you, allowing you time to kill it.
Spittin’ Fire
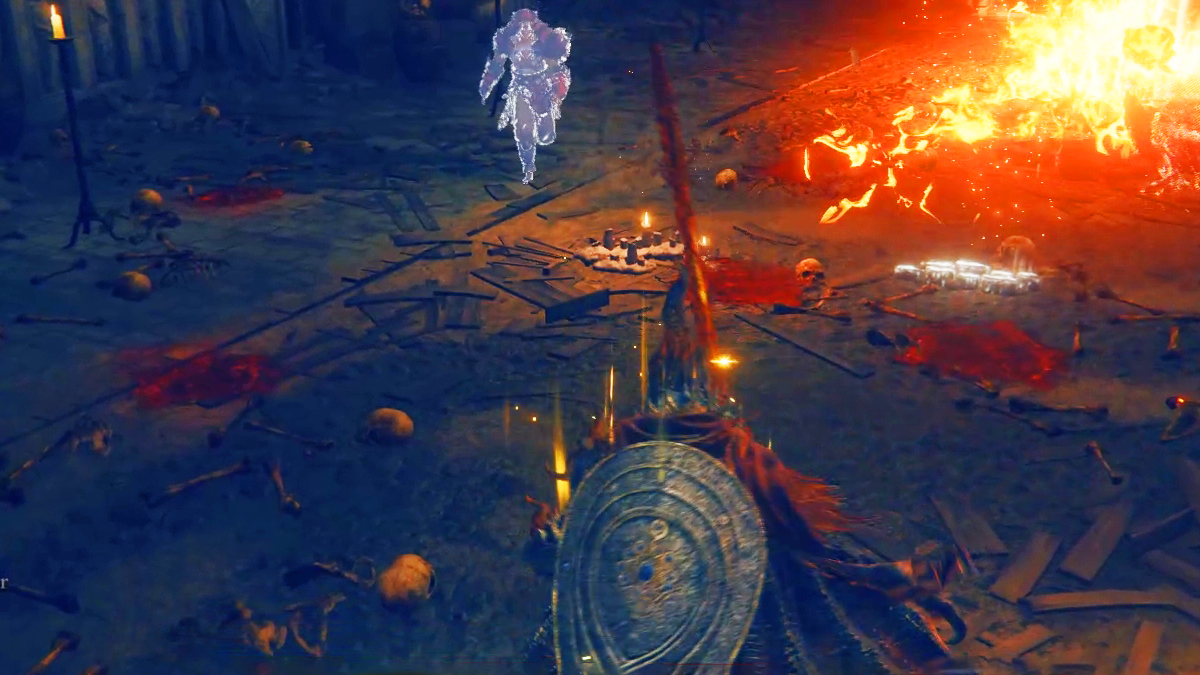
Moving forward into the corridor, you will hear a rush of flame-spewing down the hallway — but do not let it distract you, as perched up on the wall to your right is another Gargoyle. If it hasn’t noticed you yet, you can jump-attack it to knock it down. After dispatching the enemy, get ready to sprint down the flame hallway. The flames spew for five seconds before shutting off for three seconds. You have a three-second window to dash down the hallway and into the alcove to the right, but make sure you immediately stop in the safe zone shown in the picture below, or you will get hit by a second flame trap.
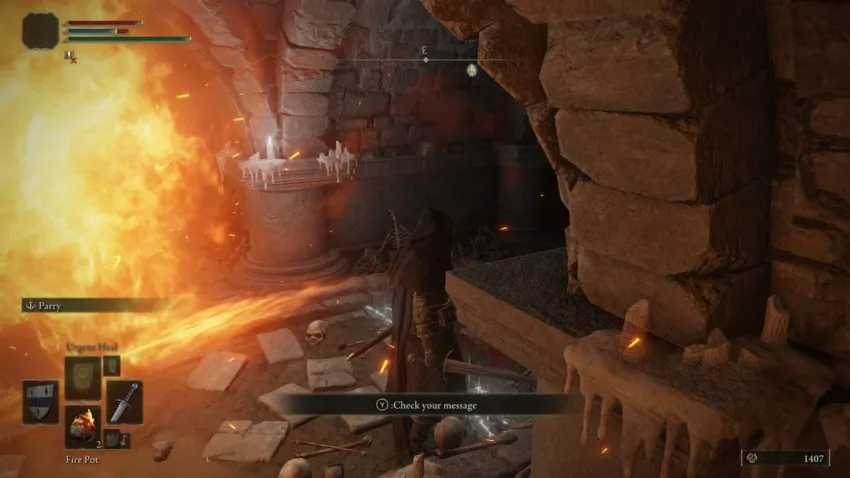
Reaching the safe zone, you should wait for another safe window and sprint behind the flame pillar to find the “Prattling Pate “Hello” item. This item lets you emit a hoarse “Hello” on use. Before leaving, strike the flame pillar to disable it. Head back to the safety zone. You have another trap to contend with, and the timers are the same, but once you reach the alcove on the right, do not go up the ladder. We can disengage the second flame trap and grab some loot in its room.
This room is packed with Gargoyles and can be tricky to deal. You can see two Gargoyles perched on the wall, but there are an additional three Gargoyles hidden around the corner. When you rush in to avoid the flame trap, hug one of the sides and attempt to lure one of the Gargoyles with a thrown item. You can’t go back without getting hit by flames, so be prepared to dodge into the Gargoyles to avoid taking hits or stagger them with repeated light attacks. Once you clear the Gargoyles, strike the flame pillar to deactivate the trap.

Finishing Up
Head back down the hallway and up the ladder you passed earlier. There is a balcony with a Gargoyle immediately to your left and a Gargoyle opposite it on the other end of the room. Take out the left Gargoyle first, then the far one. Do not drop down yet, but instead, go down the hallway at the end of the room. There will be a ranged Gargoyle throwing daggers at you, but don’t let it distract you — there’s a hidden Gargoyle to the right of the entrance into the room. Kill it first, and then the ranged one. This room holds the Wandering Noble Ashes summon item.
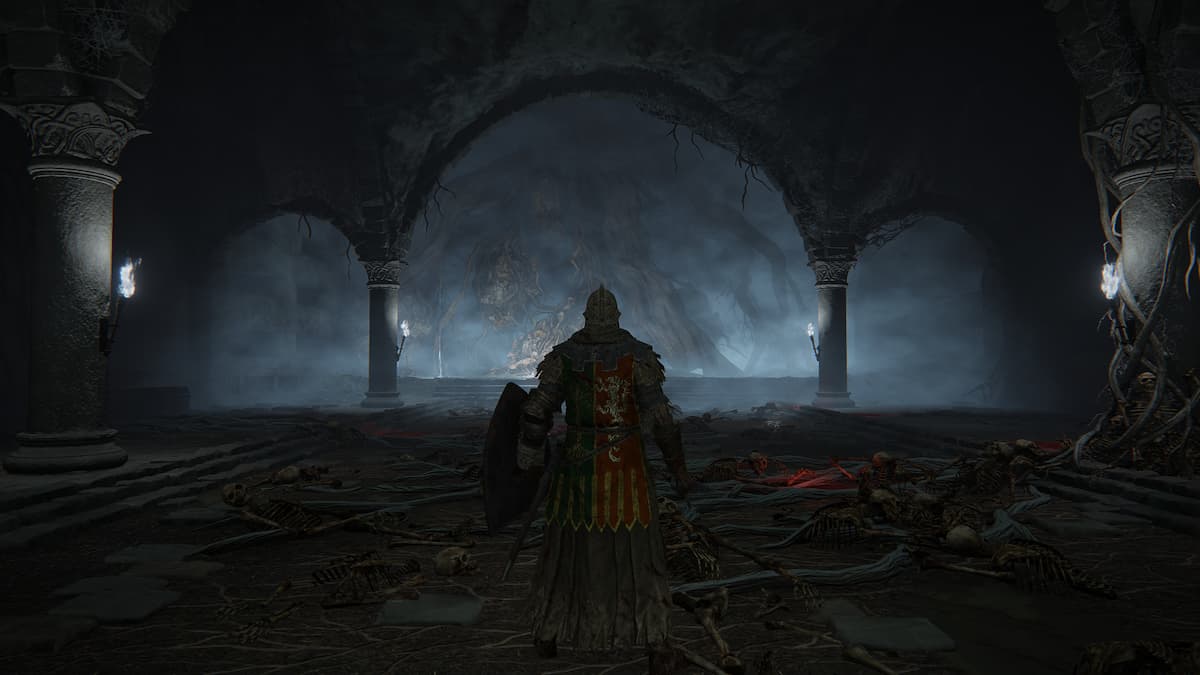
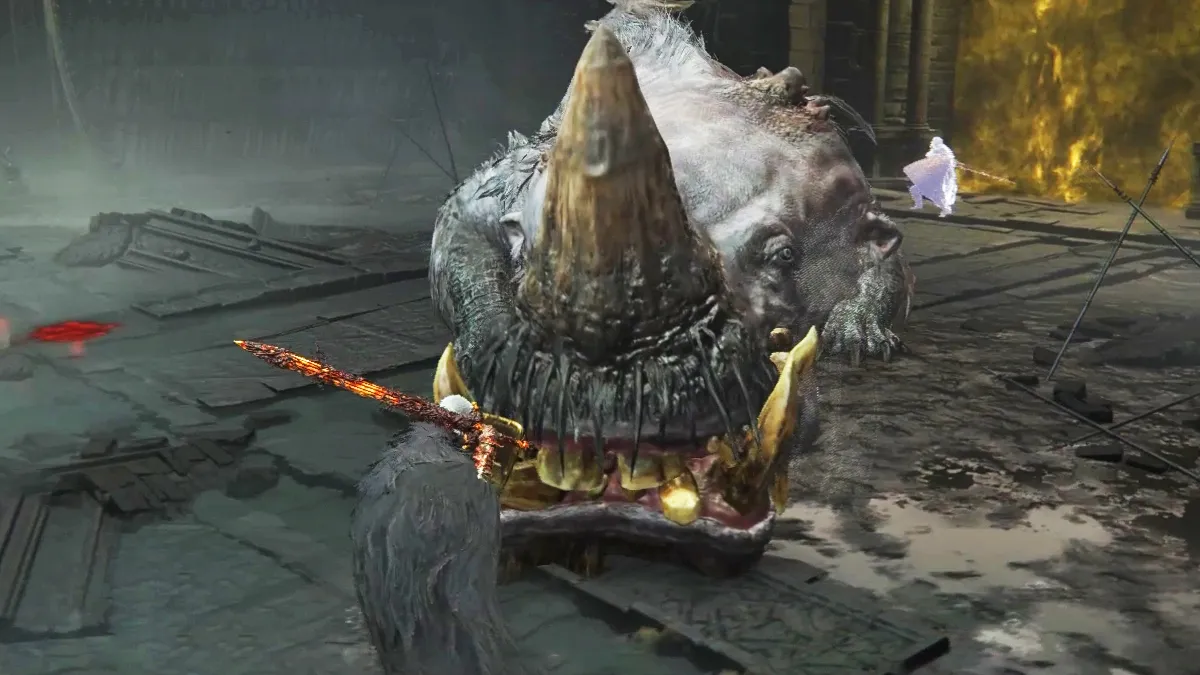
Head back to the balcony and drop down. You will see a lever, but don’t pull it yet. Past the lever is an inanimate Gargoyle that will spring to life when you pull the lever. Kill it first, then pull the lever to open the iron door back at the beginning of the dungeon. Head back to the Site of Grace to heal up before entering the doorway. Inside awaits the boss of this dungeon, the Erdtree Burial Watchdog. We have a guide on how to best this foe here, and once beaten, you will have fully cleared the Stormfoot Catacombs.




Published: Feb 25, 2022 5:47 AM UTC