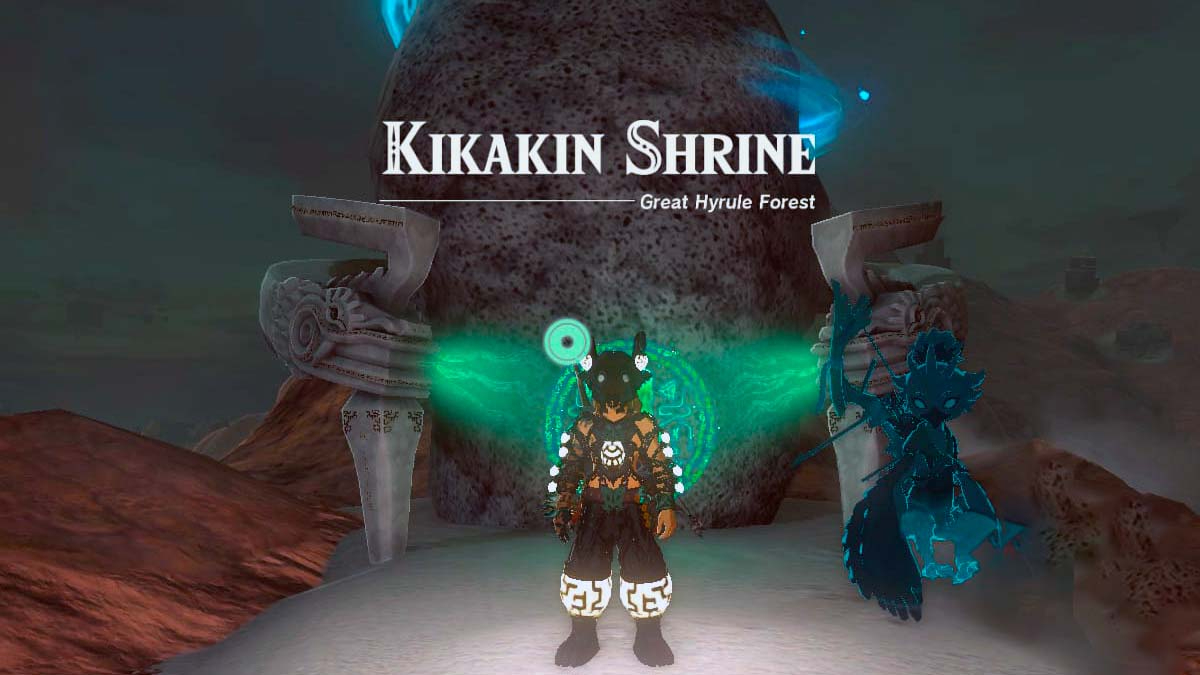
Tears of the Kingdom doesn’t shy away from intricate mazes and puzzles. Players can find labyrinths lurking in every other corner of the map – including the sky and depths. However, the Kikakin Shrine surpasses these complexities by challenging players to navigate through complete darkness, unravel its hidden secrets, and locate an exit.
To add to the challenge, the shrine throws several dangerous traps into the mix. If you find yourself persisting through these obstacles, it’s clear that you’re truly determined to acquire an additional Light of Blessing.
Related: Tears of the Kingdom – Shrine Locations & Strategies
Kikakin Shrine Location in Tears of the Kingdom

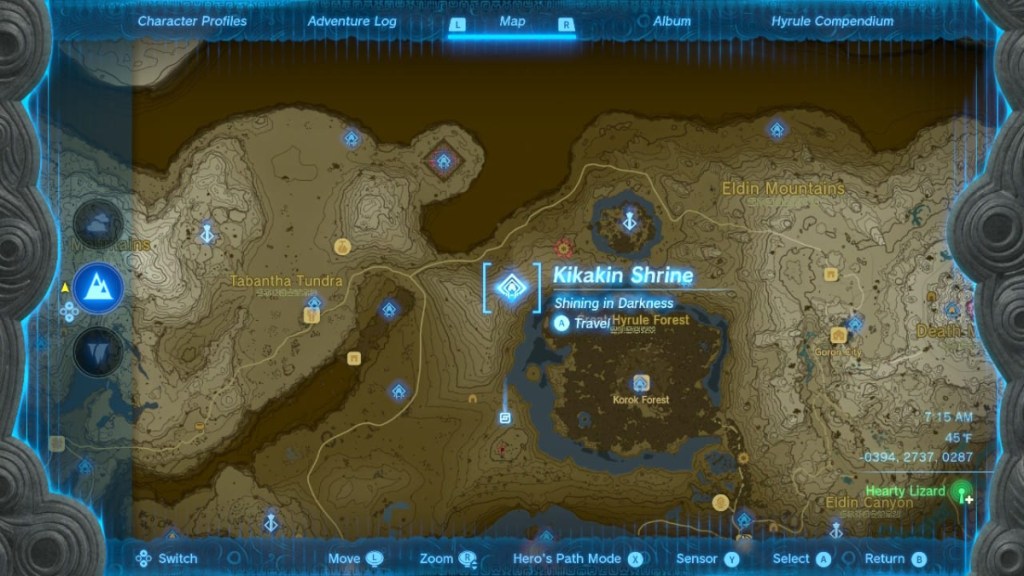
Kikakin Shrine is situated in the northern part of the map, specifically northwest of the Korok Forest. The most efficient way to reach it is by teleporting to the Thyphlo Ruins Skyview Tower and gliding southwest until you spot the shrine’s green aura.
How to Solve the Shining in Darkness Kikakin Shrine
Upon entering the shrine, a lantern Zonai Device will greet you. Still, it’s hard to track which parts of this maze you’ve already covered this way. So instead, use Brightbloom Seeds to light up the path ahead.
Proceed down the left hallway and continue moving forward until running into a wall. Then, take two consecutive left turns until coming across three laser beams. Carefully avoid the lasers and take a left to discover a treasure chest containing an Opal.
With the first chest unlocked, return through the lasers and veer slightly to the right before continuing. In the larger area ahead, there’s a double spiky trap. Time your movements to sprint past it when the spikes are farthest apart to avoid taking damage. Use Ascend to reach the higher ground with the trap out of the way. Open the treasure chest here to obtain a level 30 Zonaite Bow with Durability Up +.

Jump back down and keep moving forward, passing through the hallway with the spike trap. At the end of the road, turn left and grab the cube in the center. Then, drop down to access another treasure chest containing a Small Key.
Retrace your steps through the spiky hallway, then take two left turns followed by a right turn. Sprint past the double spike trap and reach another treasure chest containing a Luminous Stone.

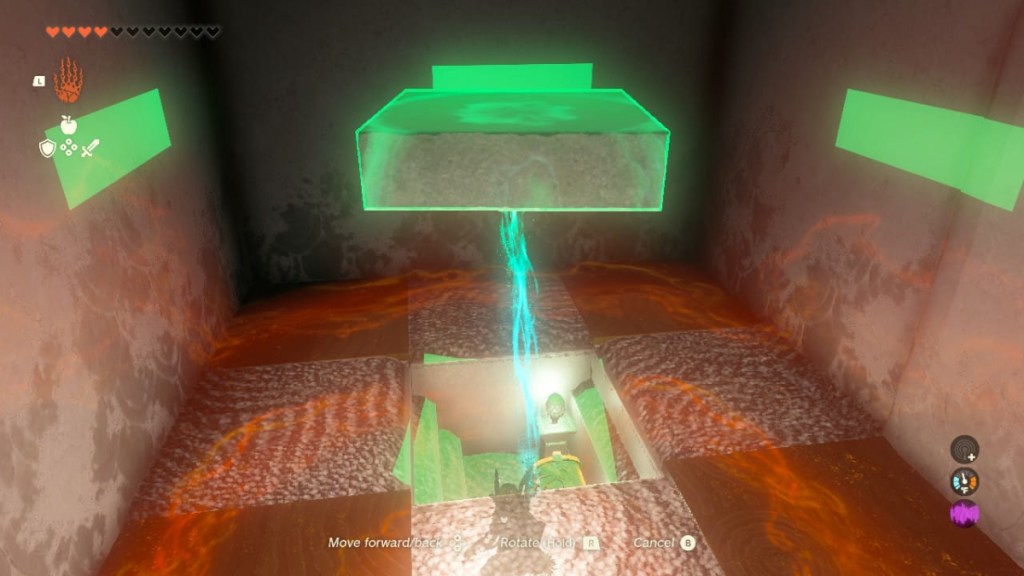
Exit the room and take a look at another platform with a removable cube. This platform hides one final treasure chest containing Amber. To reach it, use the removable cube as a makeshift staircase.
Step off the treasure area and take two left turns to return to the shrine’s entrance. Here, use the minor key to unlock the green door, granting access to the final area of the shrine.
And that’s it! Check out our other The Legend of Zelda: Tears of the Kingdom guides below to help with crafting, exploring, and tackling challenges across Hyrule.
Tears of the Kingdom Complete Guide | Every Ability & How To Unlock Them | How to Get The Paraglider | How to Get & Use The Travel Medallion | All Armor Locations & Where to Find Them | All Construct Materials & Where to Find Them | All Shrine Locations & Strategies | How to Get More Heart Containers


Published: May 31, 2023 01:53 pm