Gerudo women have a mesmerizing history to uncover in Tears of the Kingdom. The Heroines’ Secret is a side quest that provides a glimpse into this past if players can beat it. Though photographing some historical murals doesn’t sound that difficult, the stelae are not in plain sight. Uncovering may require some digging, rock-breaking, and 3D creativity. However, this will all make sense when you beat this quest.
Related: Tears of the Kingdom – All Stable Locations
How to Start The Heroines’ Secret in Tears of the Kingdom
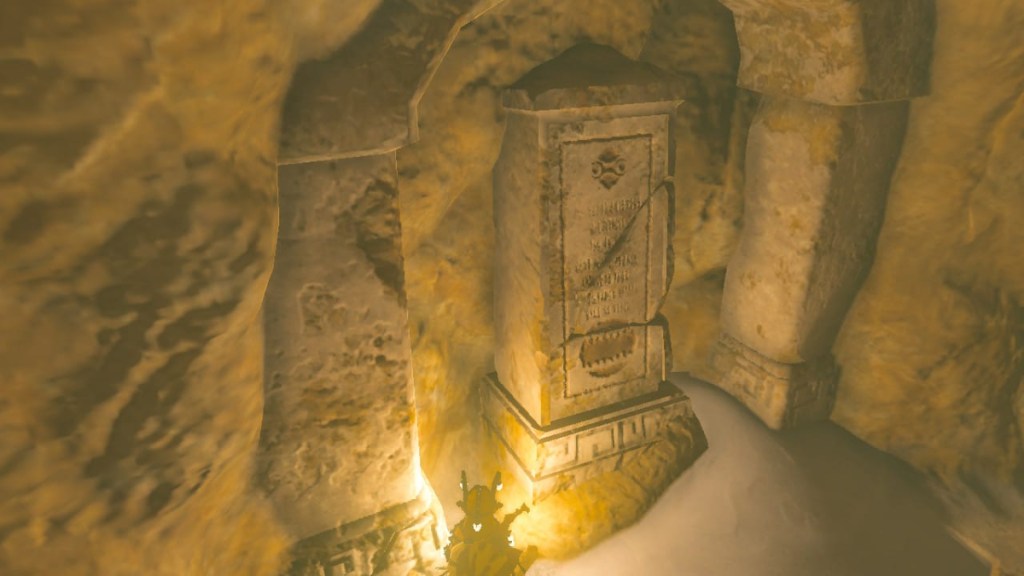
After entering the provisional Gerudo underground bunker, players can interact with Rotana, an NPC right near the entrance. Upon speaking with her, the Heroines’ Secret sidequest entry will be added to the Adventure Log, and the hunt for the four stelae will begin.
How to Find The 4 Stelae in The Heroines’ Secret
The good news is all 4 stelae are inside the bunker, so players won’t have to travel around the desert much. Plus, you won’t have to endure that terrible heat while you’re down in the bunker. The bad news? All four stelae are hidden behind some secret mechanism that must be figured out. So here is every stelae location in Tears of the Kingdom:
First Stelae Location in The Heroines’ Secret
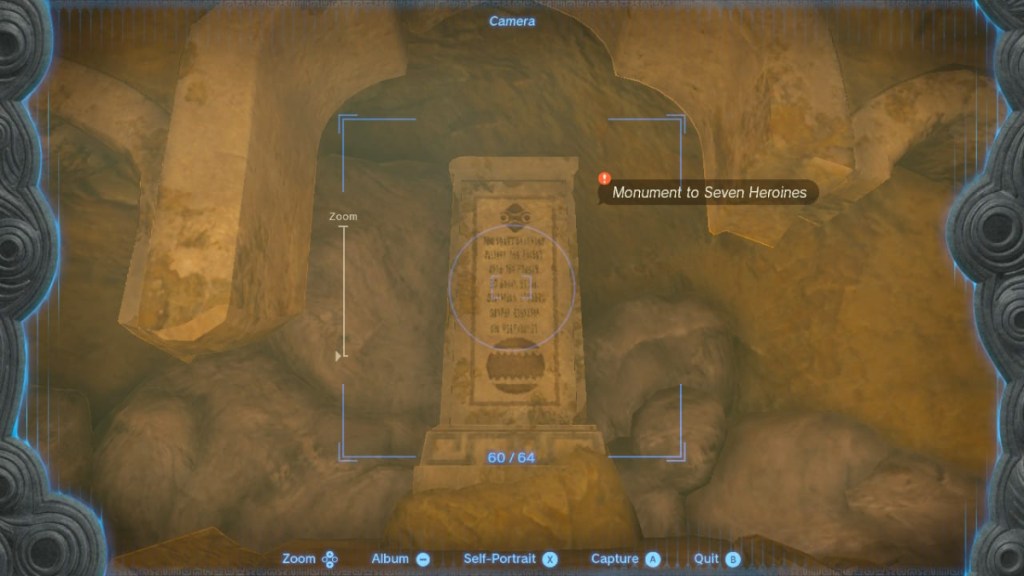
Start from Rotana’s location to avoid getting lost in this bunker. Head to the entrance behind her, slightly to the right. Once inside that room, look to the left to spot a pile of rubble. Use a rock-fused weapon to break the rubble and uncover the first stela behind it.
Whip out your camera and take a picture. Make sure the tiny red quest icon appears, and save this picture to your album. Then, head back to Rotana to give her the first stela.
Second Stelae Location in The Heroines’ Secret
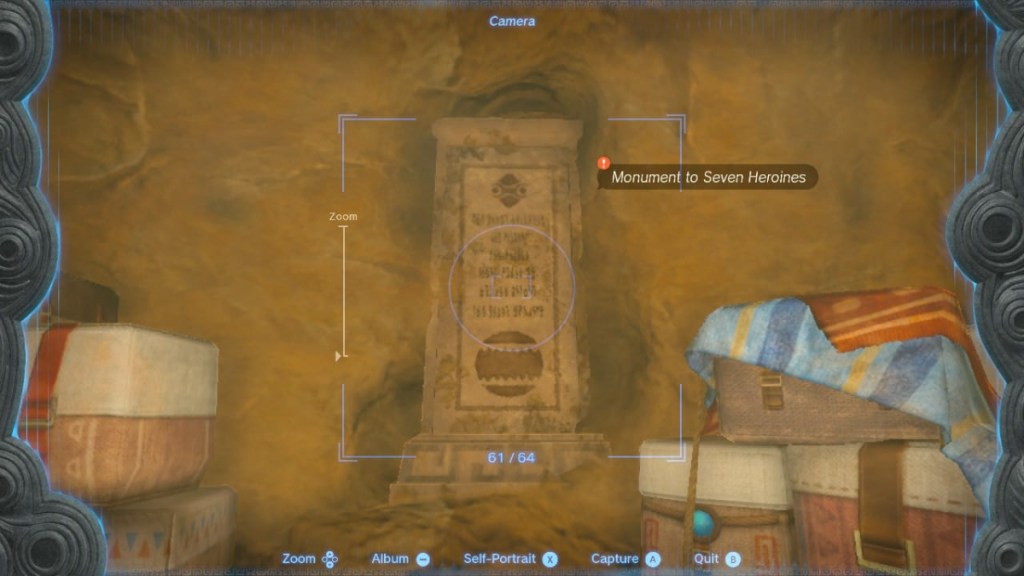
Look to Rotana’s right and head inside the room with the multi-colored cloth decoration on top. Keep sprinting straight on past the entrance with the red cloth. Turn to your right to spot a sand cupboard at the dead end. Break the vases at the bottom left and crouch to enter this room. Once inside, use Ascend to enter the prison from within. You can even speak with a prisoner inside.
But, the stela that brought us here is in front of him, waiting for someone to snap a photograph. So, with this second stela in the album, head back to Rotana.
Third Stelae Location in The Heroines’ Secret
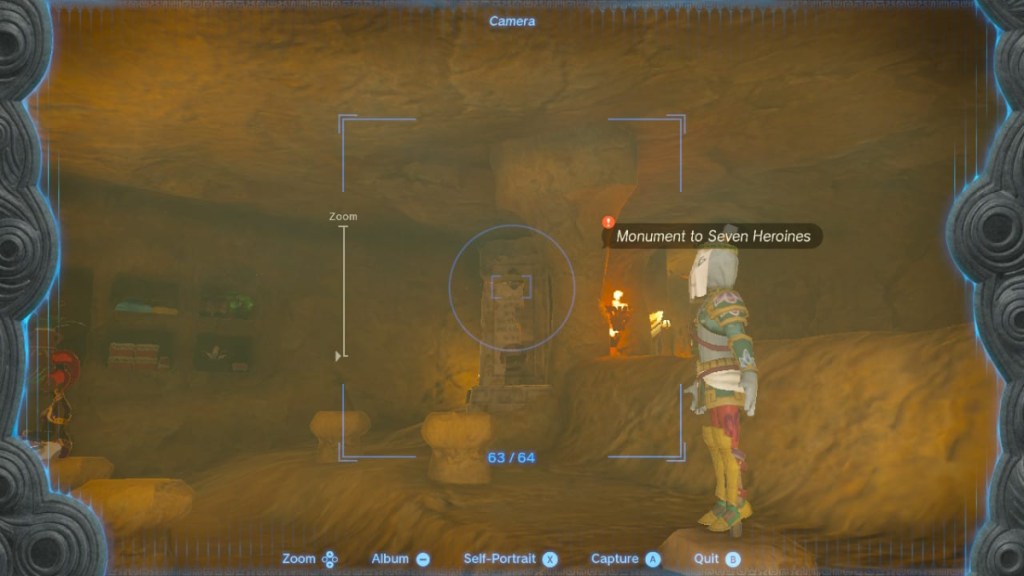
Head to the room directly to Rotana’s left to spot the third stela. Snapping the picture requires some professional camerawork. Instead, cross the room diagonally and stop at the leftmost corner. From there, point the camera toward the entrance. Half of the stela is on a pillar, and the other half is on a voe mannequin. Move the camera around until the tiny red icon pops up.
Report back to Rotana with the third stela; only one is left.
Fourth Stelae Location in the Heroines’ Secret
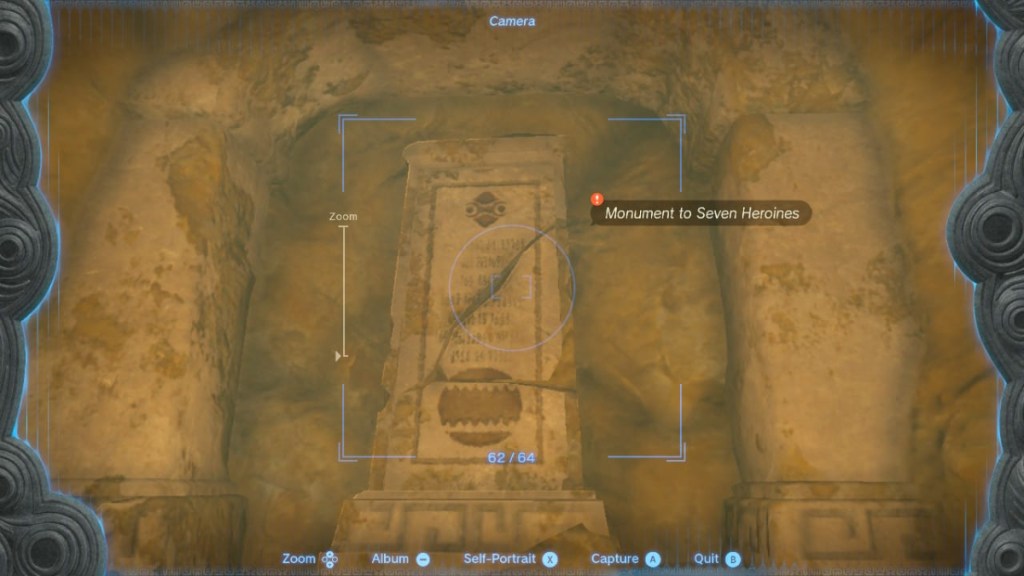
The final stela lies in the room to Rotana’s left, just like the third. But instead of staying in the room with the mannequins, take another left and enter the room with the Sand Seals, and then one more left until you hit a dead end. There’s a sand pile on a corner that needs clearing away.
To dust off the sand, fuse a Korok Frond and a Tree Branch to make a Korok Frond Guster. With a few swishes, the pile of sand will go away, and a missing piece of the fourth stela will become visible. Use Ultrahand to place the missing piece back, photograph it, and take it back to Rotana.
And that’s it! Check out our other The Legend of Zelda: Tears of the Kingdom guides below to help with crafting, exploring, and tackling challenges across Hyrule.
Tears of the Kingdom Complete Guide | Every Ability & How To Unlock Them | How to Get The Paraglider | How to Get & Use The Travel Medallion | All Armor Locations & Where to Find Them | All Construct Materials & Where to Find Them | All Shrine Locations & Strategies | How to Get More Heart Containers




Published: May 22, 2023 02:36 pm