The Saga of Mr. Forgetful is a world quest in Genshin Impact’s Through the Mists quest series. This quest becomes available the day following the completion of the quest Octave of the Maushiro, on the third day in the series. We’ve detailed everything you’ll need to know to complete this quest including the locations of the shrines you’ll need to photograph for Roald’s request.
Where to find The Saga of Mr. Forgetful world quest in Genshin Impact
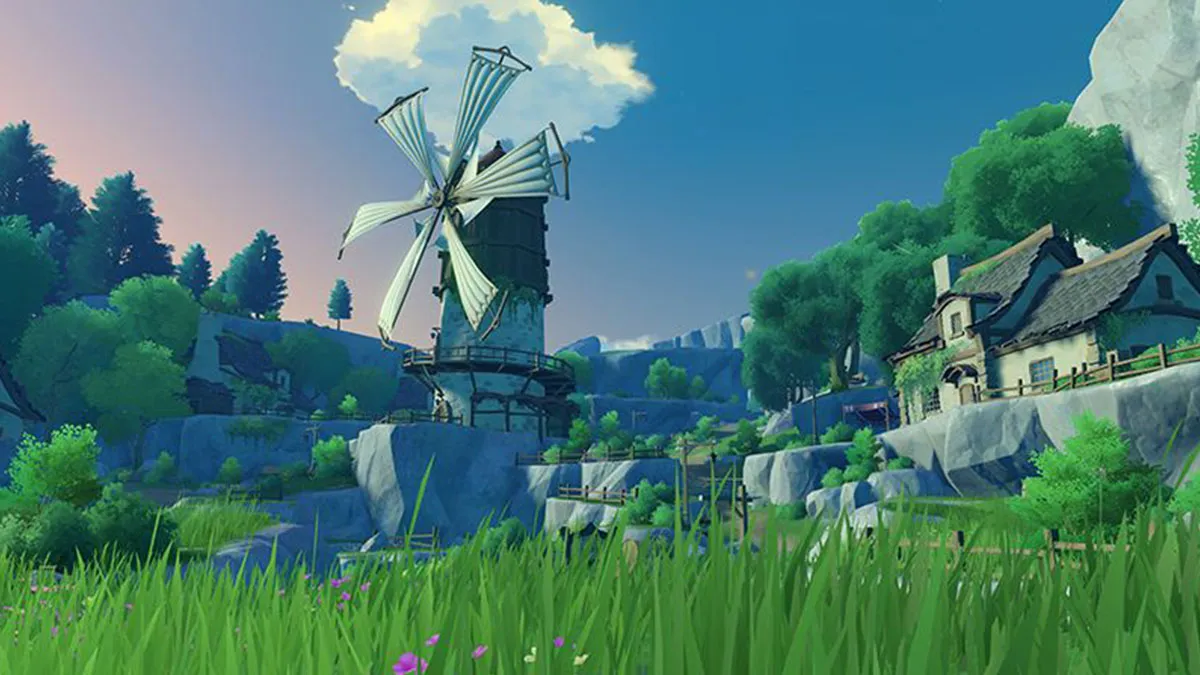
To start The Saga of Mr. Forgetful, you’ll need to head out to Tsurumi Island and seek out Roald, who can be found near the island’s Statue of the Seven. Roald’s first task is easy enough; he just wants you to give him 10 Fluorescent Fungus. You may not have these on hand, especially if you’ve been using them for ascending Thoma, but don’t worry. You can farm Fluorescent Fungus all over Tsurumi Island, and the highest concentration is in both the north and the south parts of the island.
Once you’ve turned in the fungus, you will receive the next step of the quest, which requires quite a bit more legwork. For his next task, you are asked to visit and photograph six Ruin Murals. Ruin Murals are found in the ruins located beneath Shirikoro Peak. Once you’ve teleported to Shirikoro Peak, you’ll want to drop down to the bottom of the mountain so you can access the entrance to the ruins.
How to take a photo of the ruins murals in Genshin Impact
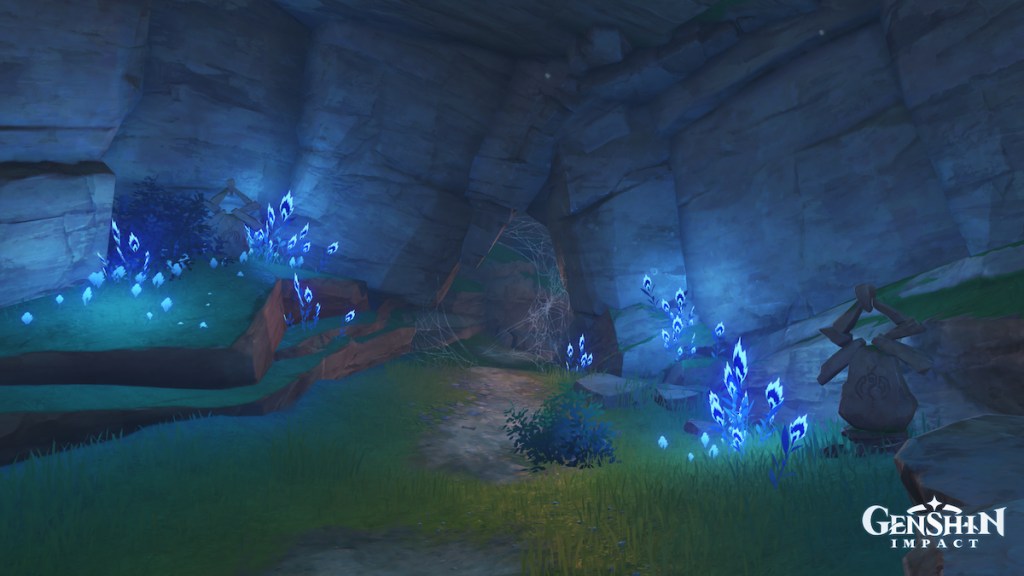
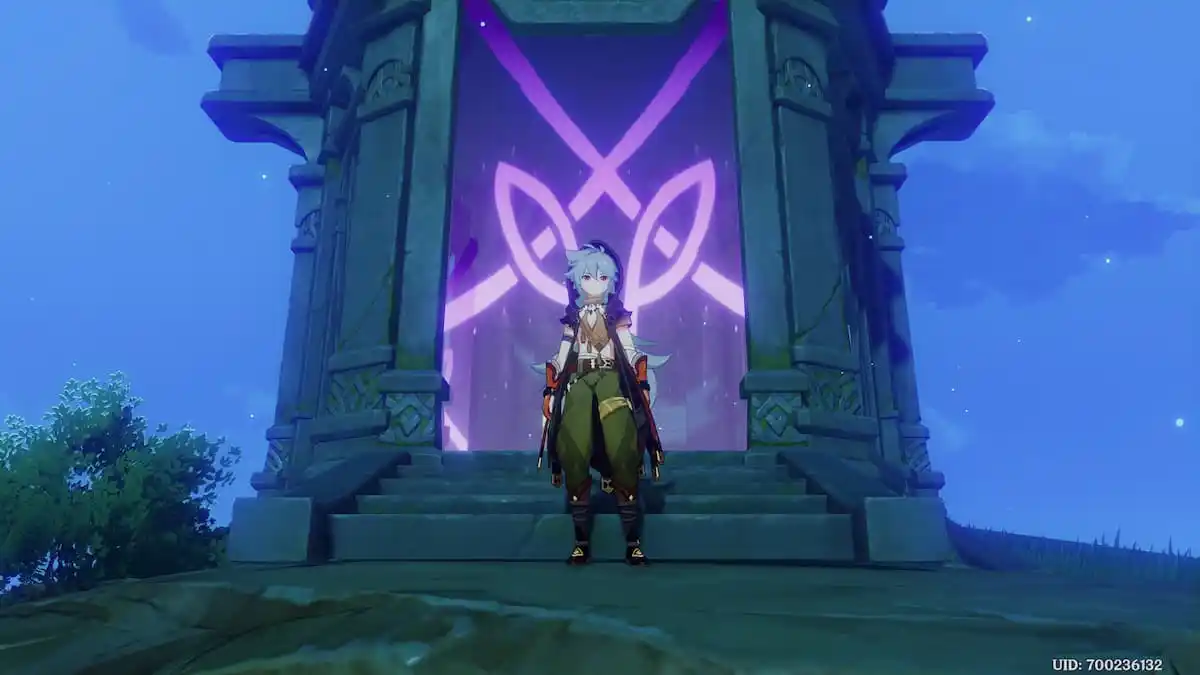
When you’ve reached Shirikoro Peak’s underground cavern, you’ll need to be on the lookout for six different sigils to photograph using your Kamera gadget or Photo Mode. Your shots don’t have to be perfect, but you’ll want to ensure you’re getting the sigil in the photo, of course. You can check to see if your shot was acceptable for the quest by checking the quest tracker, as the objective count will go up for each successful shot. The murals are located throughout the ruins and you’ll know you’re close to finding one if you see a yellow glowing pillar marker nearby.
First Ruin Mural location
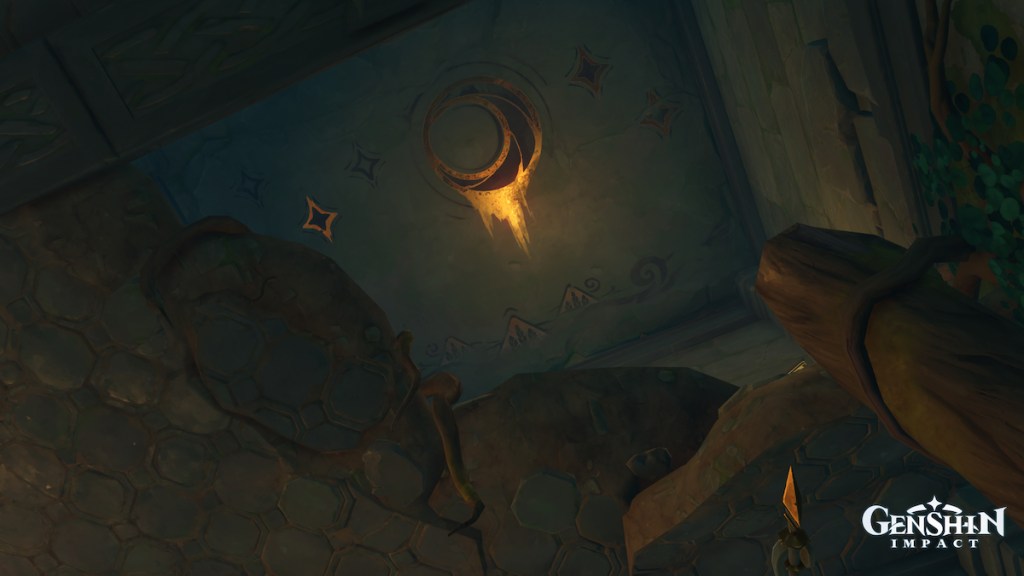
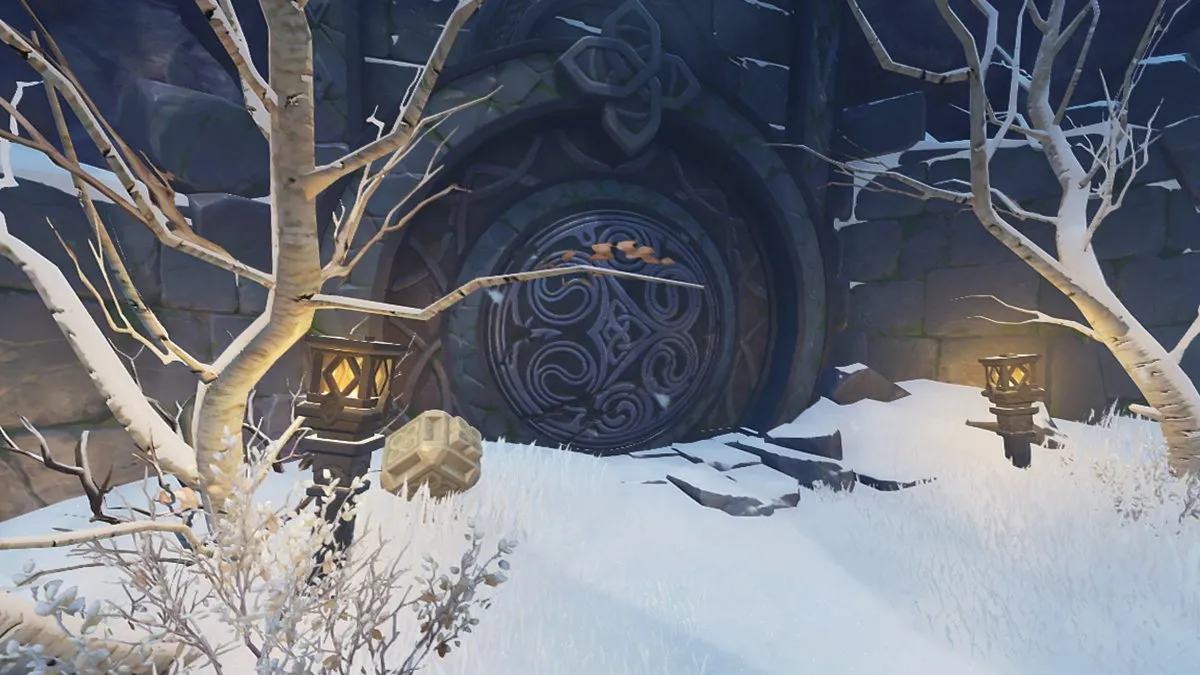
To reach the first Ruin Mural required for The Saga of Mr. Forgetful, enter the ruins and follow the tunnel down the stairs until you reach the first circular door that opens into the larger main room. You may remember this location from seeking out the Star-Shaped Gems. From here, turn left and look for an owl marking on the wall near the bottom of the steps. Use your Peculiar Pinion at the marking and a tunnel to the new room will open up behind you. You can find the first mural you’ll need to photograph by looking up through the broken ceiling.
Second Ruin Mural location
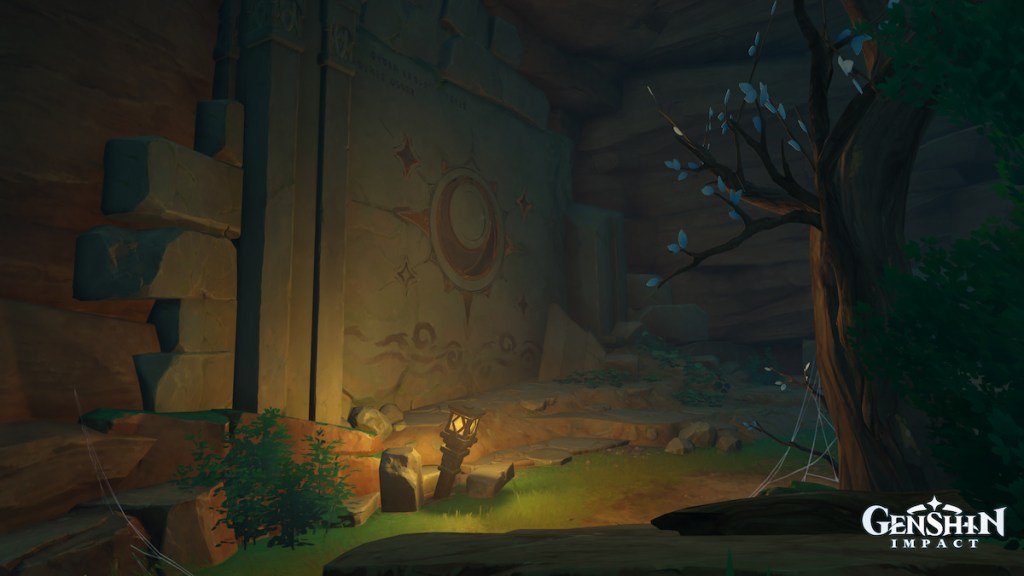
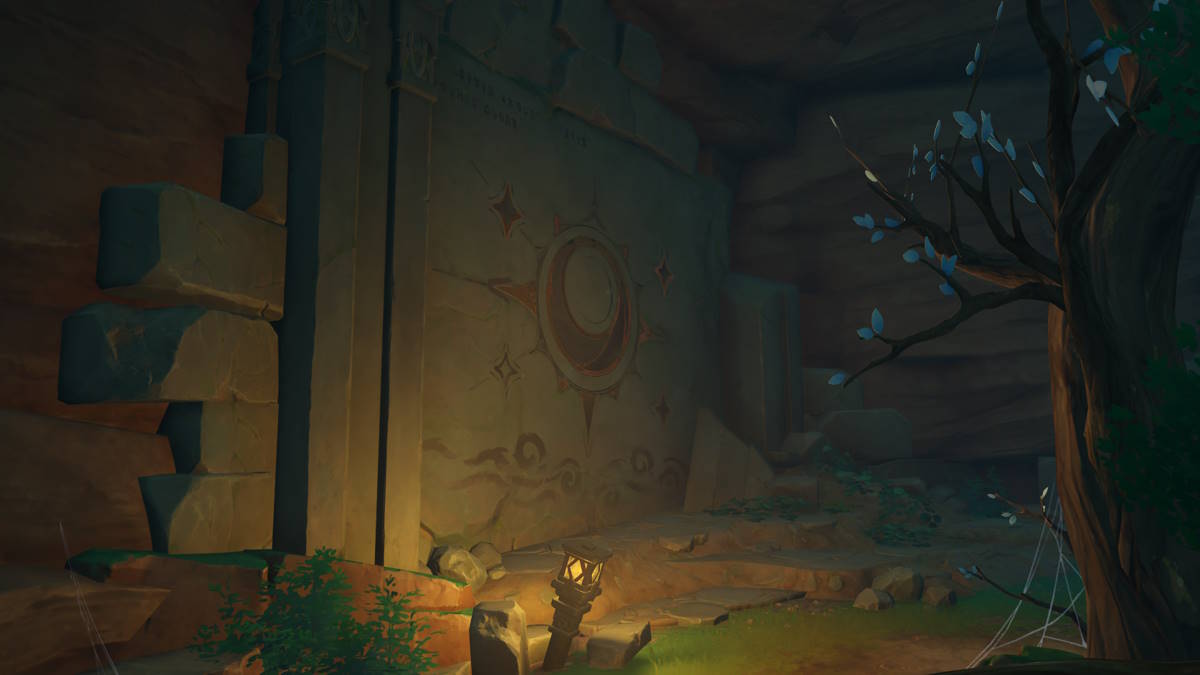
To reach the second Ruin Mural, head back up the stairs and proceed left to reach a round doorway, which you will enter. All other ruin murals are located in rooms that branch off from this large chamber. You can easily reach these locations by following the path clockwise around the ruined dome located in the center of the large room. You’ll reach a grassy area with trees and the entrance to a new room, in which you’ll find the second mural located on the wall to your left.
Related: Shirikoro Peak torch solution – Genshin Impact
Third Ruin Mural location
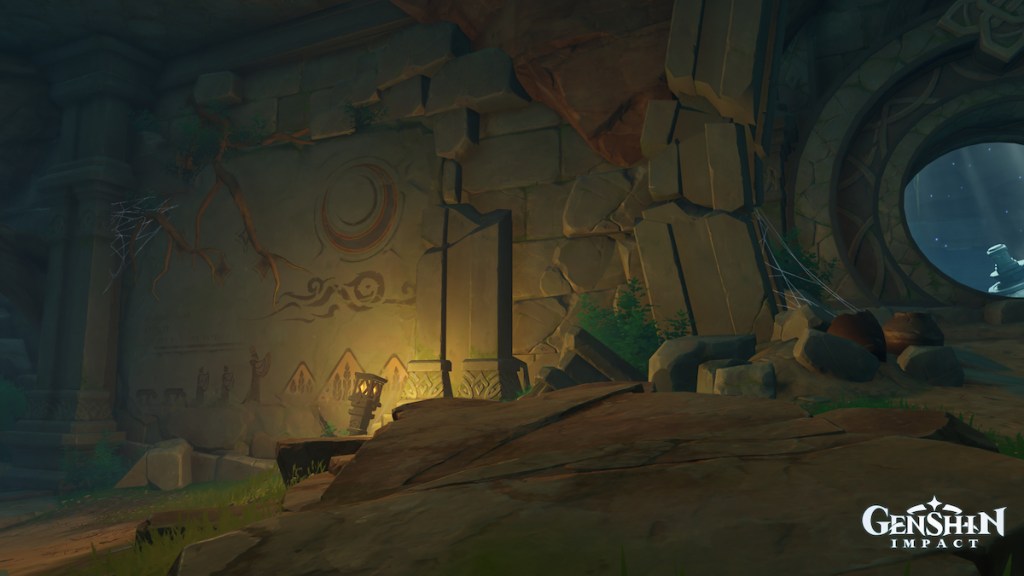
To locate the third Ruin Mural, re-enter the main chamber and continue down the path until you reach another round doorway. Enter the room and you will find the third mural on the wall to your right.
Fourth, Fifth, and Sixth Ruin Mural locations
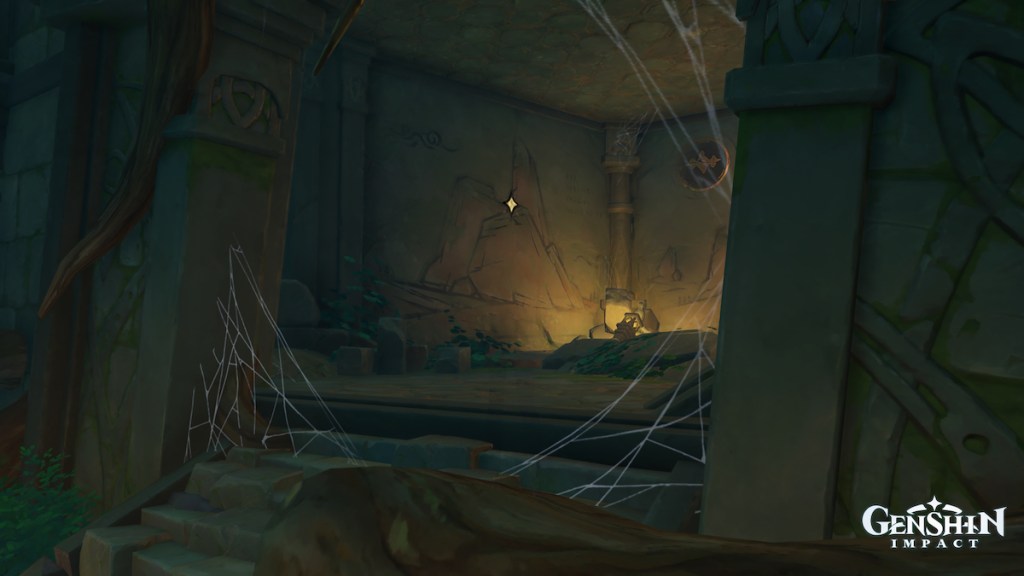
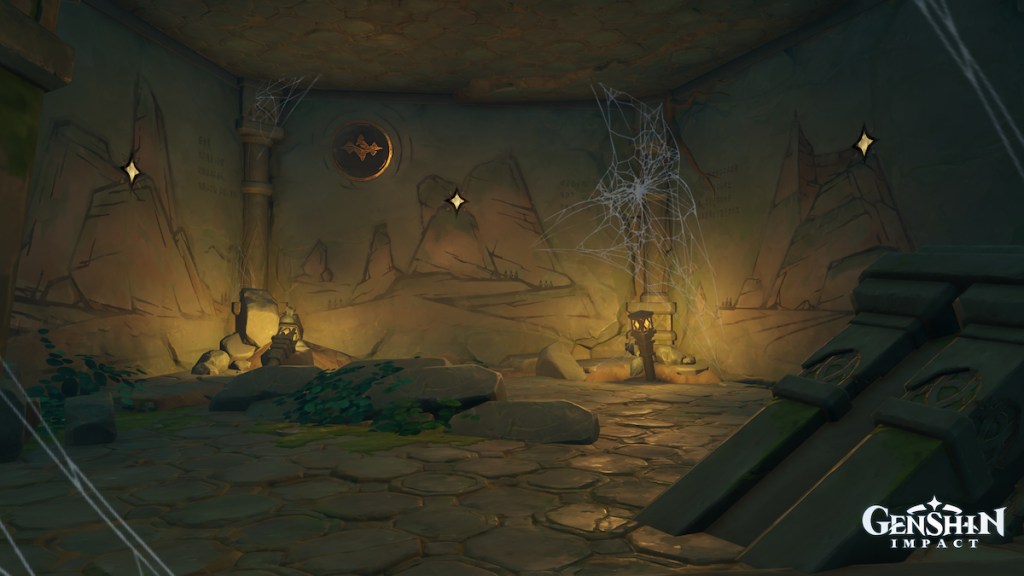
The last three Ruin Murals you’ll need to photograph are all located in the same room. To reach them, head back into the main chamber and continue down the path just a little further until you reach a short staircase with lanterns on either side. At the top of these stairs, you’ll enter a large chamber featuring murals on all three walls. The fourth mural is the one straight ahead, the fifth is to your left, and the sixth and final mural is on your right.
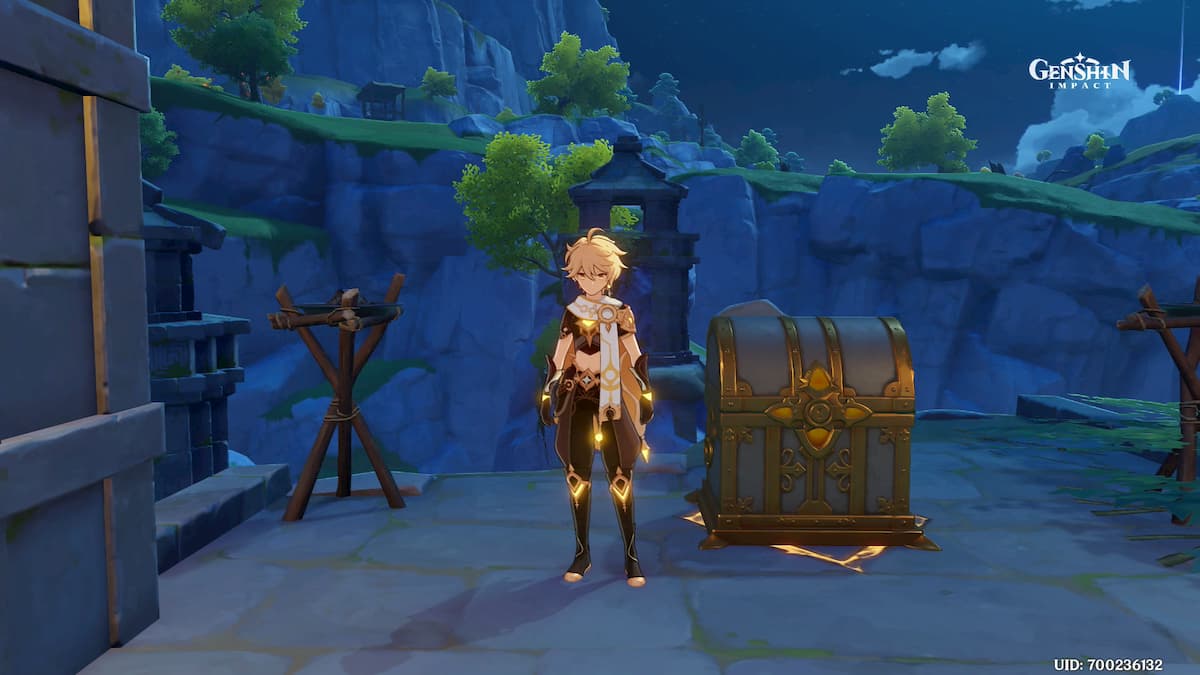
Once you’ve located and snapshotted all six Ruin Murals, and confirmed that you received quest credit for all six of the photos, teleport to the Statue of the Seven and head back to Roald. After you turn in the quest, Paimon will notice that he has left behind a book, and you can collect a copy of Diary of Roald the Adventurer and read all about his exploits on Tsurumi Island. Completing this quest will unlock the achievement “My Life as an Adventurer” in the Wonders of the World category earning you 5 Primogems.




Published: Feb 23, 2023 03:30 pm